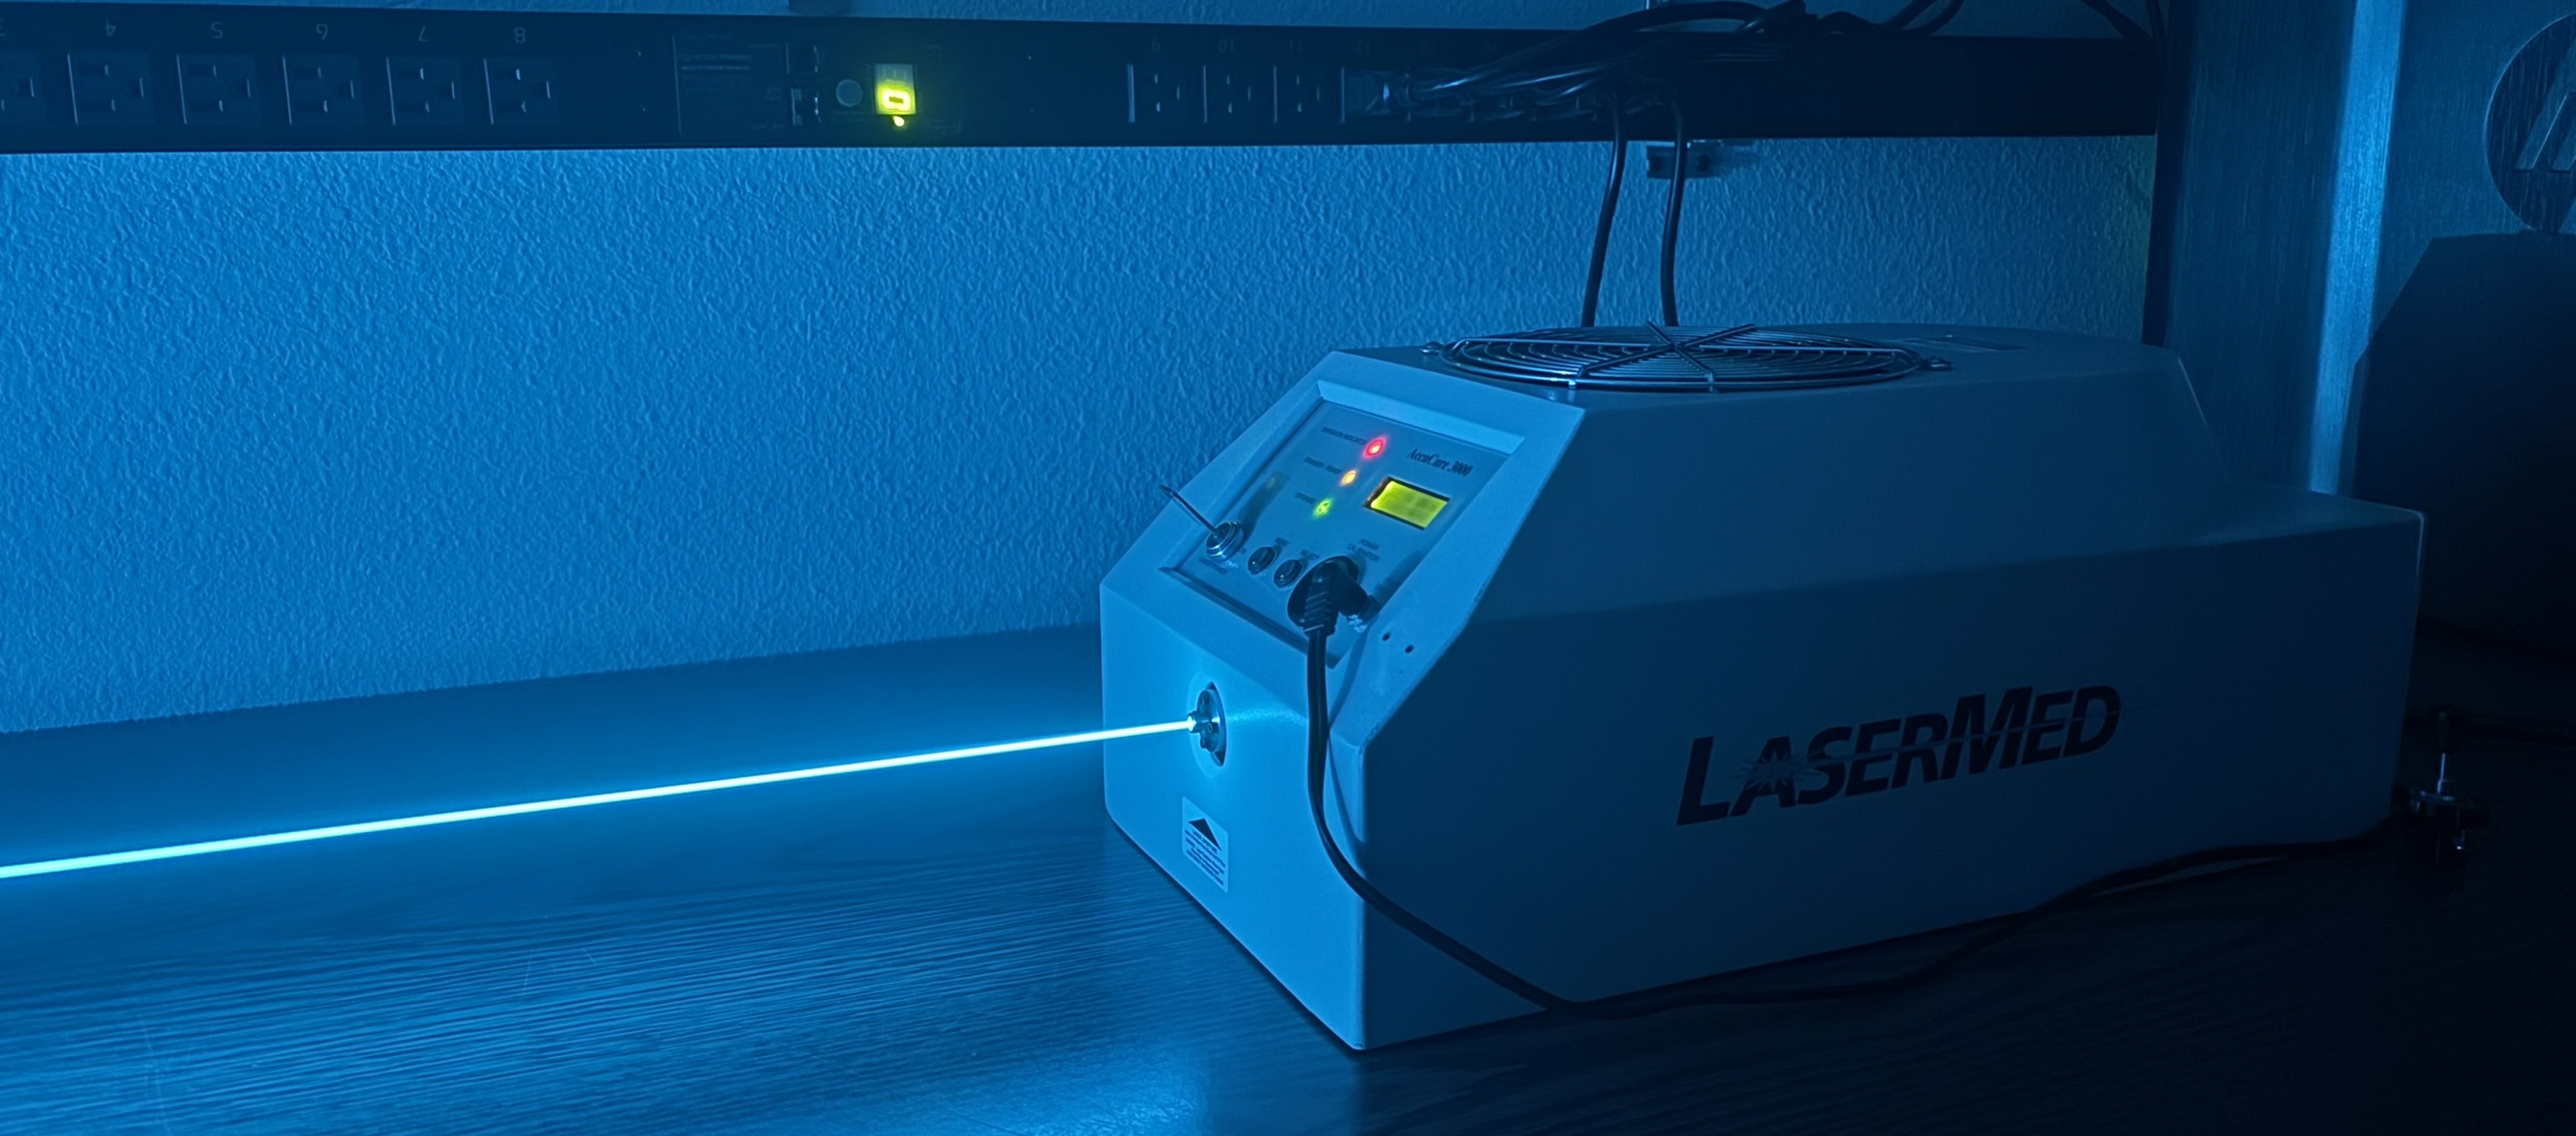
The LaserMed AccuCure 3000 is a self-contained, air-cooled argon ion laser tube and power supply all in one compact unit. It was originally intended for the curing of dental adhesives (photopolymers) and was sold as a competitive alternative to traditional lamp-based curing systems. There is very little information available online about this unit and LaserMed either went out of business or was bought out many years ago. Also, modern dental curing is done by LED-based UV lighting or just with LEDs in general. The AccuCure 3000 was capable of producing up to 300mW of 488nm laser light. We originally learned about the AccuCure 3000 when Patrick showed us his unit, which he acquired online. We have been searching for our own ever since, and even had a banner on this page stating that we wanted one. Our wish eventually came true when a dentist from Minnesota reached out to us explaining that they had an AccuCure 3000 and were looking to get rid of it. We agreed on a price and they shipped it to us. It works great and since we now have our own, we were able to do a much more in-depth teardown and have revised this page significantly to include more pictures and information about the system.
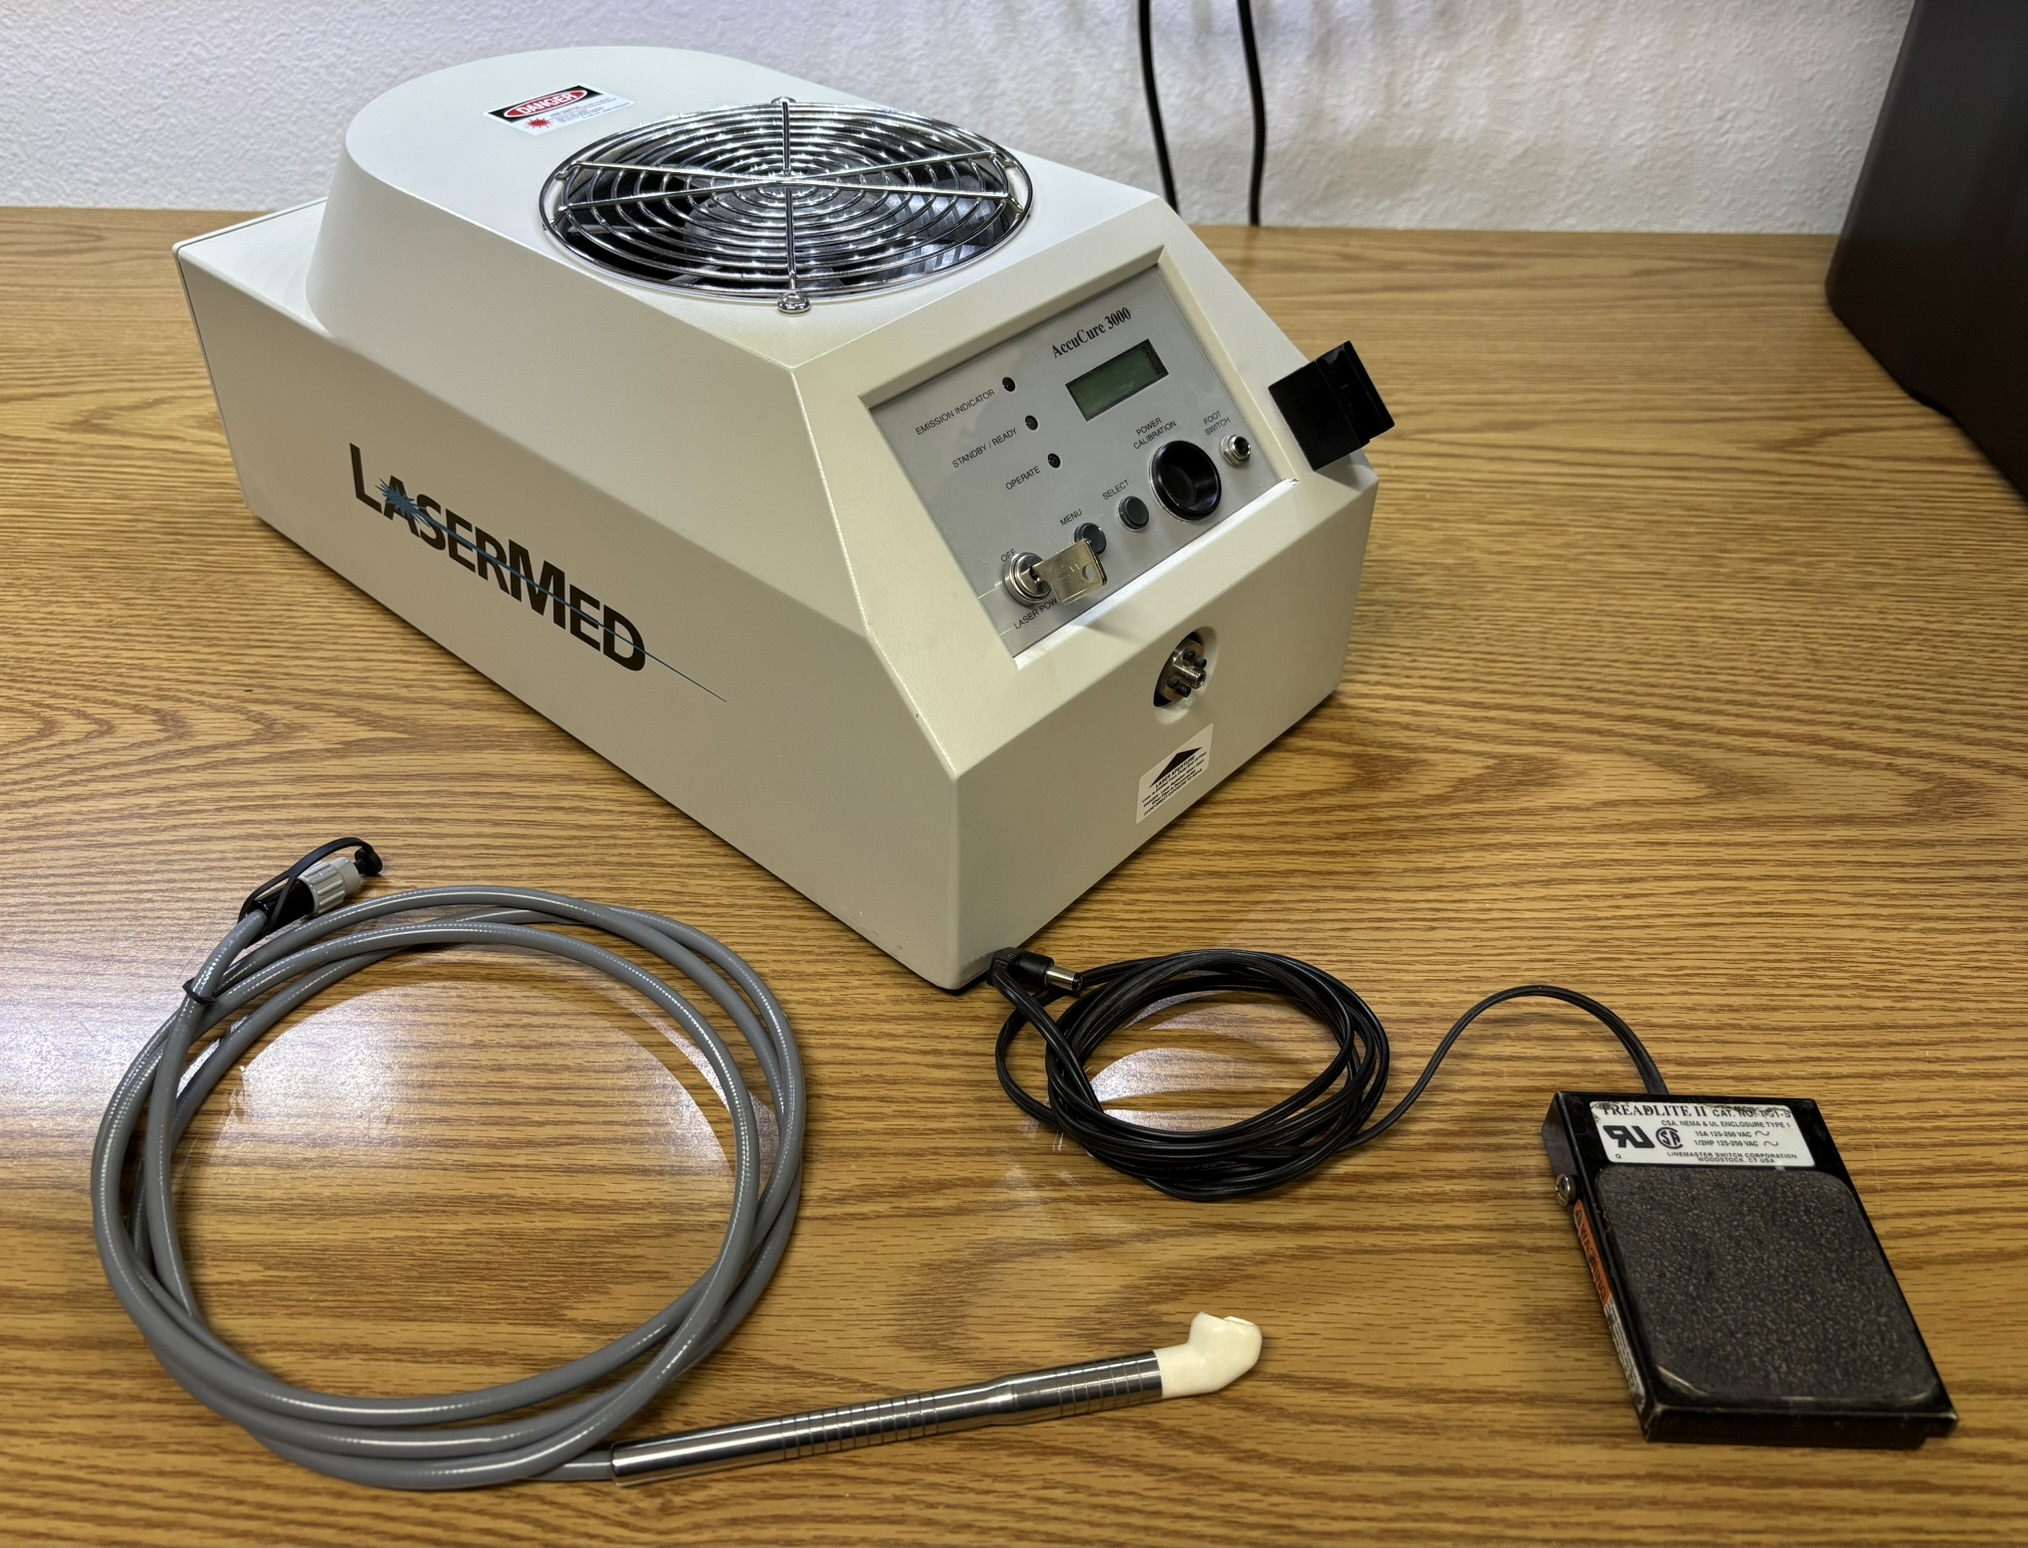
The AccuCure 3000 originally came with a foot switch to activate the laser, and a fiber delivery wand that connected to the output aperture with a SMA connector. We removed the foot switch and connected a simple on/off switch to keep the laser on as needed. Dental curing only required momentary activation of the laser for about 5 seconds per location, so a foot switch made sense for the original application. The wand had a stainless steel end with a mirror and small output window to direct light to the adhesive site. We have no use for this and also disassembled the output aperture to remove a small lens, allowing the pure, unfiltered ion beam to emit from the aperture.
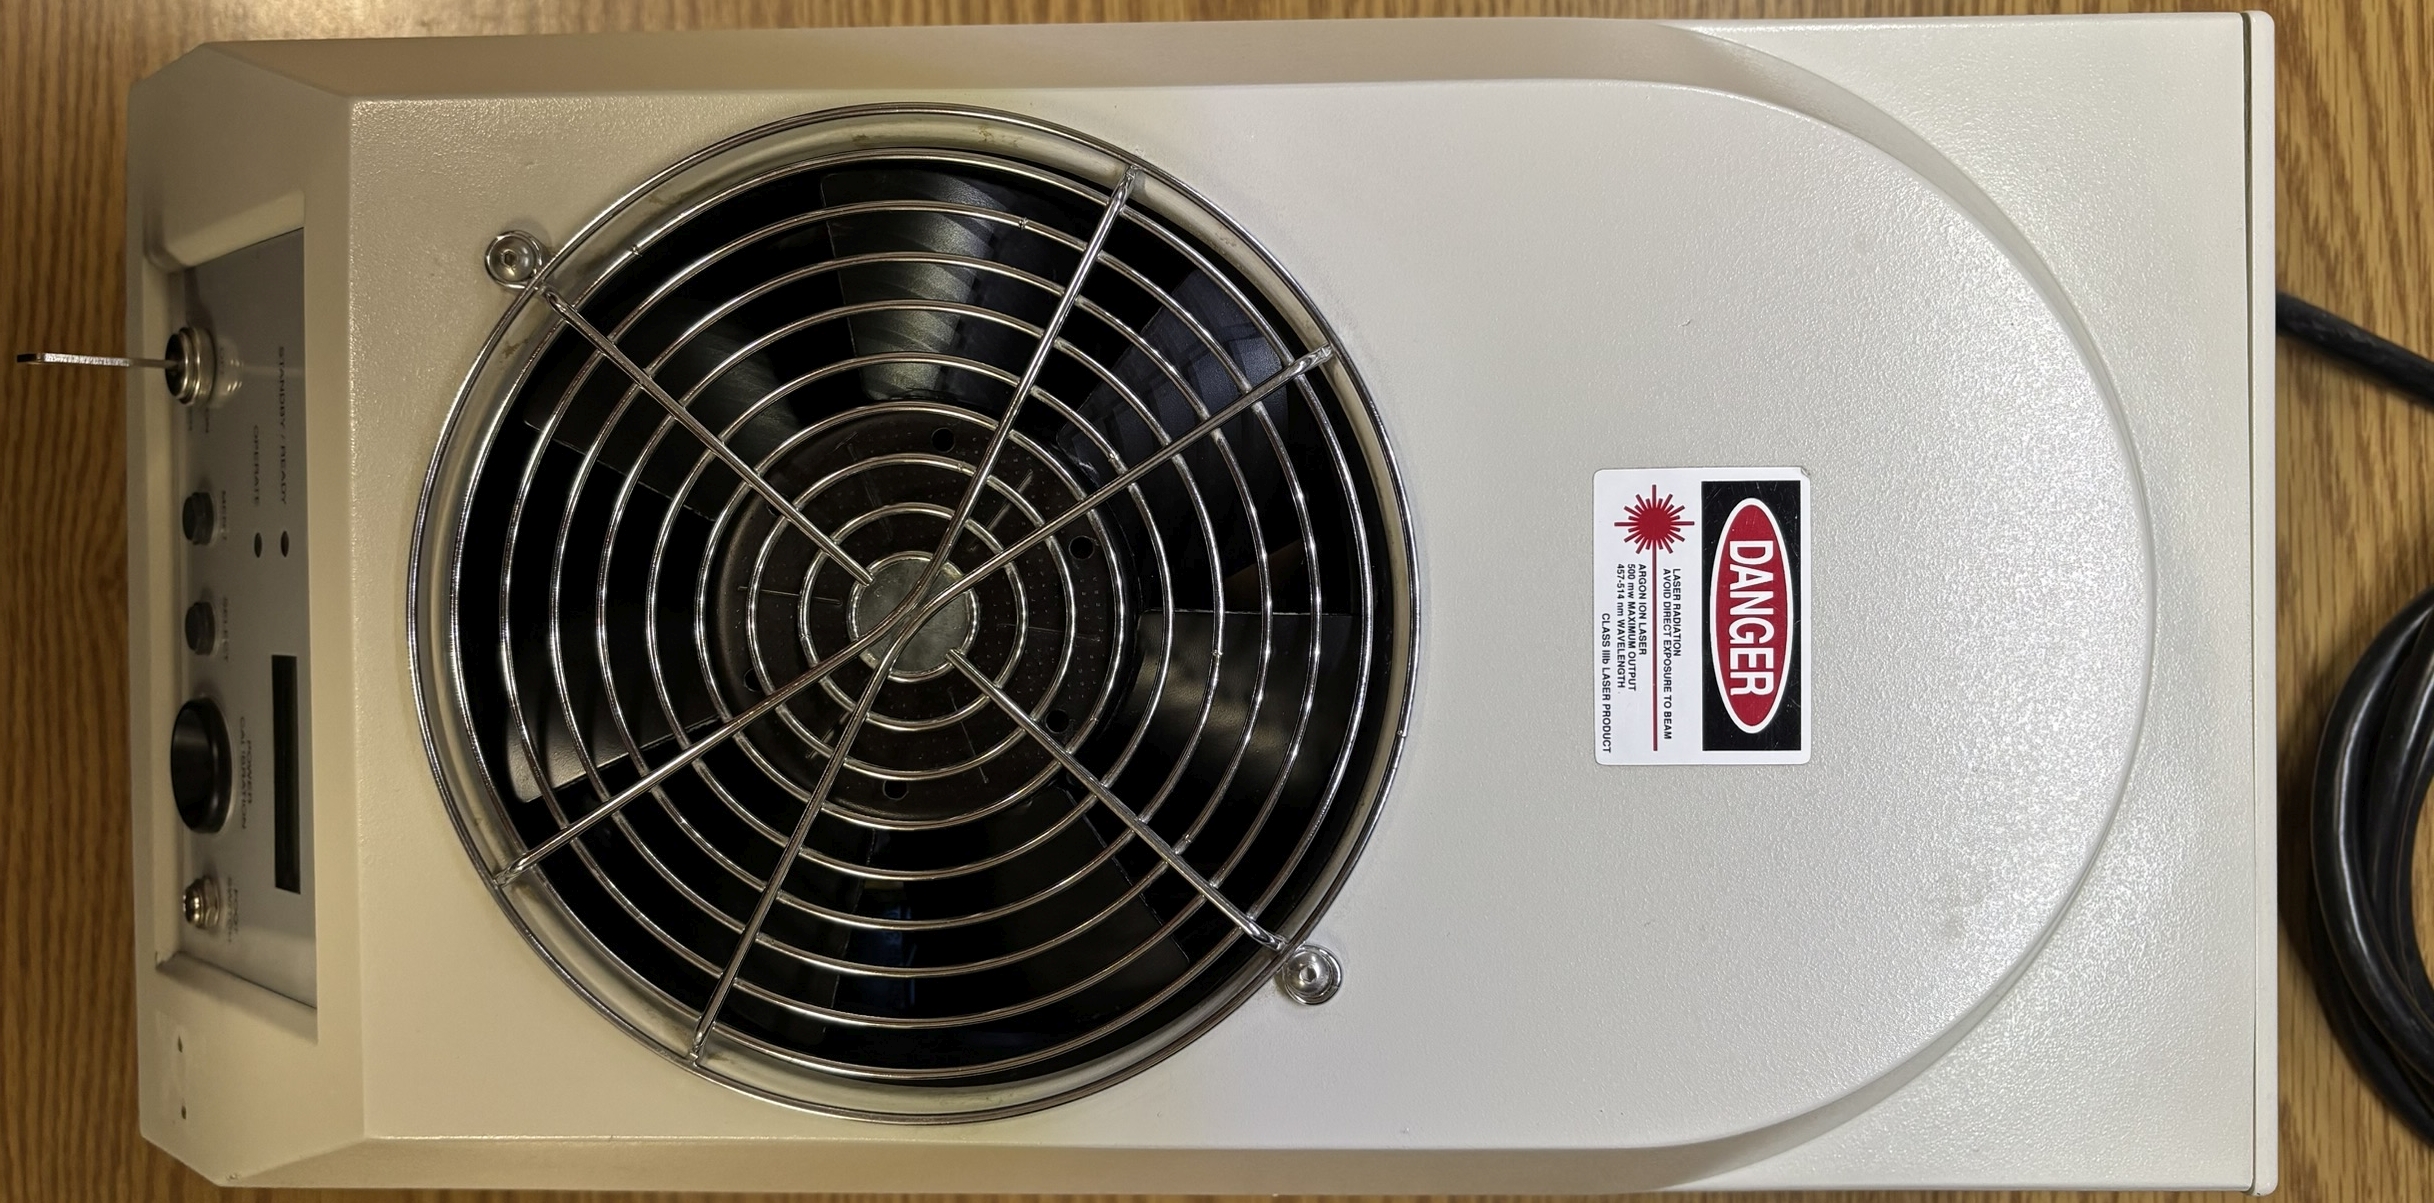
The casing appears to be a fiberglass or plastic composite and is quite brittle. A large fan sucks in air from the top, through the tube and electronics, and out the back. This system gets quite hot during operation, so be sure to allow for ample airflow! Additionally, do not operate this laser with the top cover removed as the cover is essential to maintaining the airflow path over the hot tube components.
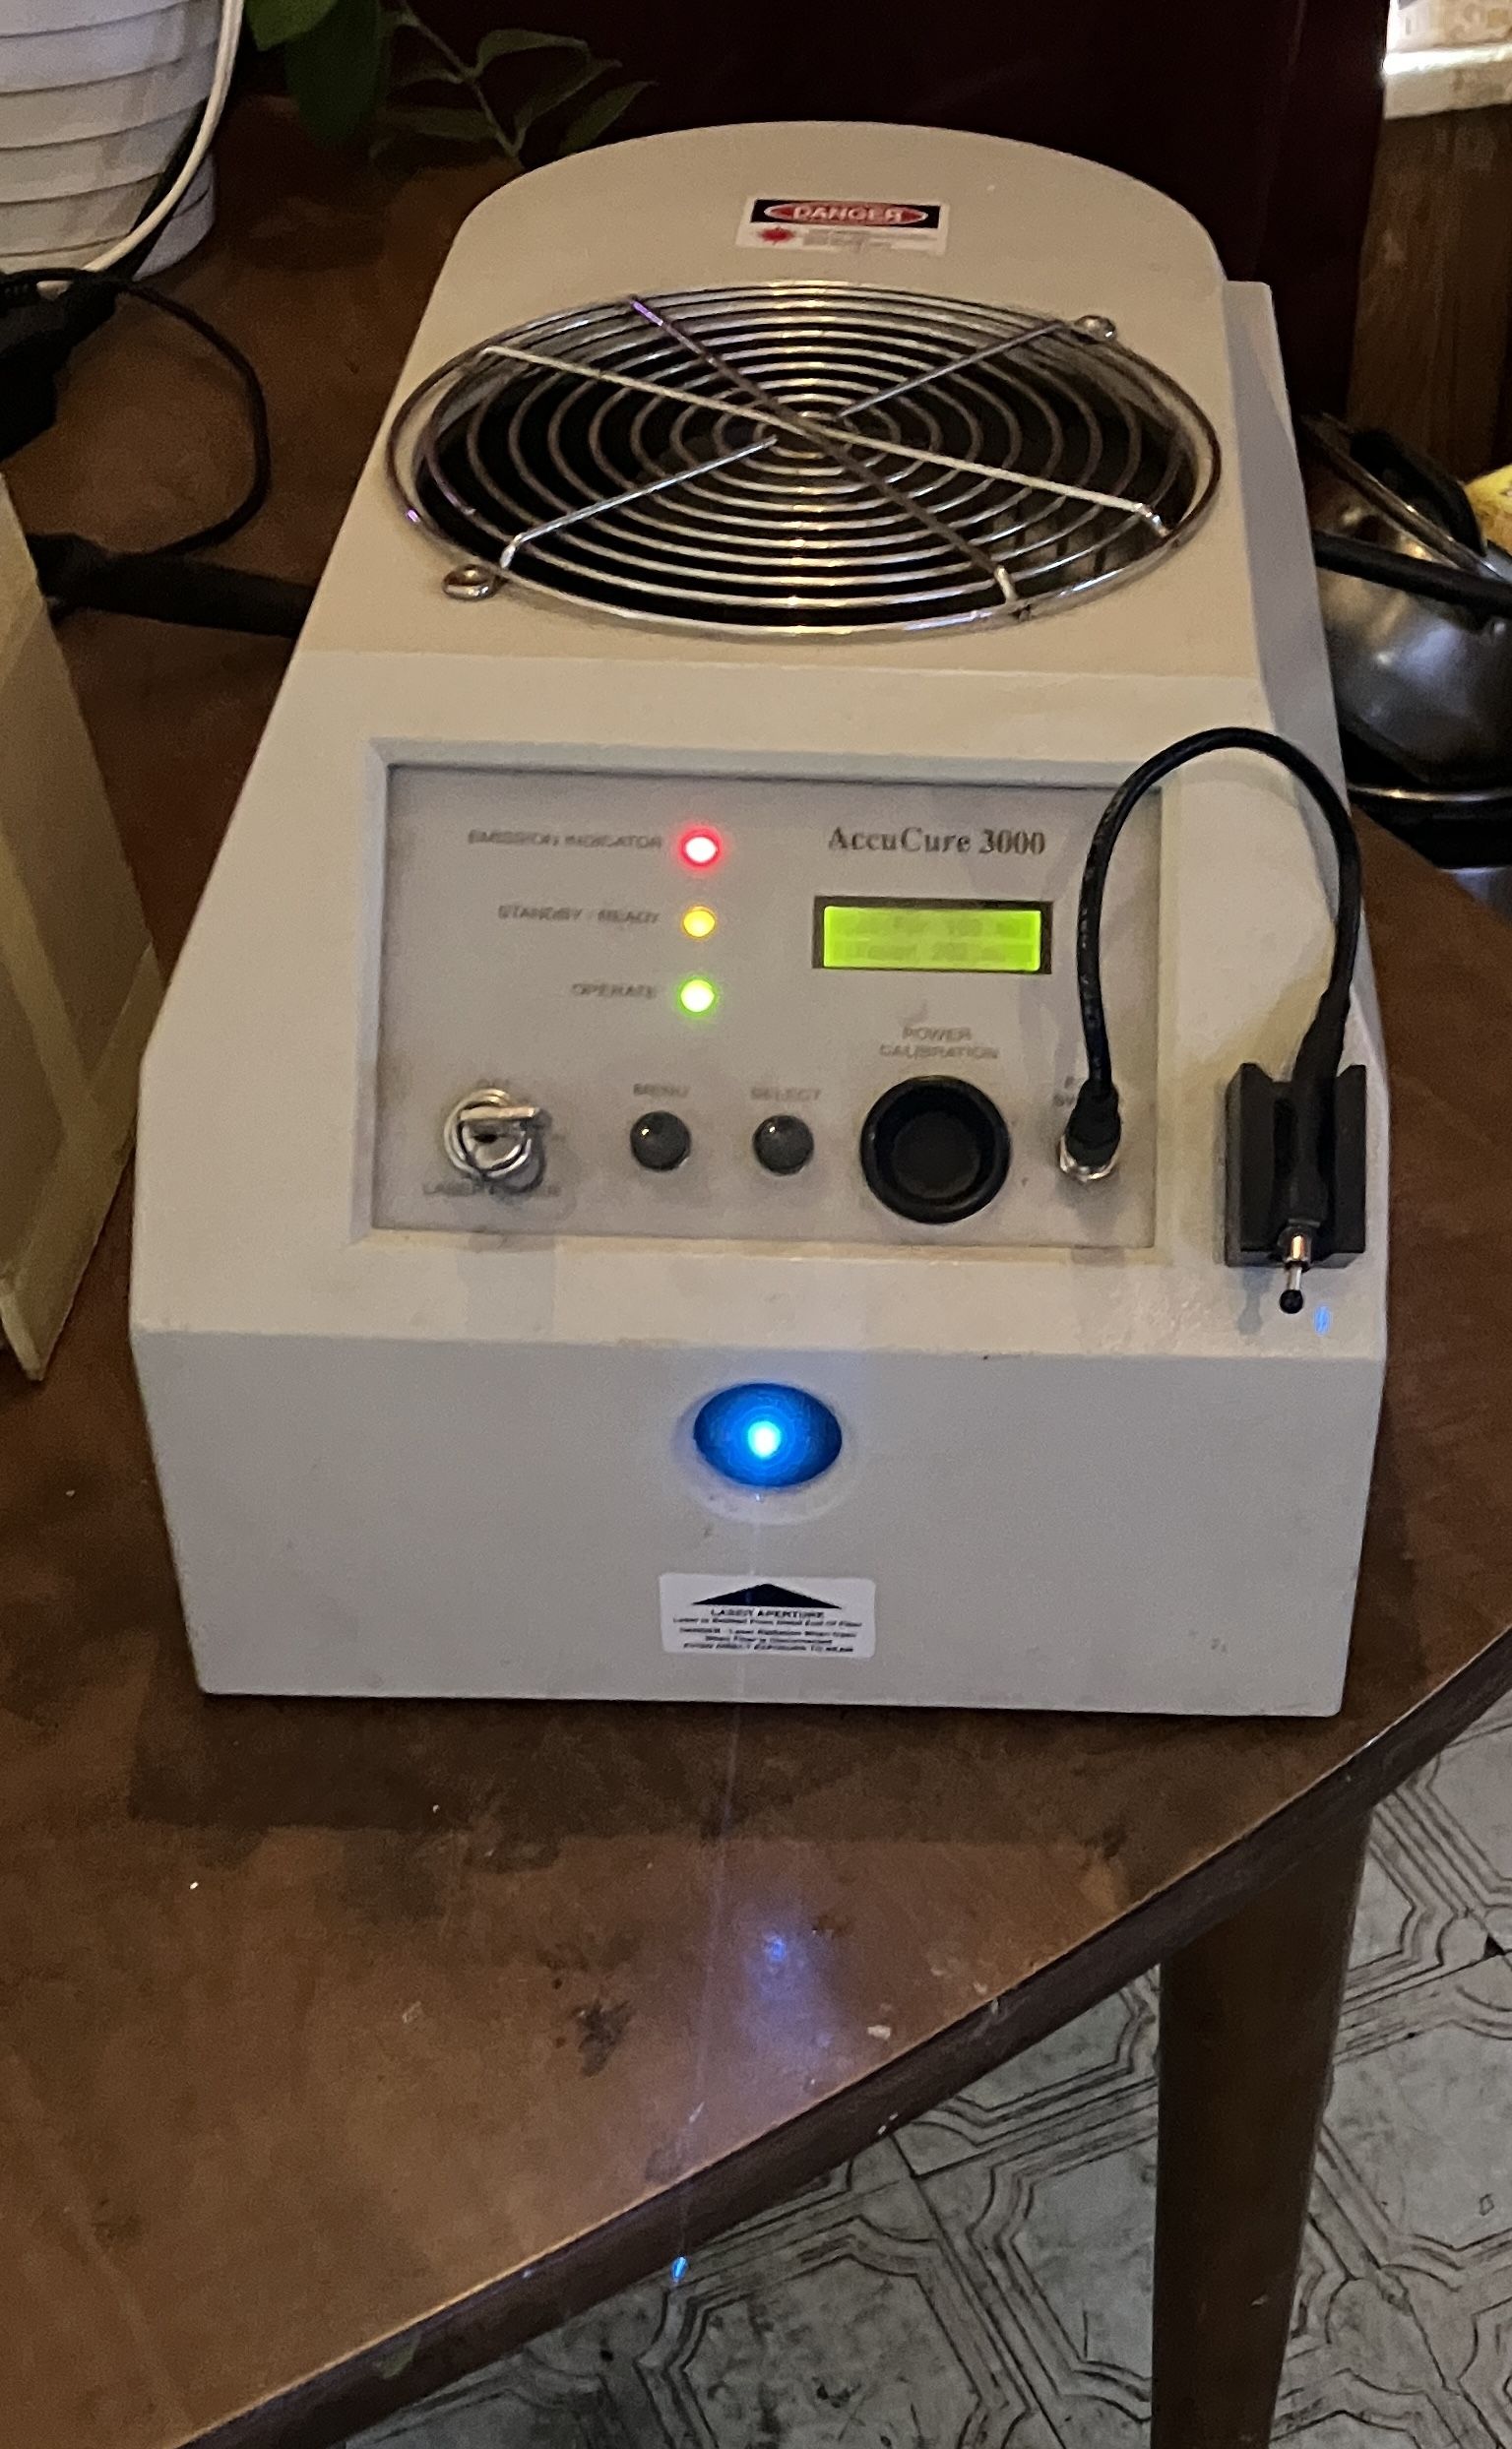
On the front of the laser is the output aperture, which is a SMA connector for attaching the fiber. Since we removed the focusing optic, laser light emits directly through this connector with no fiber connected. We may look into getting a different type of compatible fiber to use with laser since it already has the SMA connector. The control panel pretty straightforward. Once the rear AC power switch is turned on, the fan will spin at low speed and the internal controller and LCD screen will start up. The LCD screen will just display "Curing System" with the version number. Turning the laser power key-switch to the on position will enable the power supply, start warming up the tube, and then strike the tube about 30 seconds later. The laser emission LED also lights up once the tube is running. At this point, the system will be in standby mode with minimum laser emission, around 50mW. Laser is always being produced when the key-switch is turned on. However, the tube is run at standby current and the beam is blocked by an electronically-controlled shutter unless the foot switch is depressed. Once the foot switch input is closed, the tube is brought up to operating current, fan speed increases, and the beam shutter is opened. We replaced the momentary foot switch with a toggle switch to run the unit for longer periods of time.
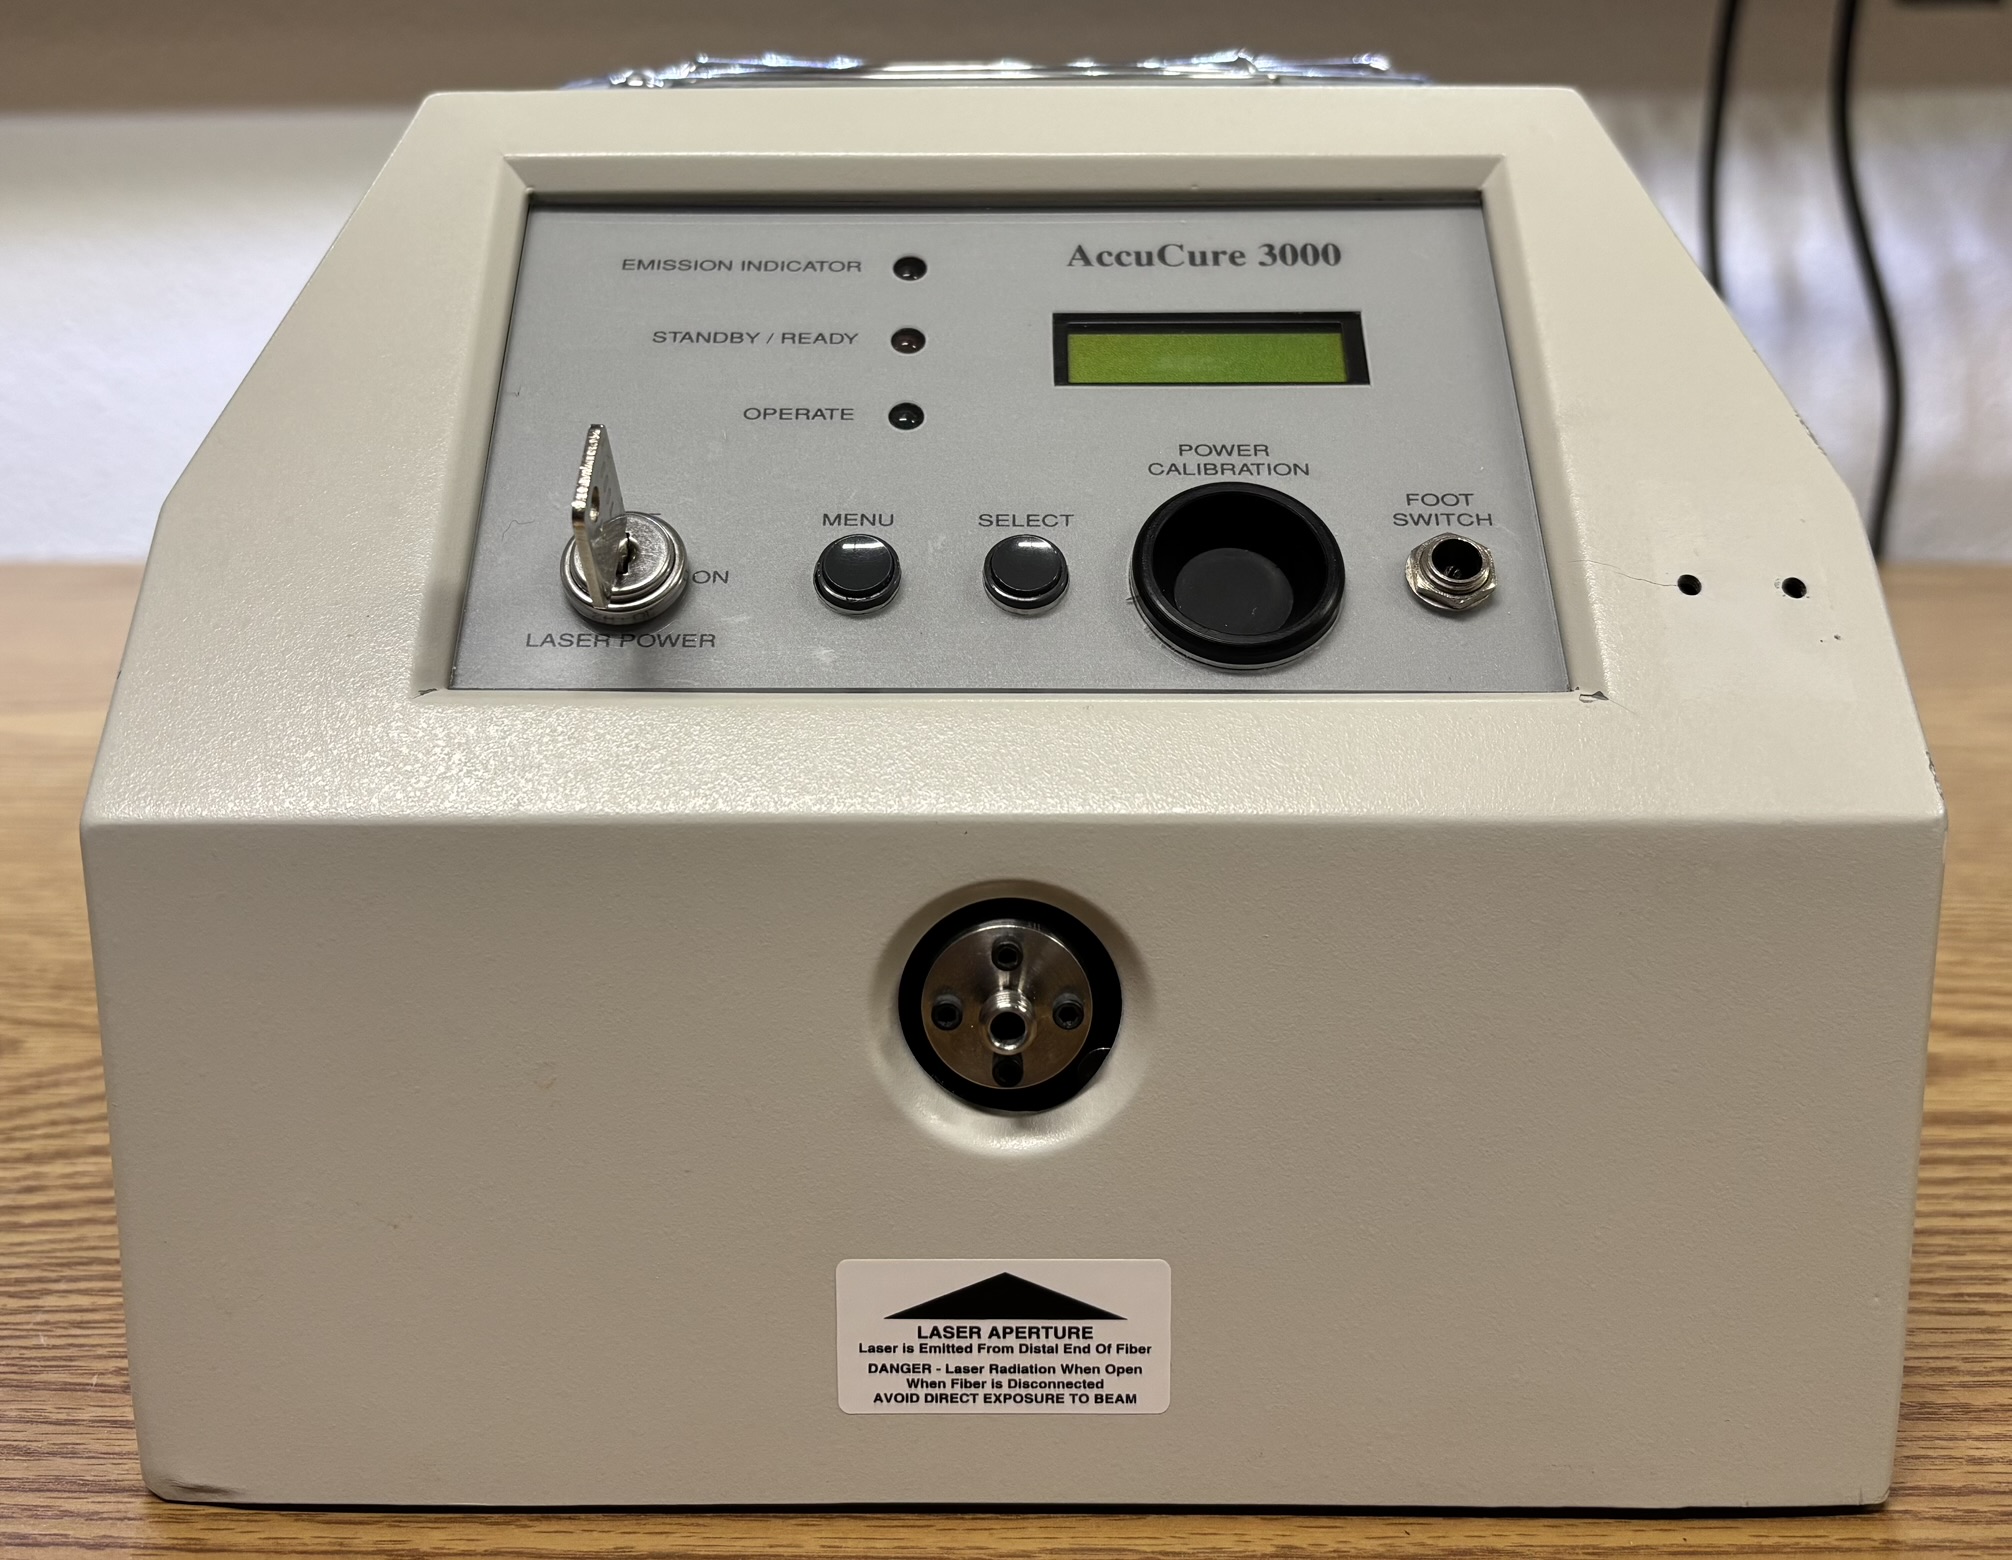
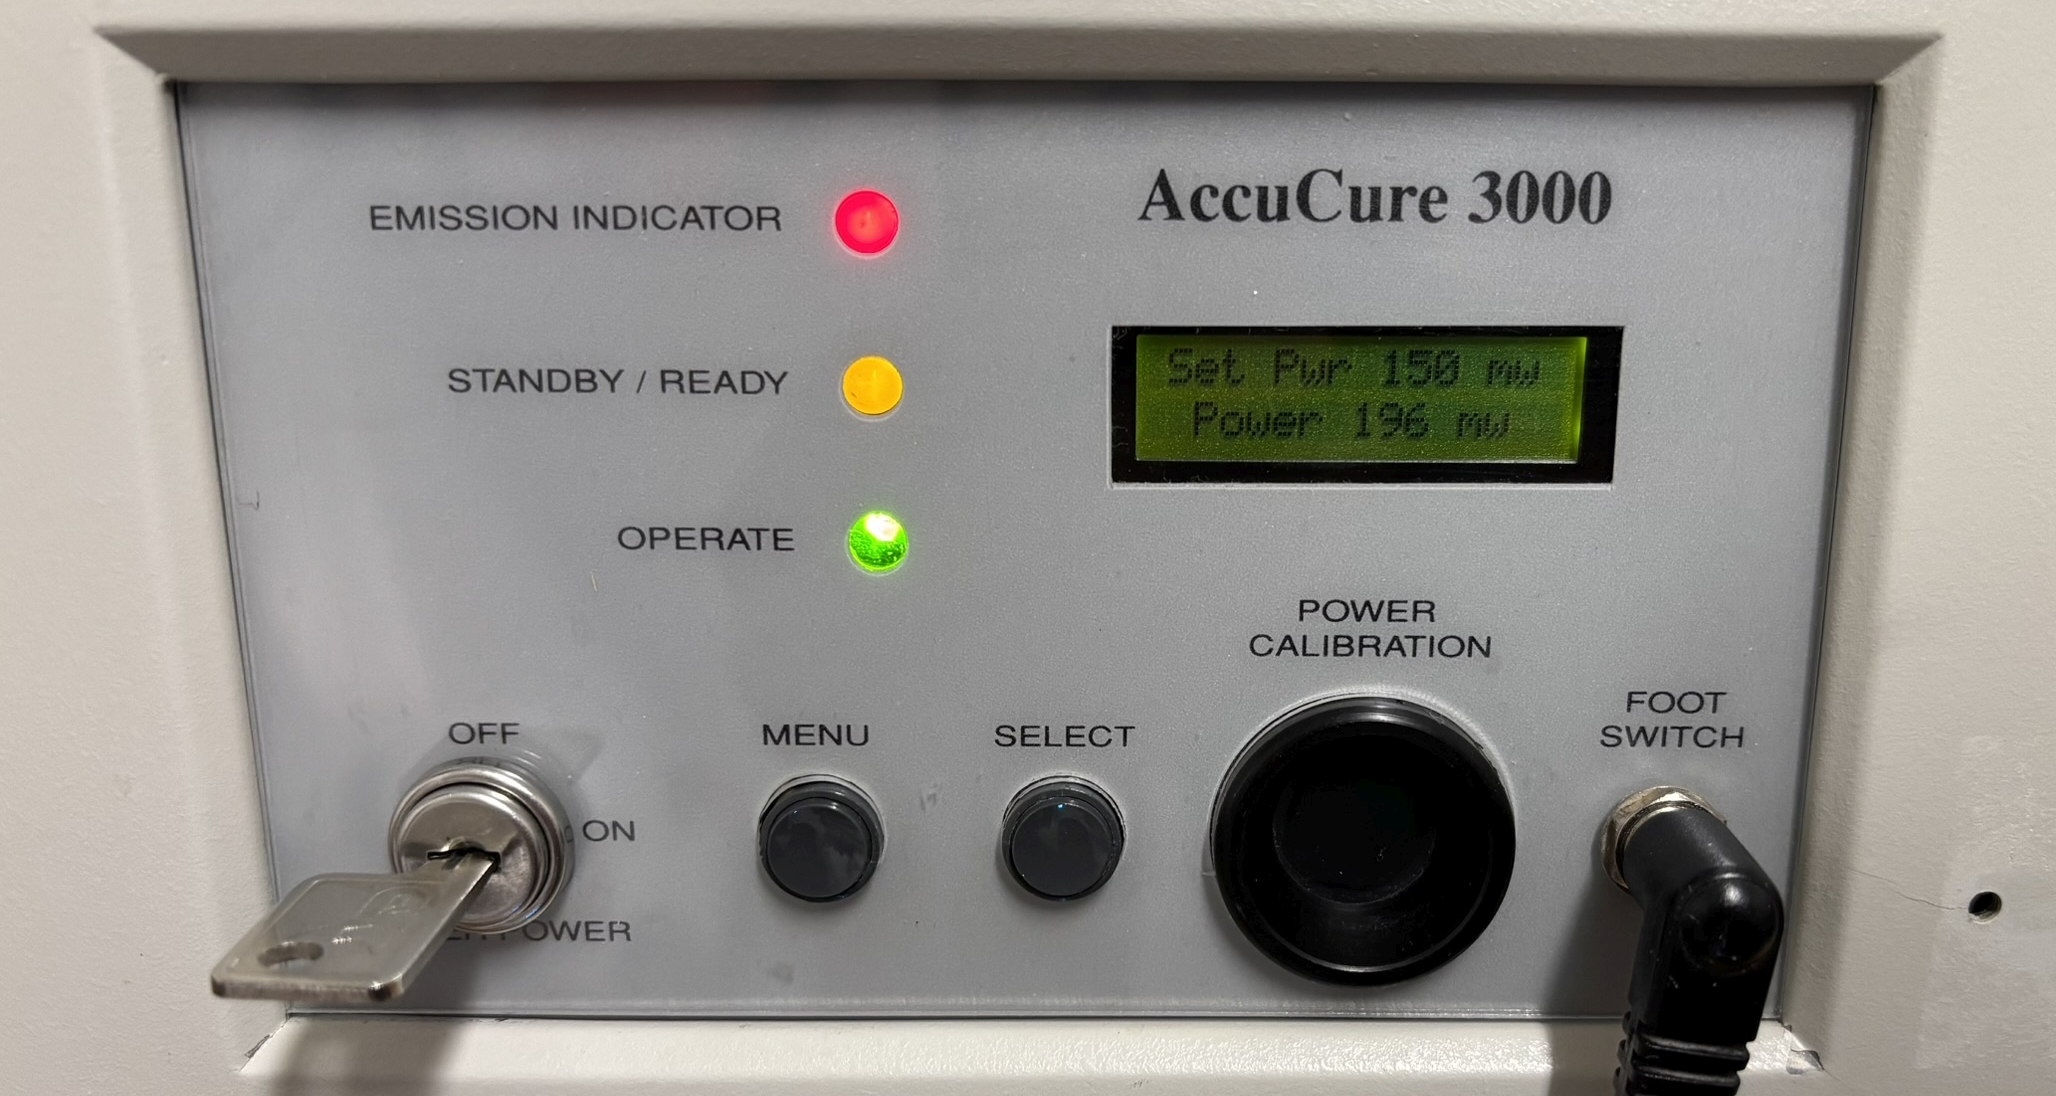
The menu button just cycles between two display modes, current and set output power, and runtime (hour counter). Our AccuCure 3000 has about 970 hours, which is not too bad for an argon ion tube. Also, much of that time was probably in standby mode at minimum tube current. As mentioned earlier, the laser tube was only brought up to operating current for a few seconds at a time during the curing process. The select button cycles through output power in increments of 25mW or 50mW. The lowest setting is 100mW and the highest is 300mW, not bad for an argon ion laser! We recommend operating an old ion laser like this right in the middle of its output power range. This ensures you don't stress the system, but also keep the tube in good health. You can learn more about that at the bottom of this page. Three status LEDs clearly indicate the current state of the laser. The most interesting part of the front panel is the power calibration photodiode. The intention was for the operator to place the output window of the curing wand right up to the photodiode to calibrate the output power of the laser. We aren't sure how often that procedure was supposed to be completed, but it's pretty interesting. It probably has not been completed in a while because the output power overshoots the set power by about 50mW.
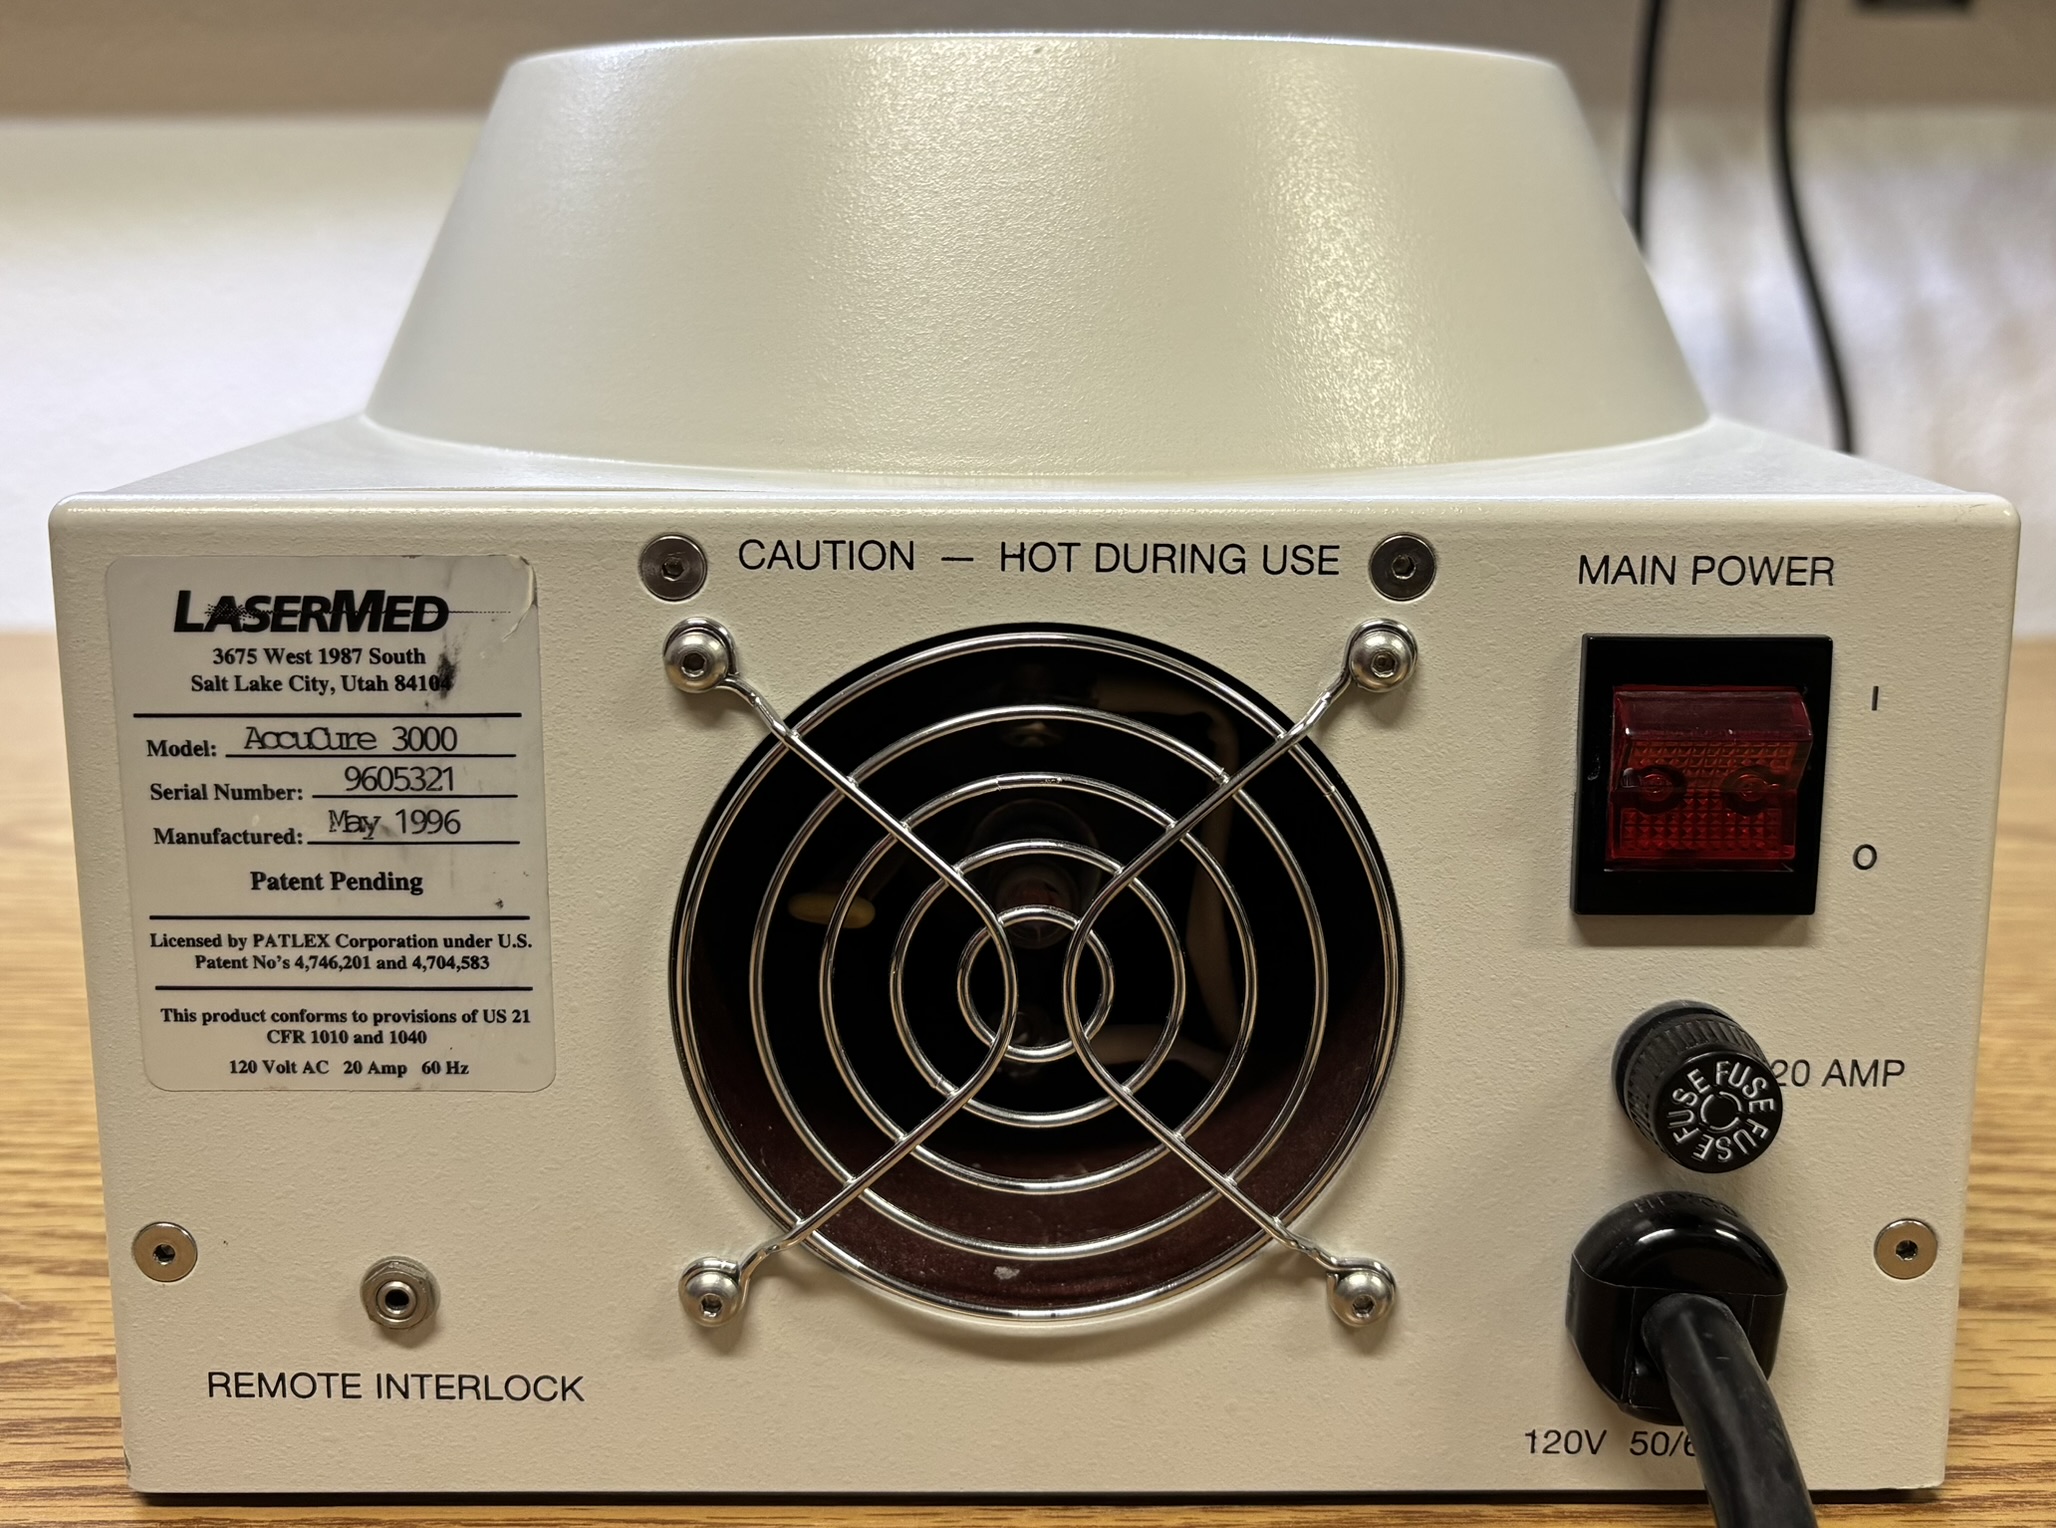
On the back of the system is the AC power switch, 20 A fuse, and power cable. This system will easily pull 1,500+ watts of electrical power and we noticed the power cable becoming slightly warm during extended use. We are surprised that they were able to get away with the standard NEMA-15 plug, considering the fact that this laser system will easily trip a 15 A breaker! To run this laser system at full power for extended periods of time, it should be connected to a 20 A circuit. There is a small remote interlock connector on the back. The laser runs with nothing connected so perhaps it was bypassed internally. It's great to see a product from 1996 that still works exceptionally well!
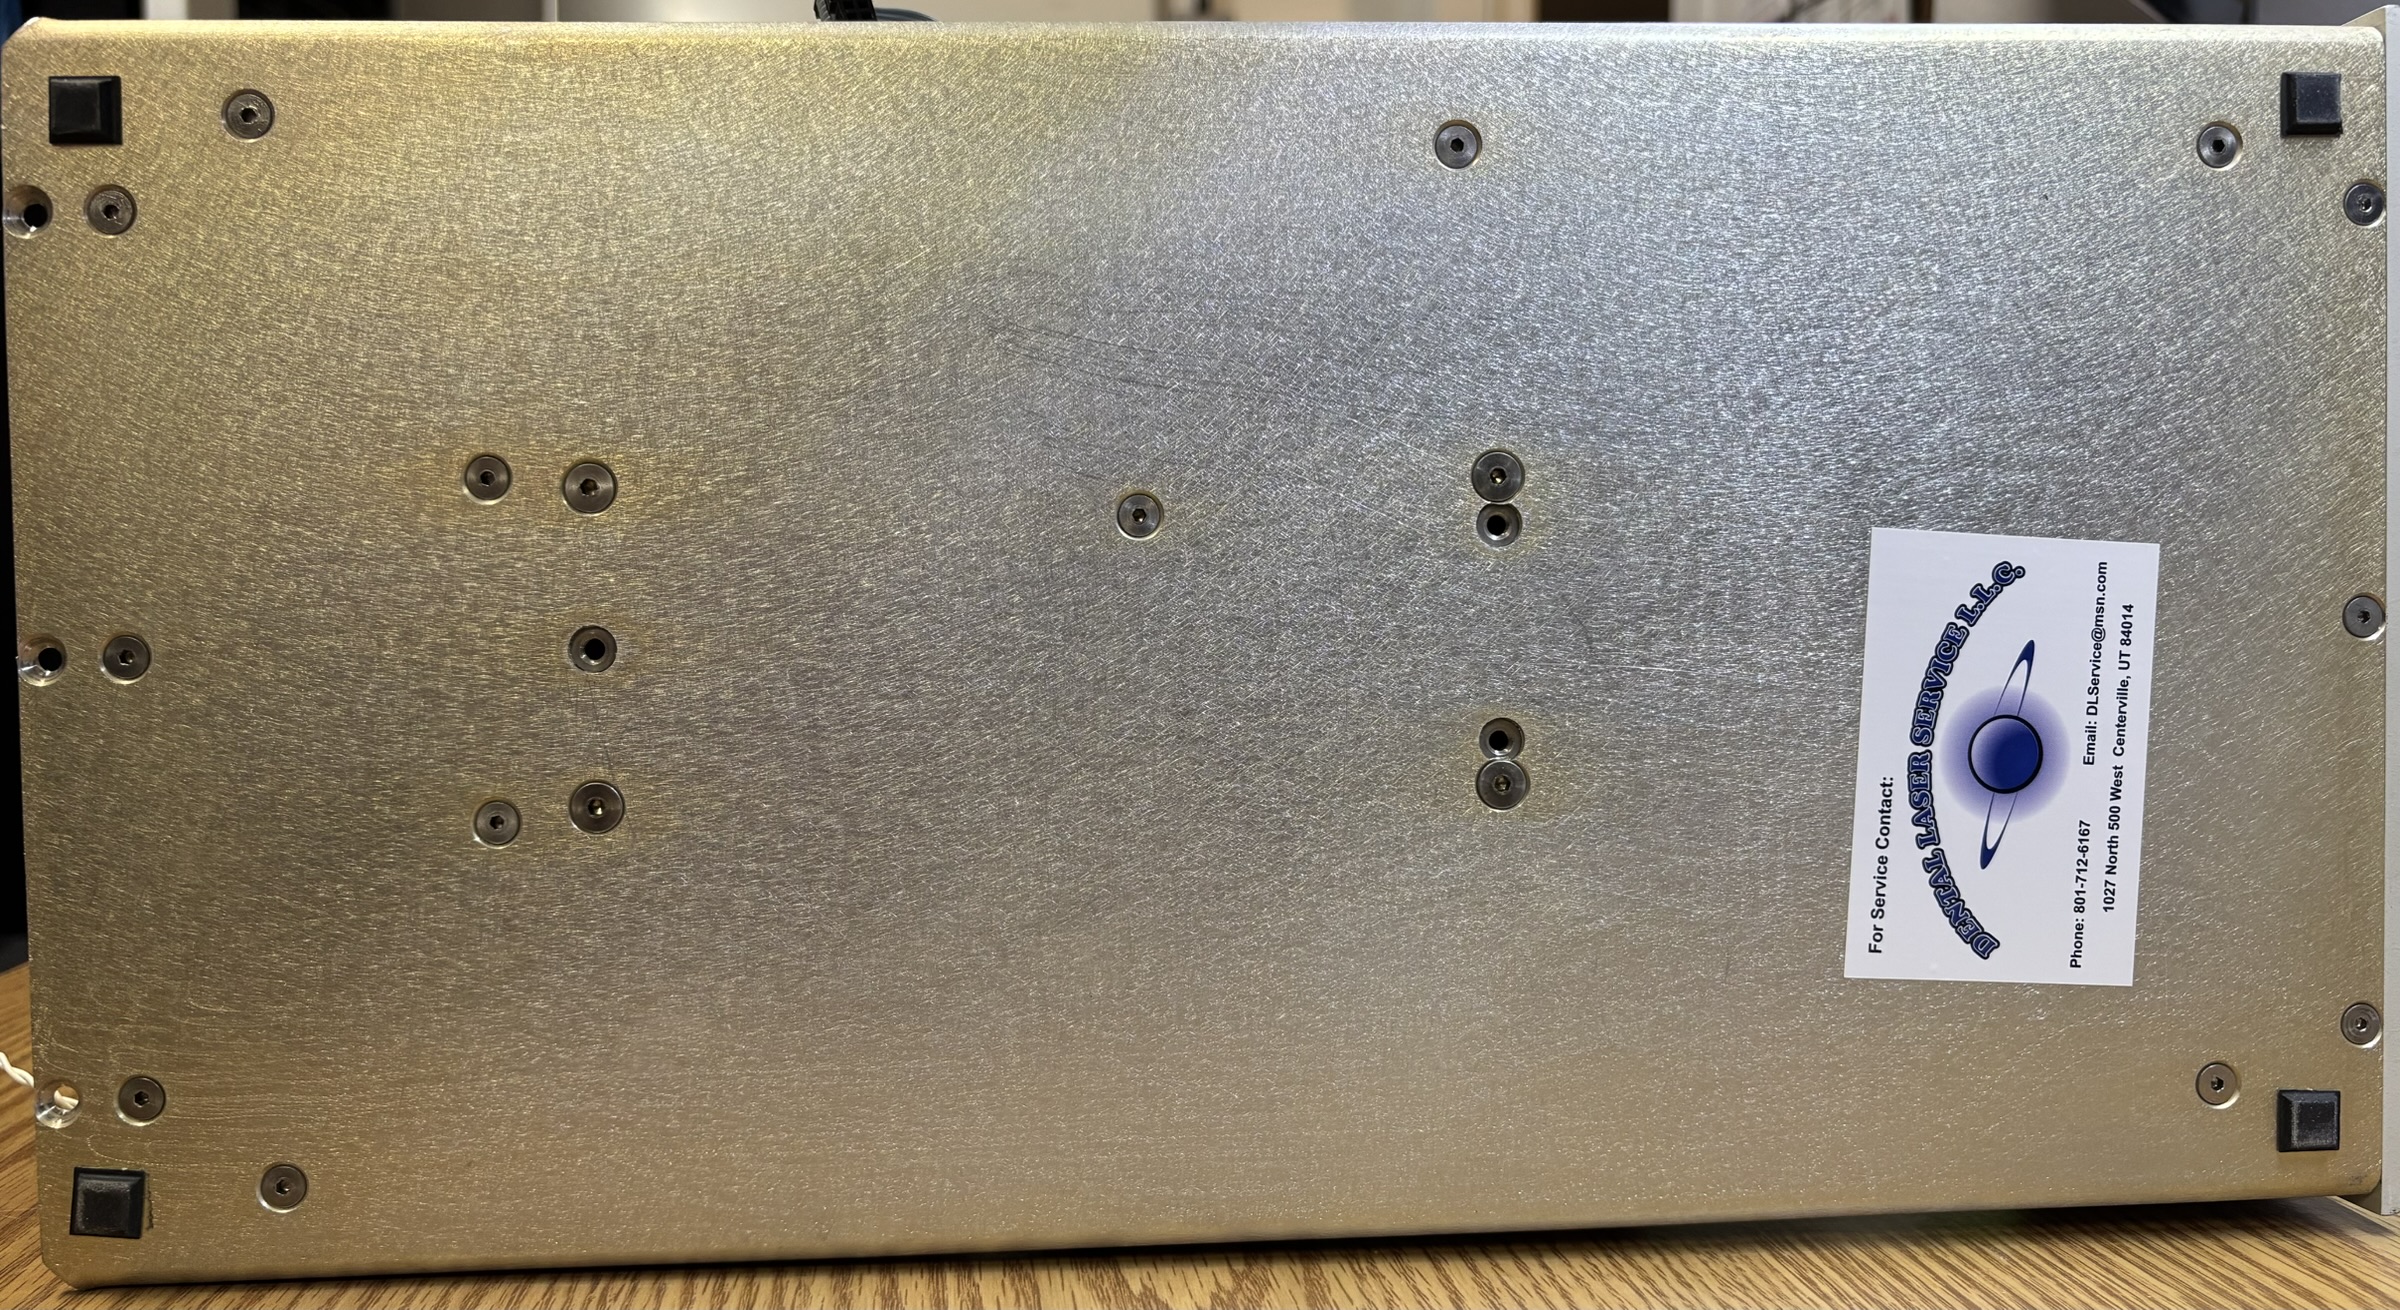
The bottom of the system is pretty unassuming. To remove the top cover, you only need to remove the three hex screws on the bottom that are closest to the front, and the four hex screws on the back (not including the fan grille). The Dental Laser Service, LLC. sticker is neat. They are probably the ones who performed the modifications that we'll discuss later.
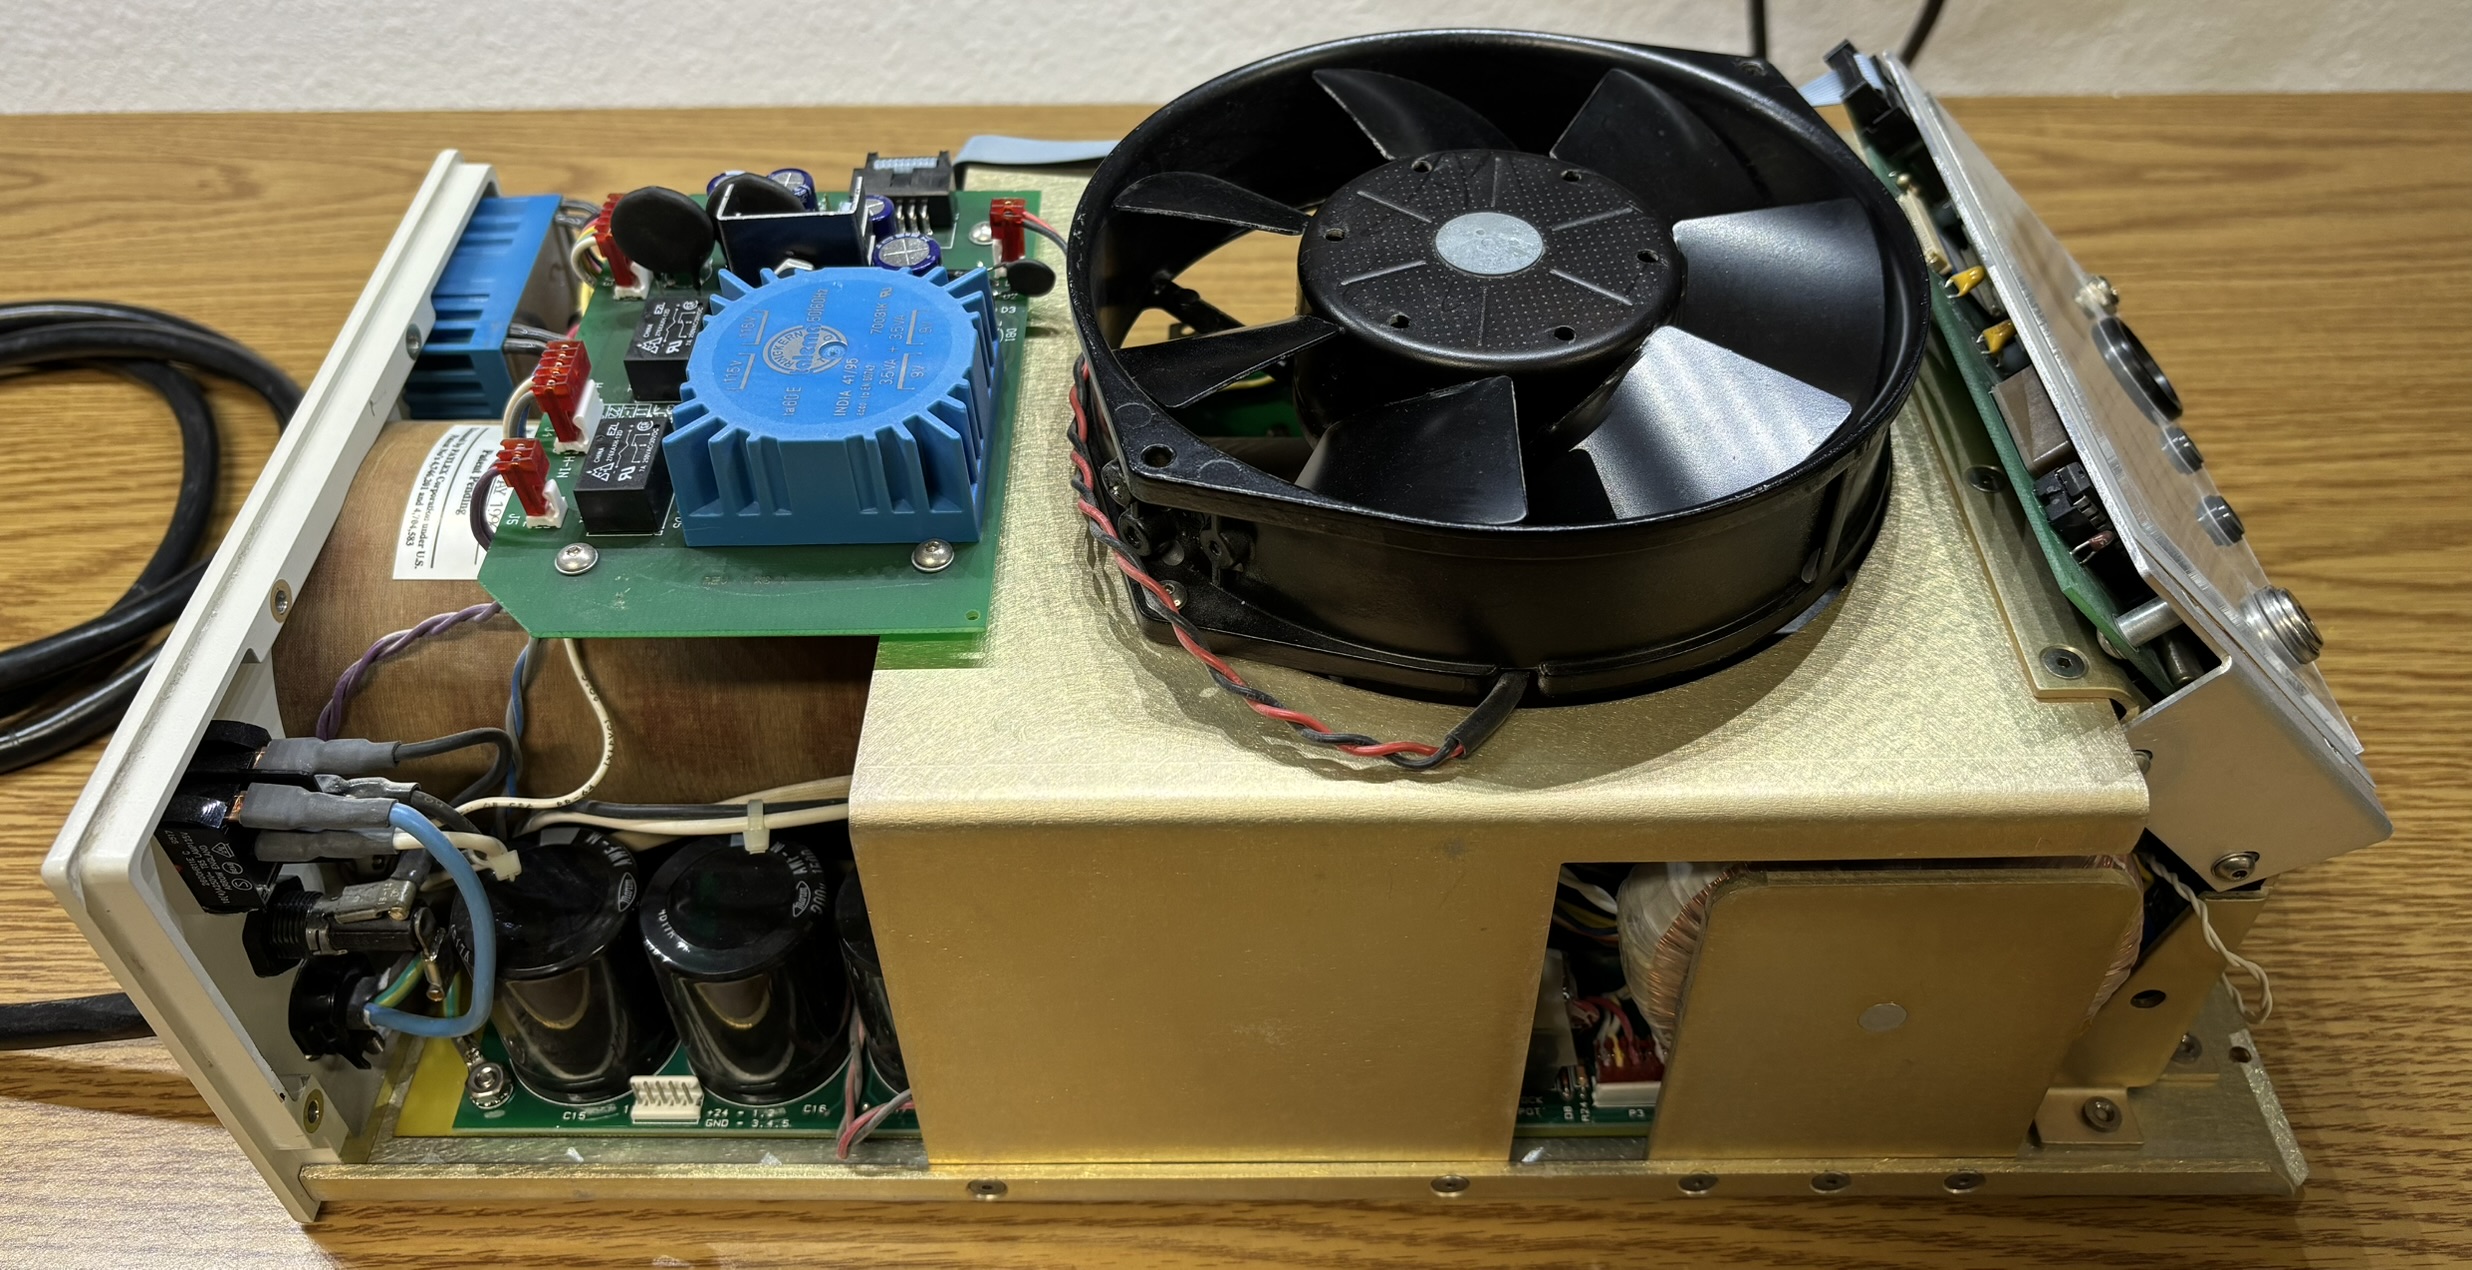
With the top cover removed, we can see the large fan, small circuit board on top and some of the internal components. However, most of the parts are obscured by the metal cover to which the fan is mounted.
On the front with the cover removed, we can see the output aperture, which we removed to extract the small lens. Also, there are some connections on the bottom of the user interface/control board. Some of these pins are left unpopulated. The pair of white wires with the red connector goes to the beam shutter solenoid. The flat-flex ribbon cable goes to the output measurement board below.
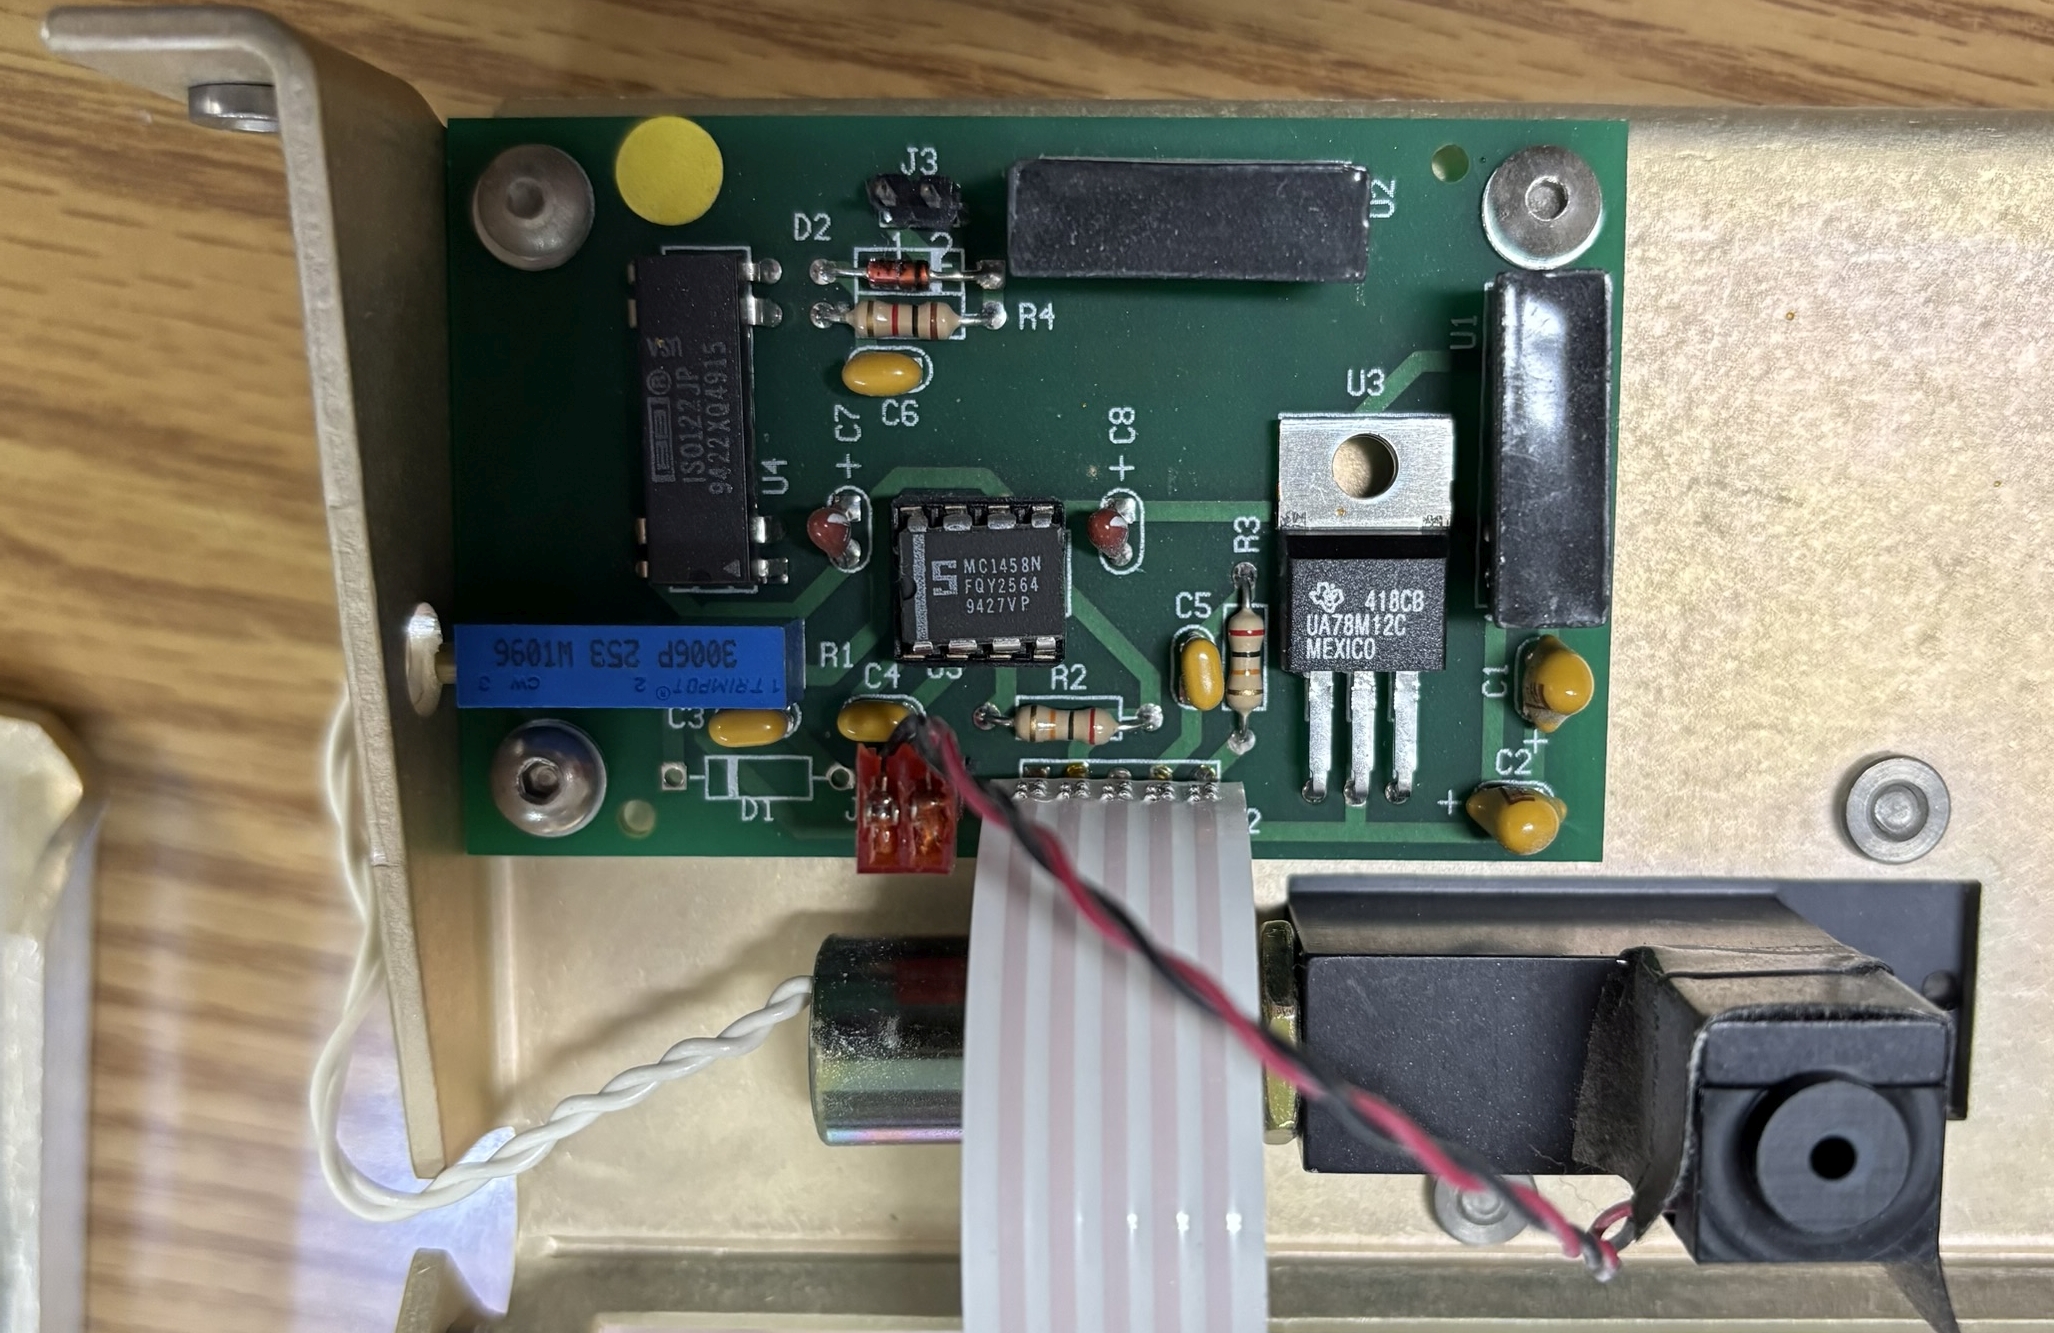
In the image below, you can see the beam shutter assembly with the solenoid. There is also a photodiode which connects to a circuit board mounted above it. Components on the board include a UA78M linear regulator, ISO122 isolation amplifier, and an MC1458N operational amplifier. This board likely amplifies the signal from the photodiode and sends it back to the user interface board over the ribbon cable. There is a potentiometer as well for calibration (presumably). Additionally, there is a yellow and black pair of wires that connects to J3 on this board and back to the main tube driver board.
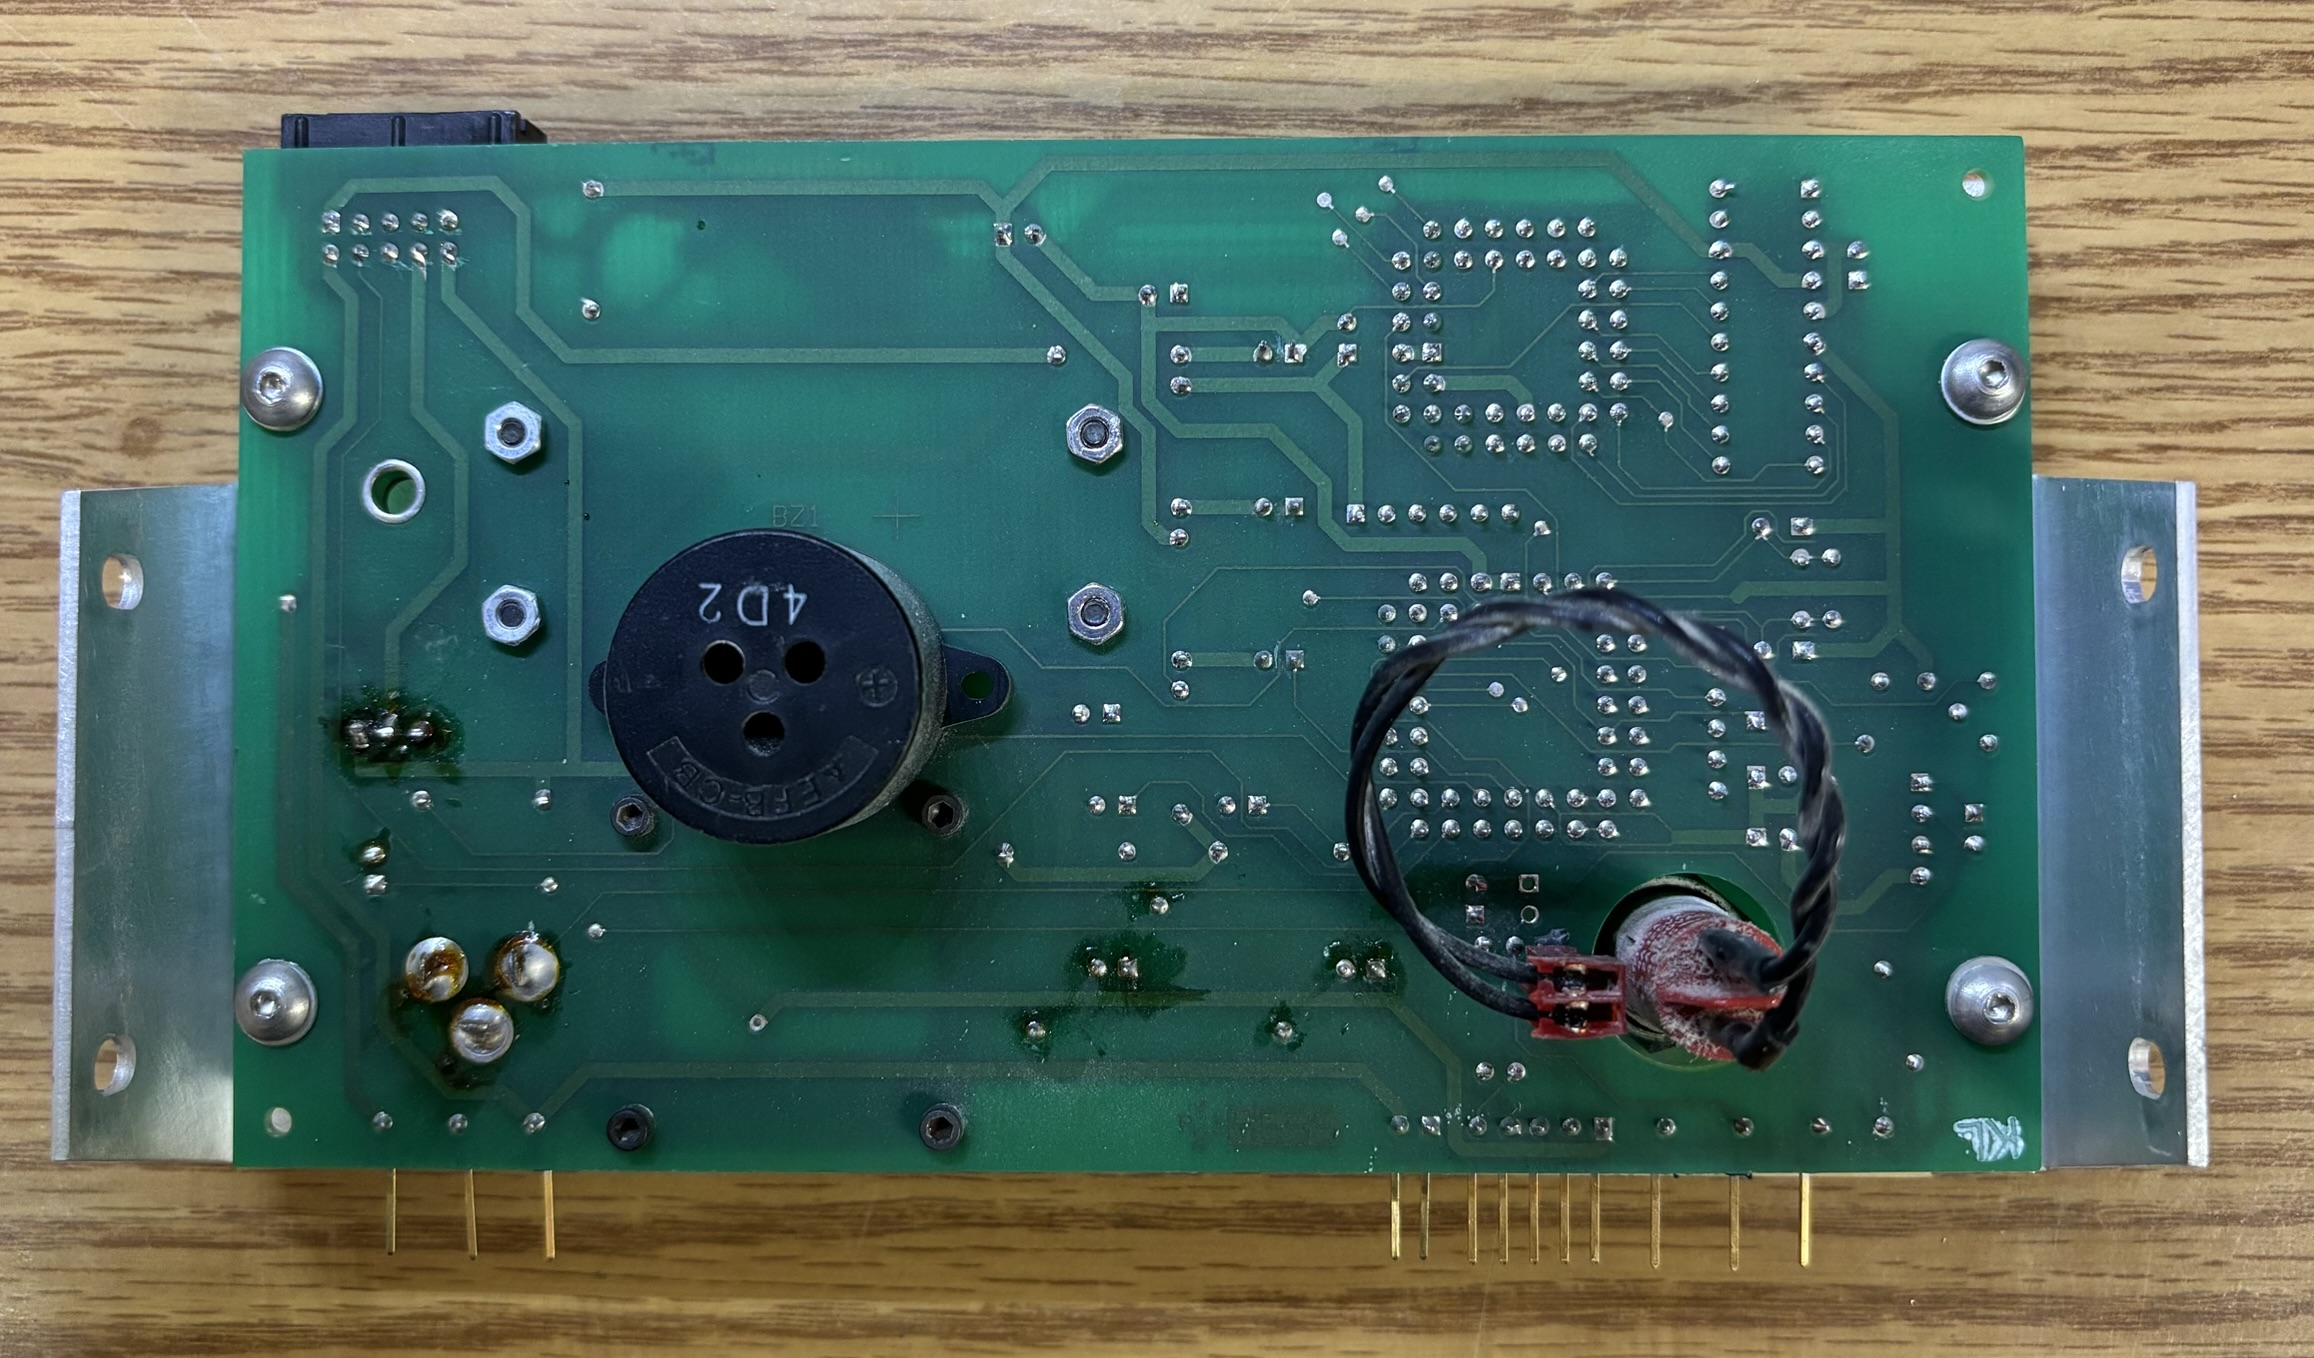
There's not much to see on the back of the control panel board, other than the key-switch, buzzer, and some messy solder joints. We actually de-soldered and removed the buzzer due to the fact that it sounds loudly every 5 seconds while the output is enabled. This was likely a reminder for the dentist during the curing process, but is very annoying during continuous operation of the laser. The buzzer had to go or else we would have gone insane!
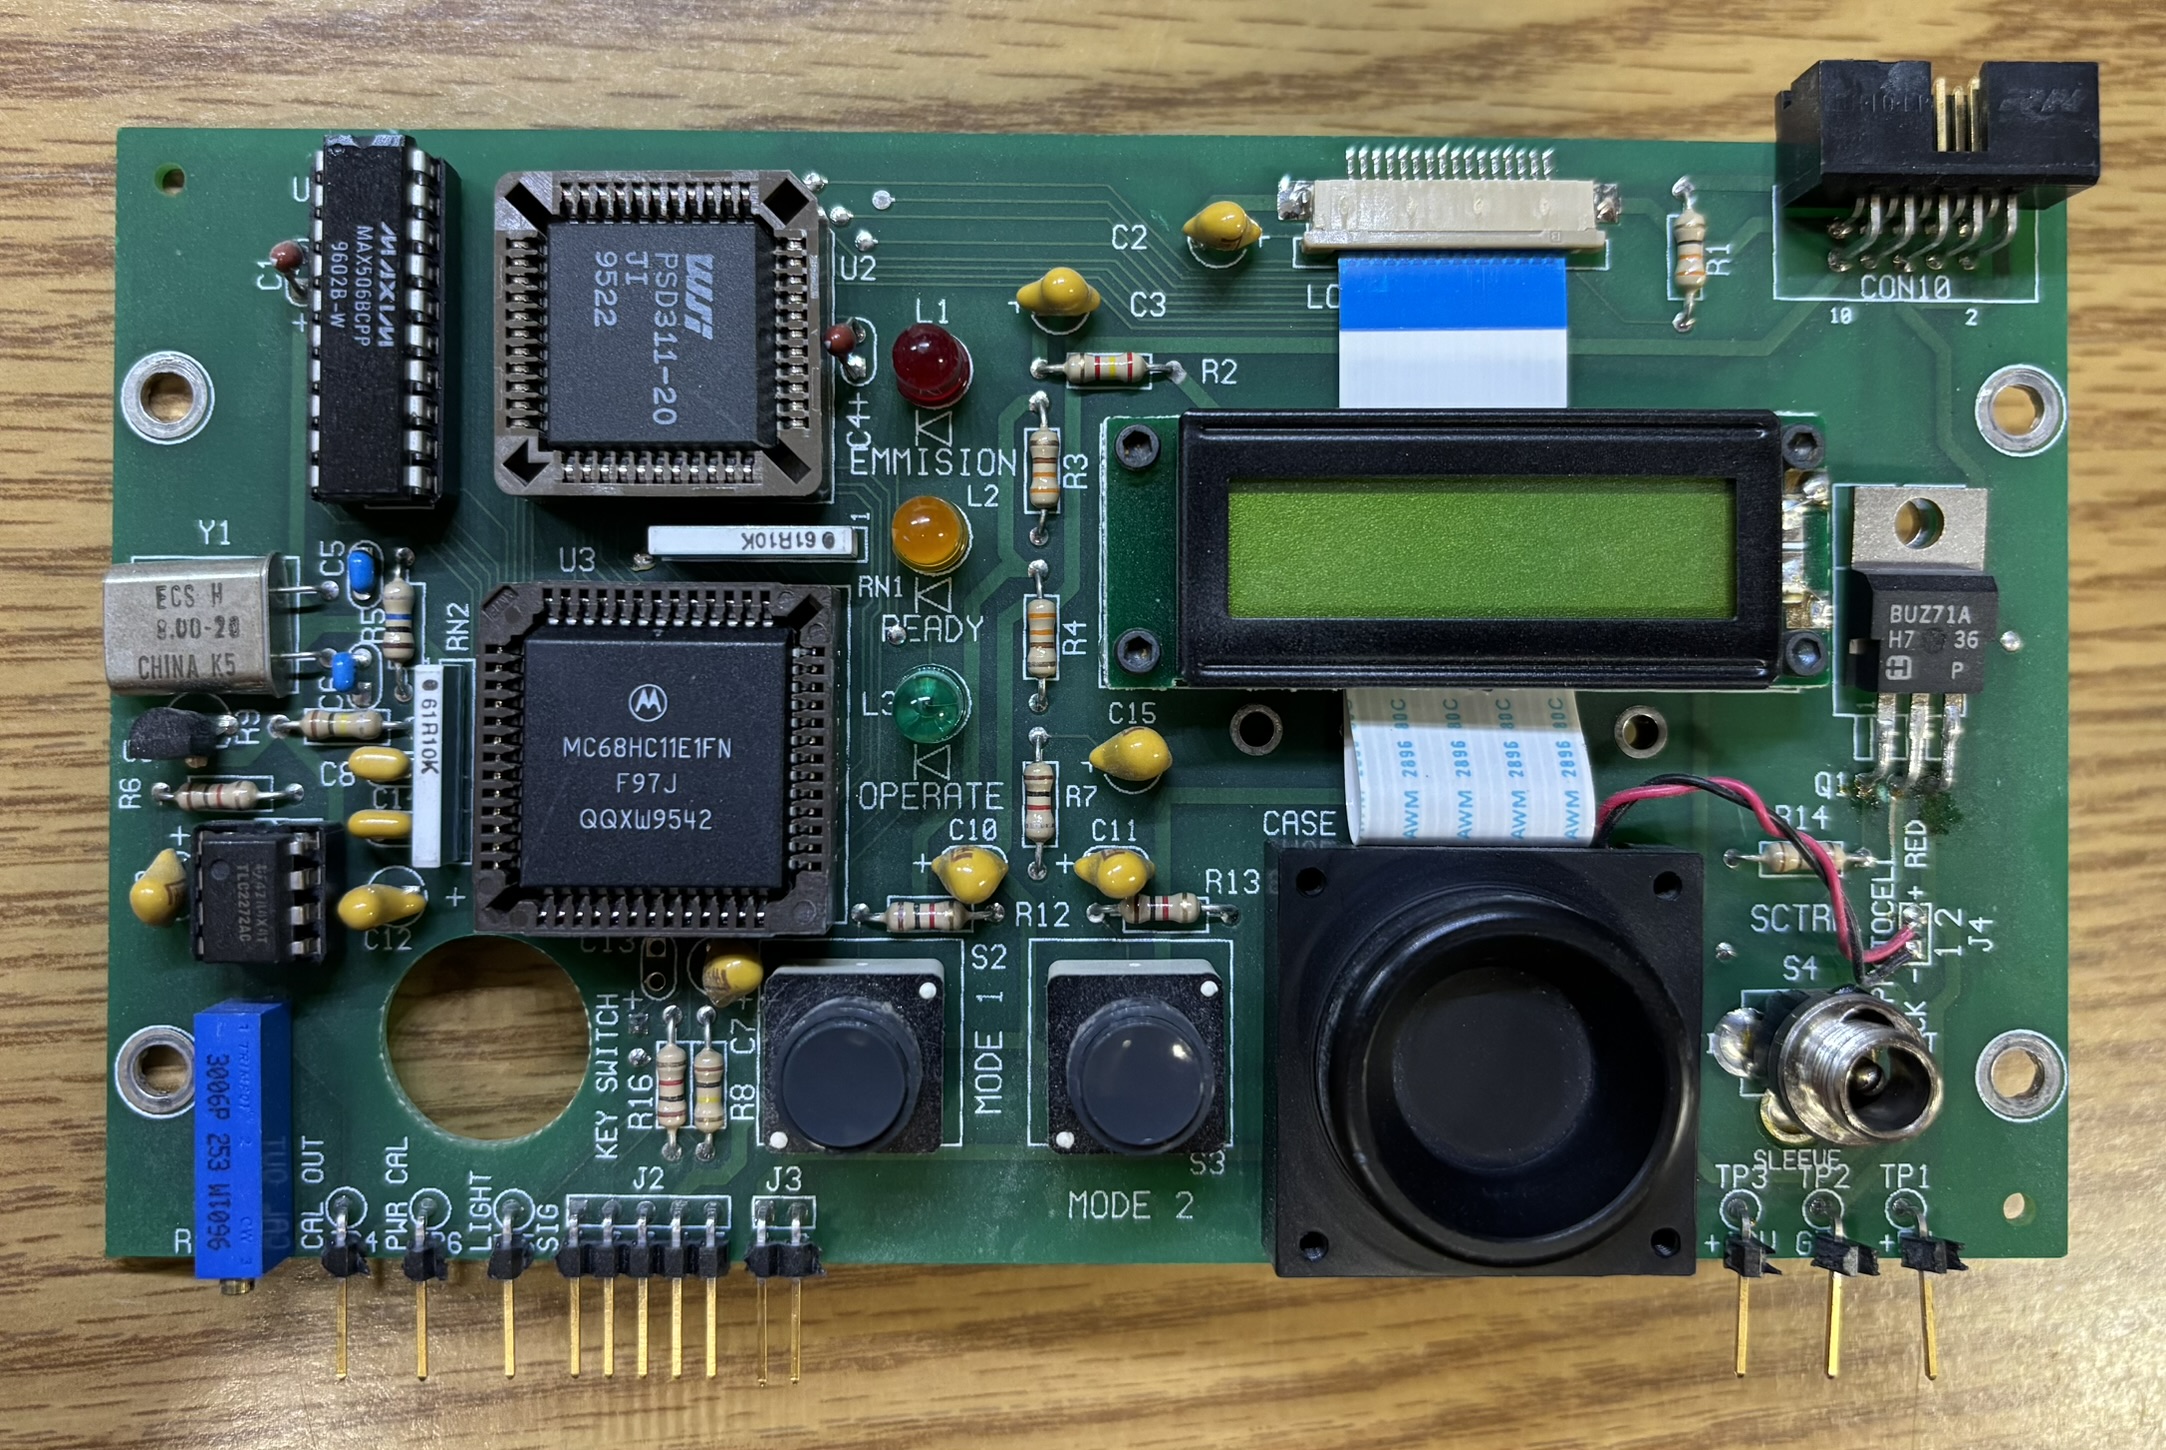
The digital control and user interface board follows a classic design centered around a MC68HC11E 8-bit microcontroller. Even that was probably overkill for the ridiculously simple digital interface on this laser! In addition to the MCU, there is a PSD311 microcontroller peripheral chip that contains SRAM, EPROM, I/O, and some other miscellaneous features. The MAX506BCPP is a quad 8-bit DAC. The IC nearest to the potentiometer is a TLC2272 operational amplifier. The potentiometer is likely for calibration and might be used in conjunction with the calibration pins nearby. It's a pretty simple board with mostly through-hole parts. The BUZ71A power mosfet looks like it was replaced at some point based on the messy solder joints and etched trace below it.
Removing the user interface board and mounting bracket gives us our first glimpse at the front of the tube.
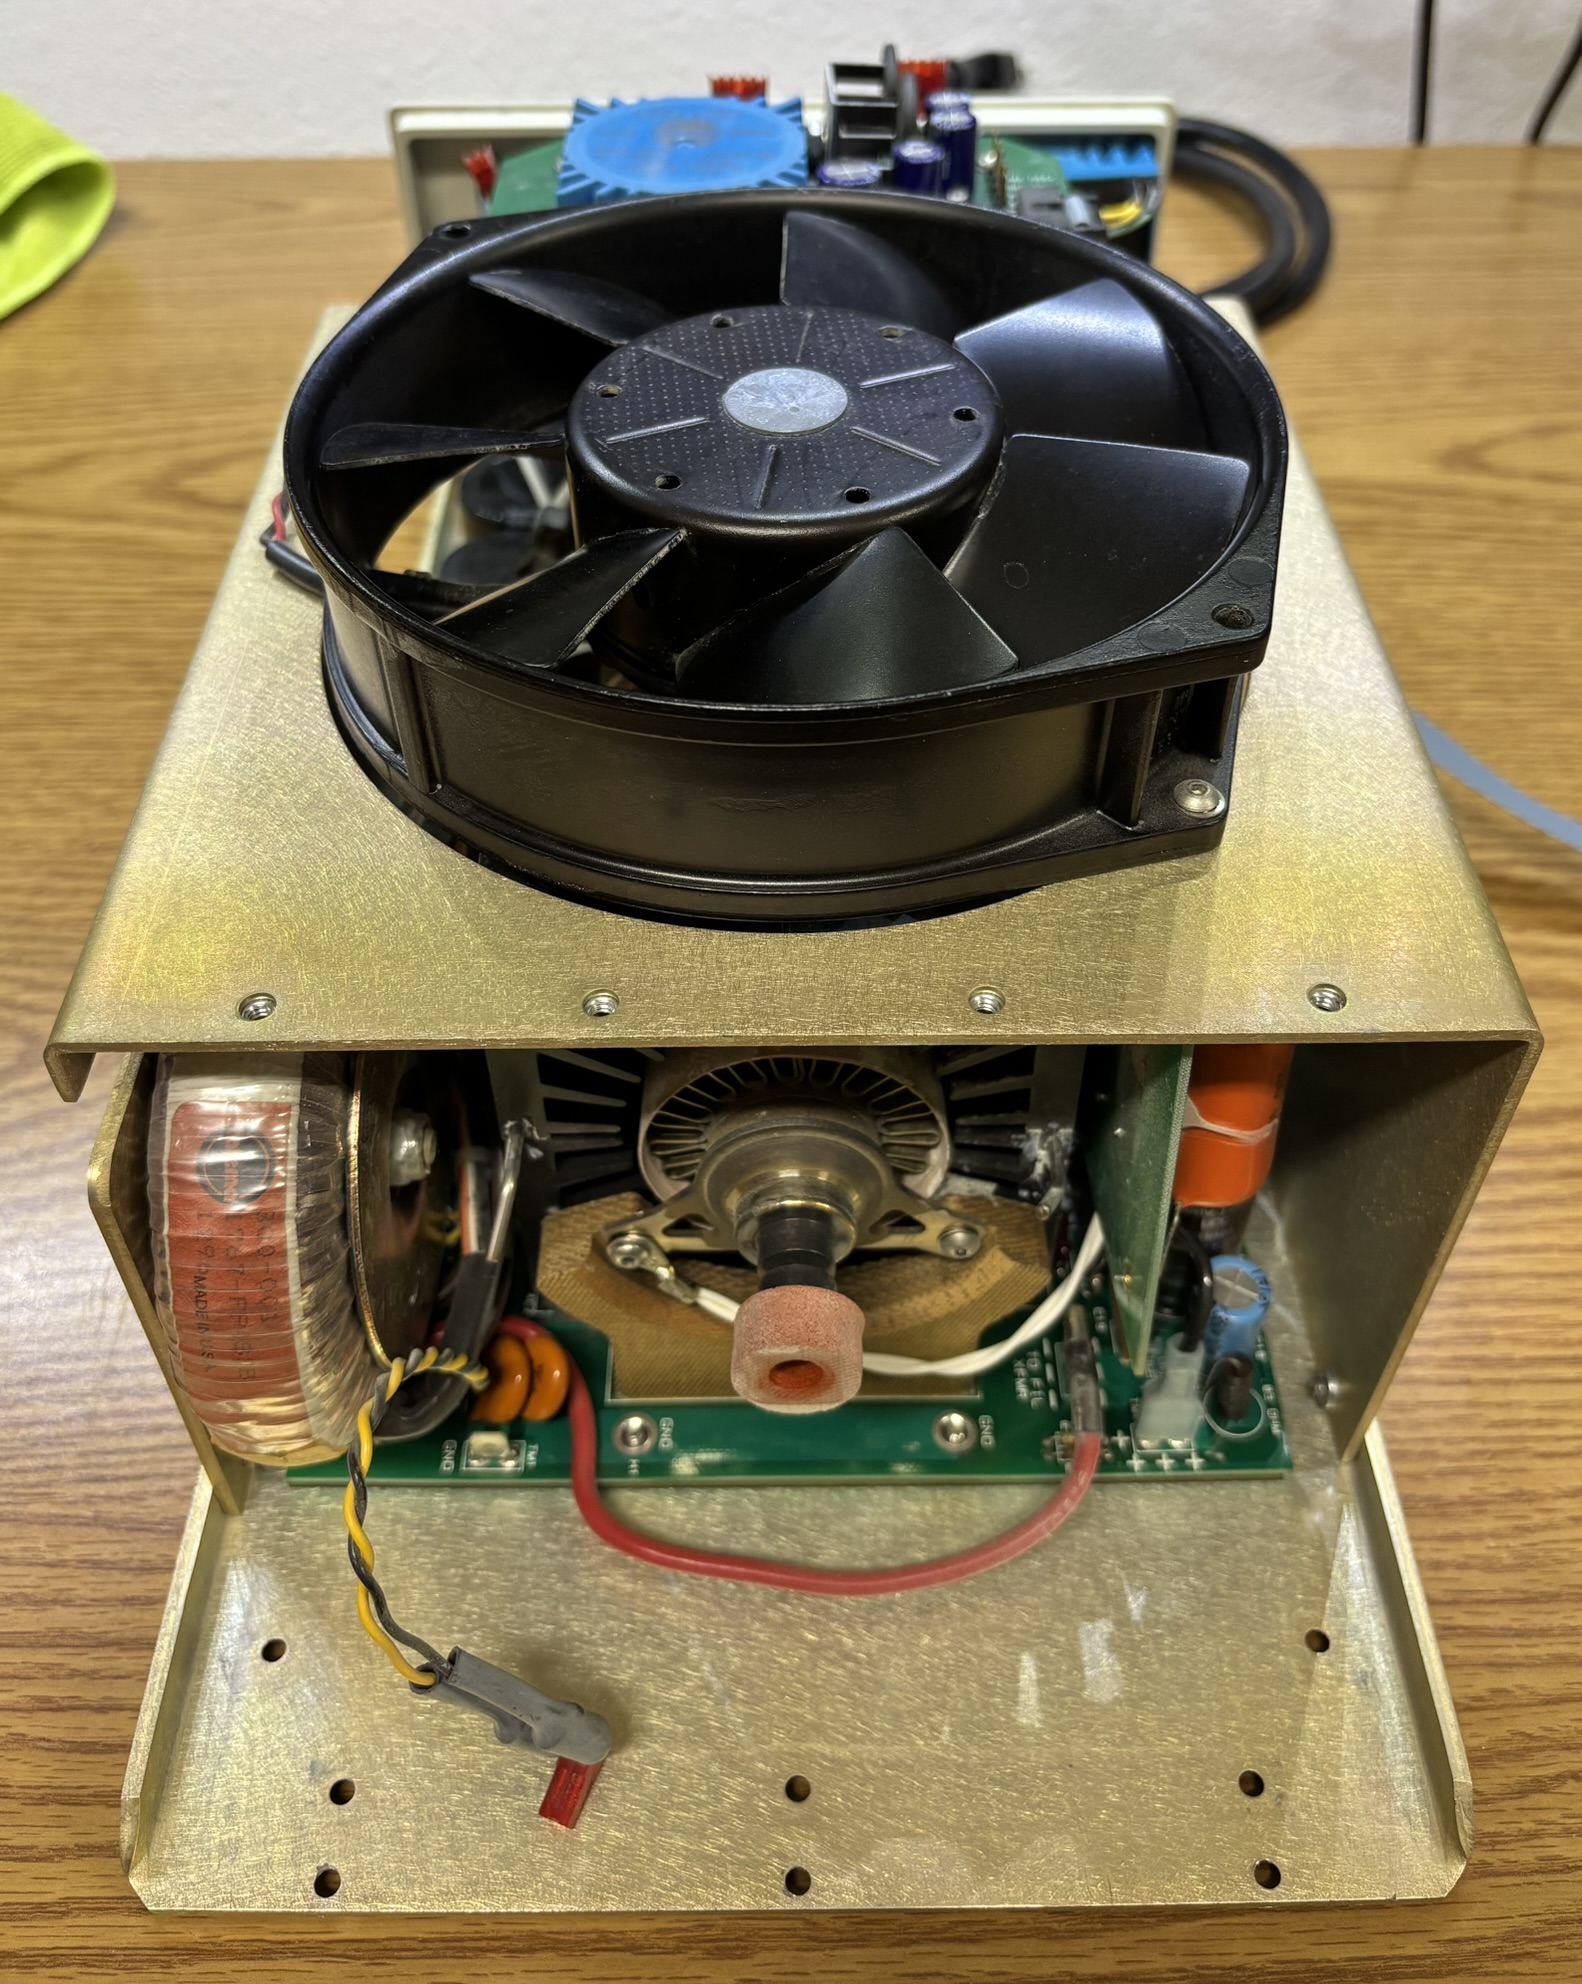
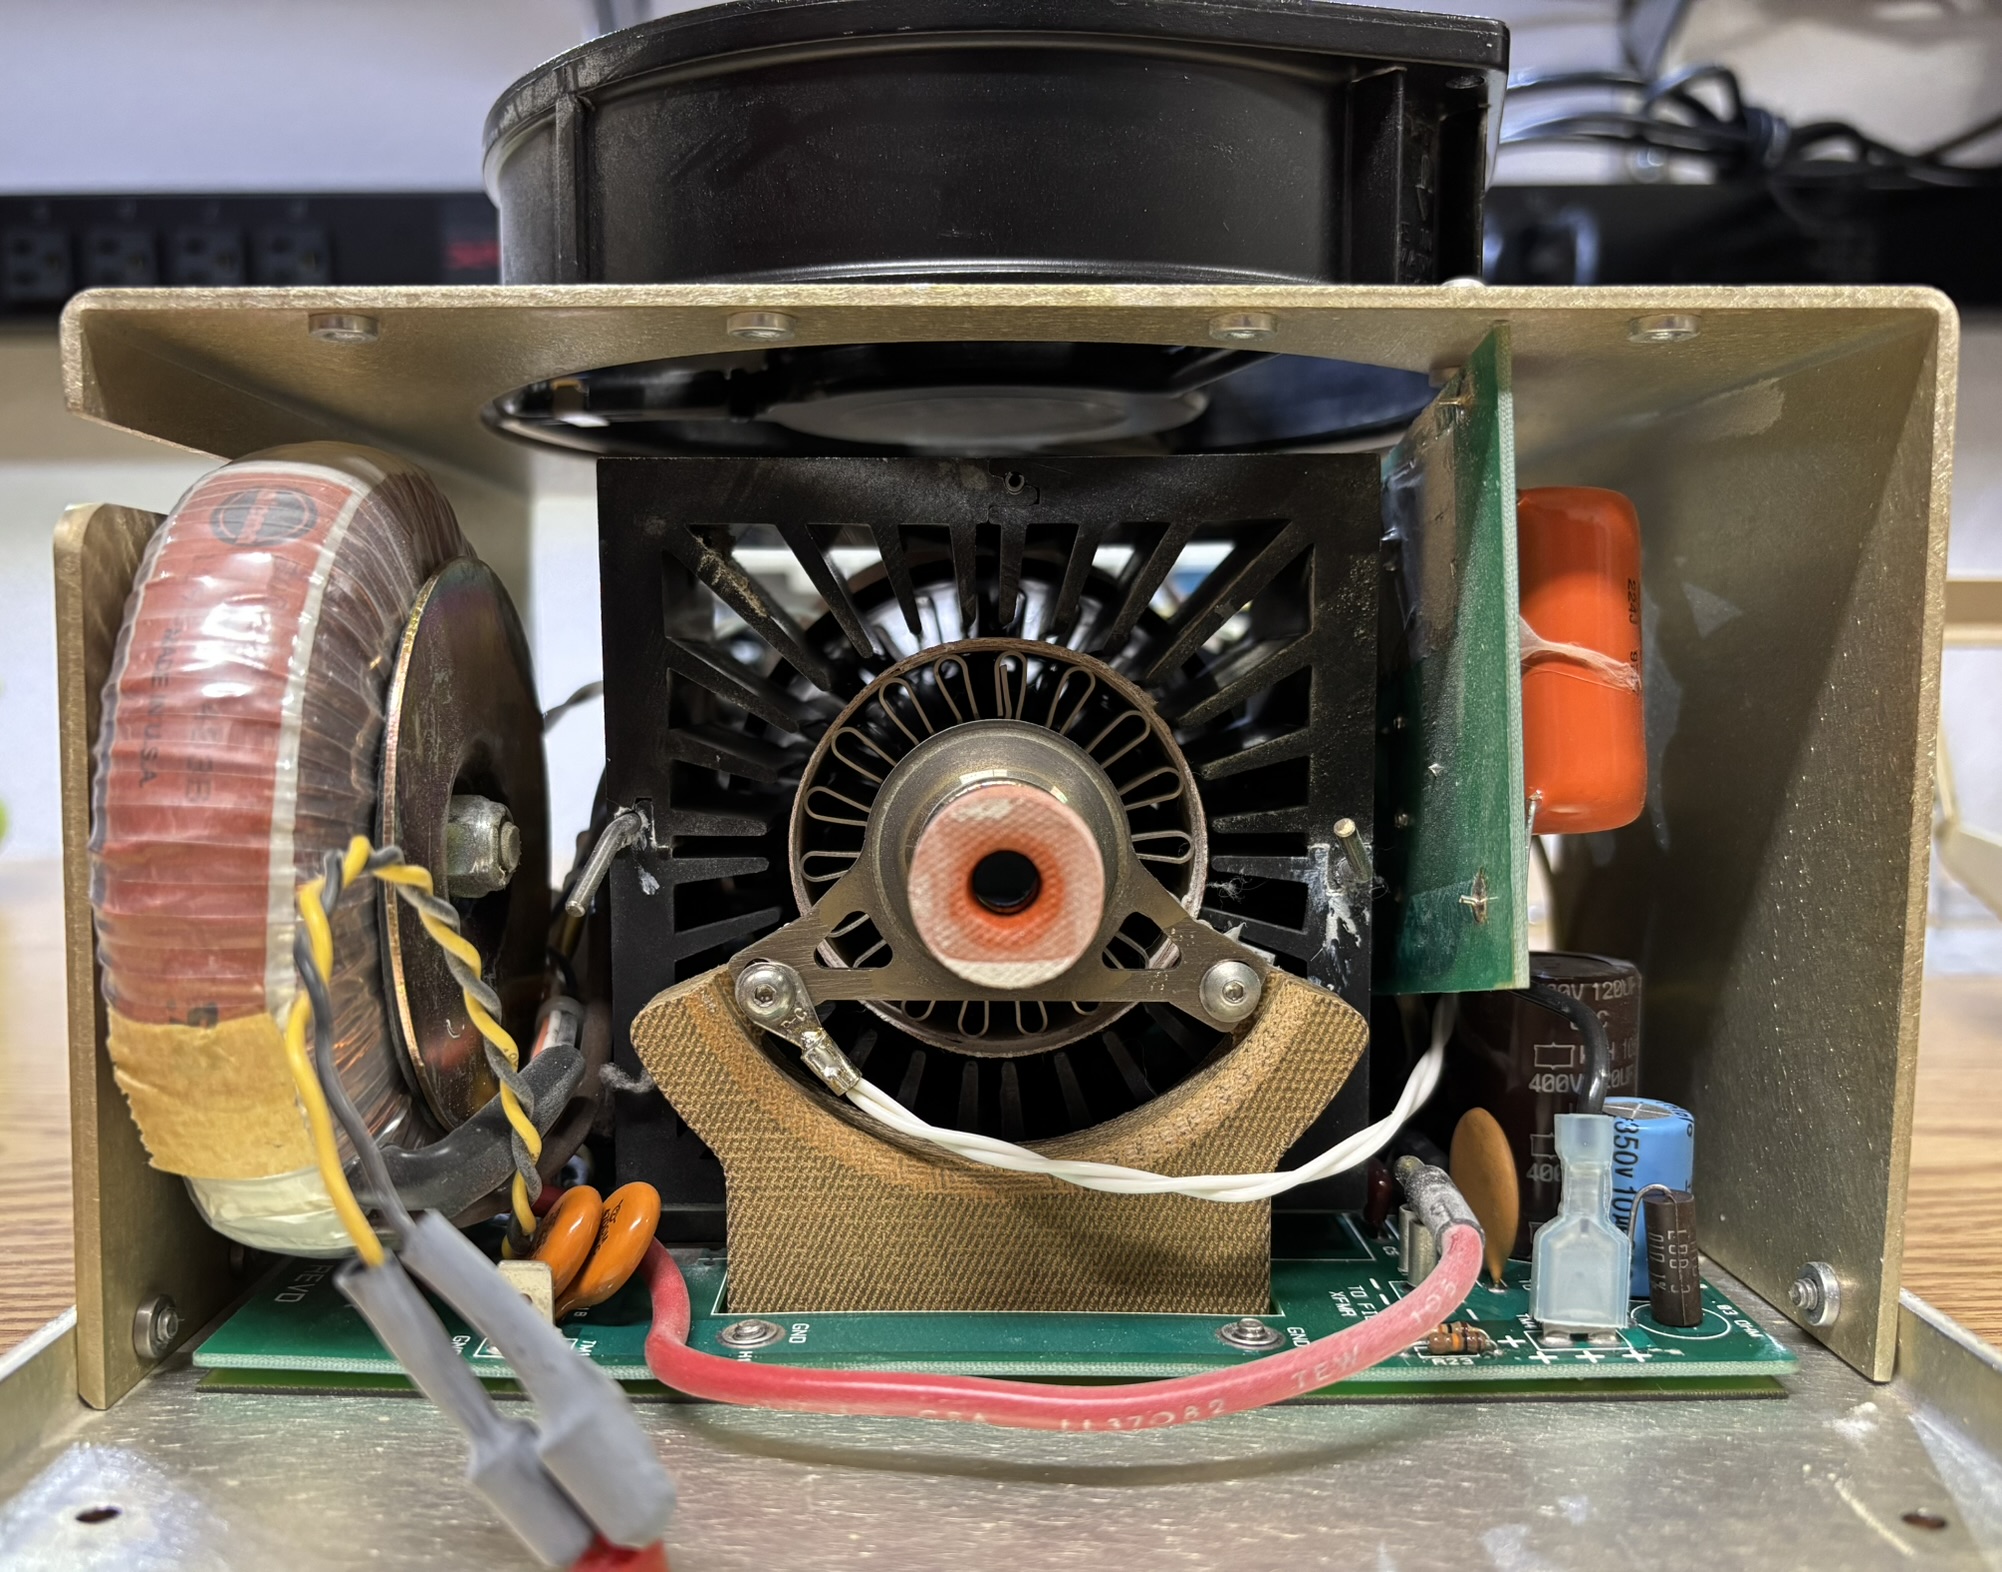
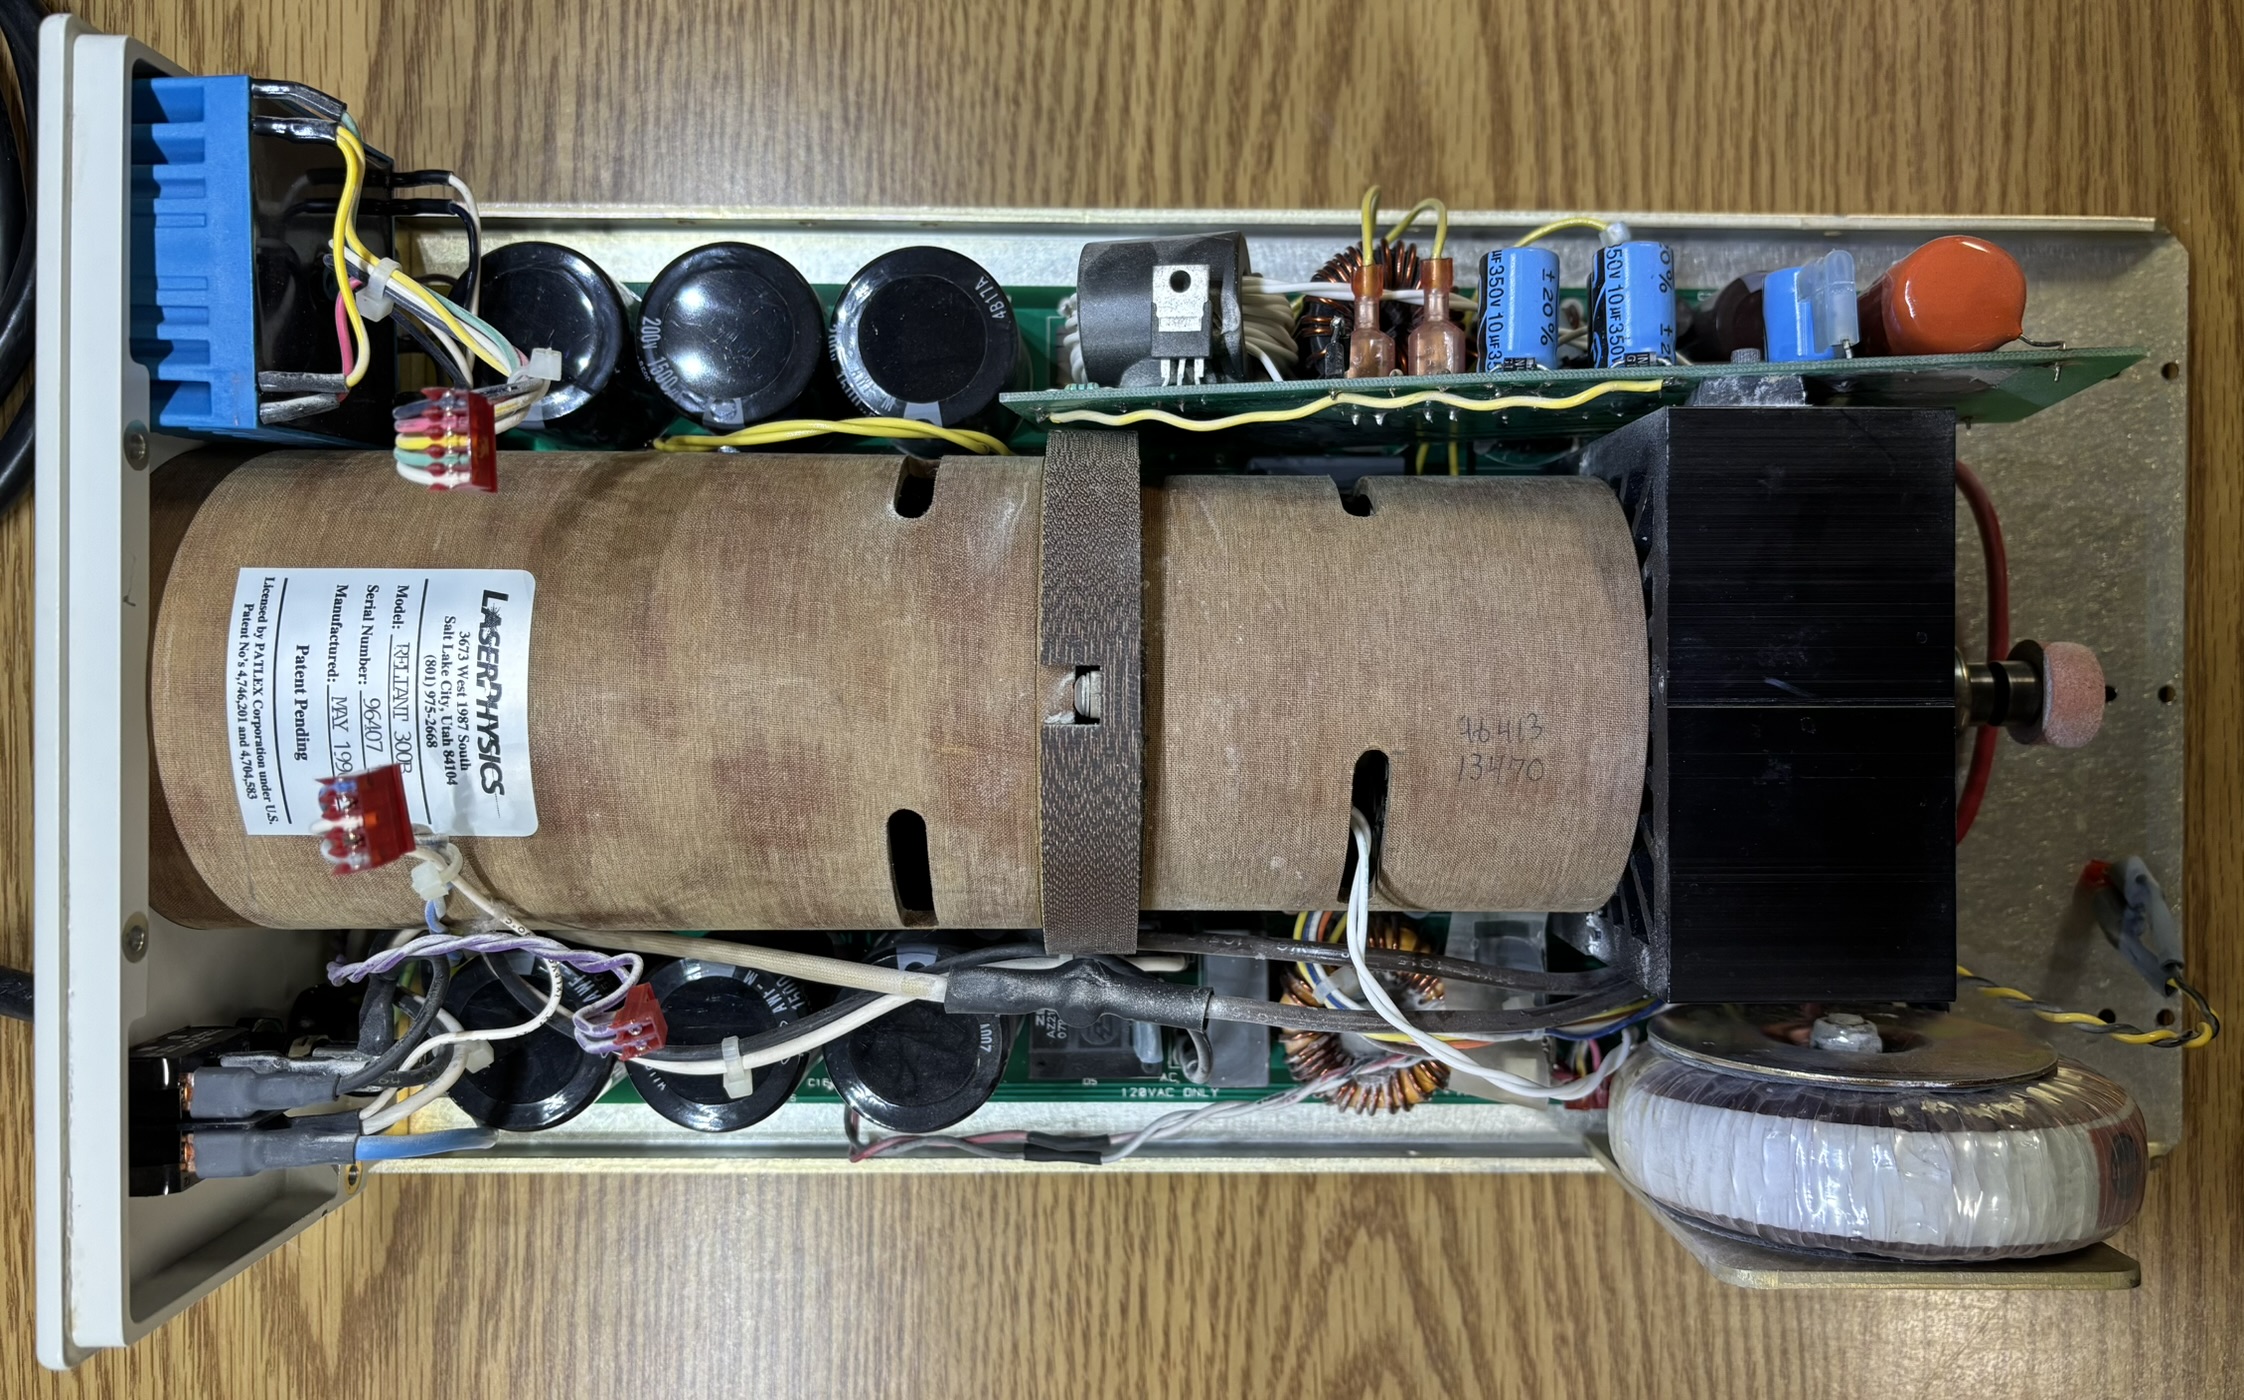
This is the anode side of the tube with the output coupler. The high reflector mirror is on the other (cathode) side of the tube. There is a thick rubber boot that presses up against the beam shutter assembly to prevent dust from getting in the beam path. The laser tube is mounted to the bottom casing with the driver board sandwiched in between. The mounting structure appears to be some pressboard or composite wood derivative. The toroidal filament transformer is also clearly visible in this picture.
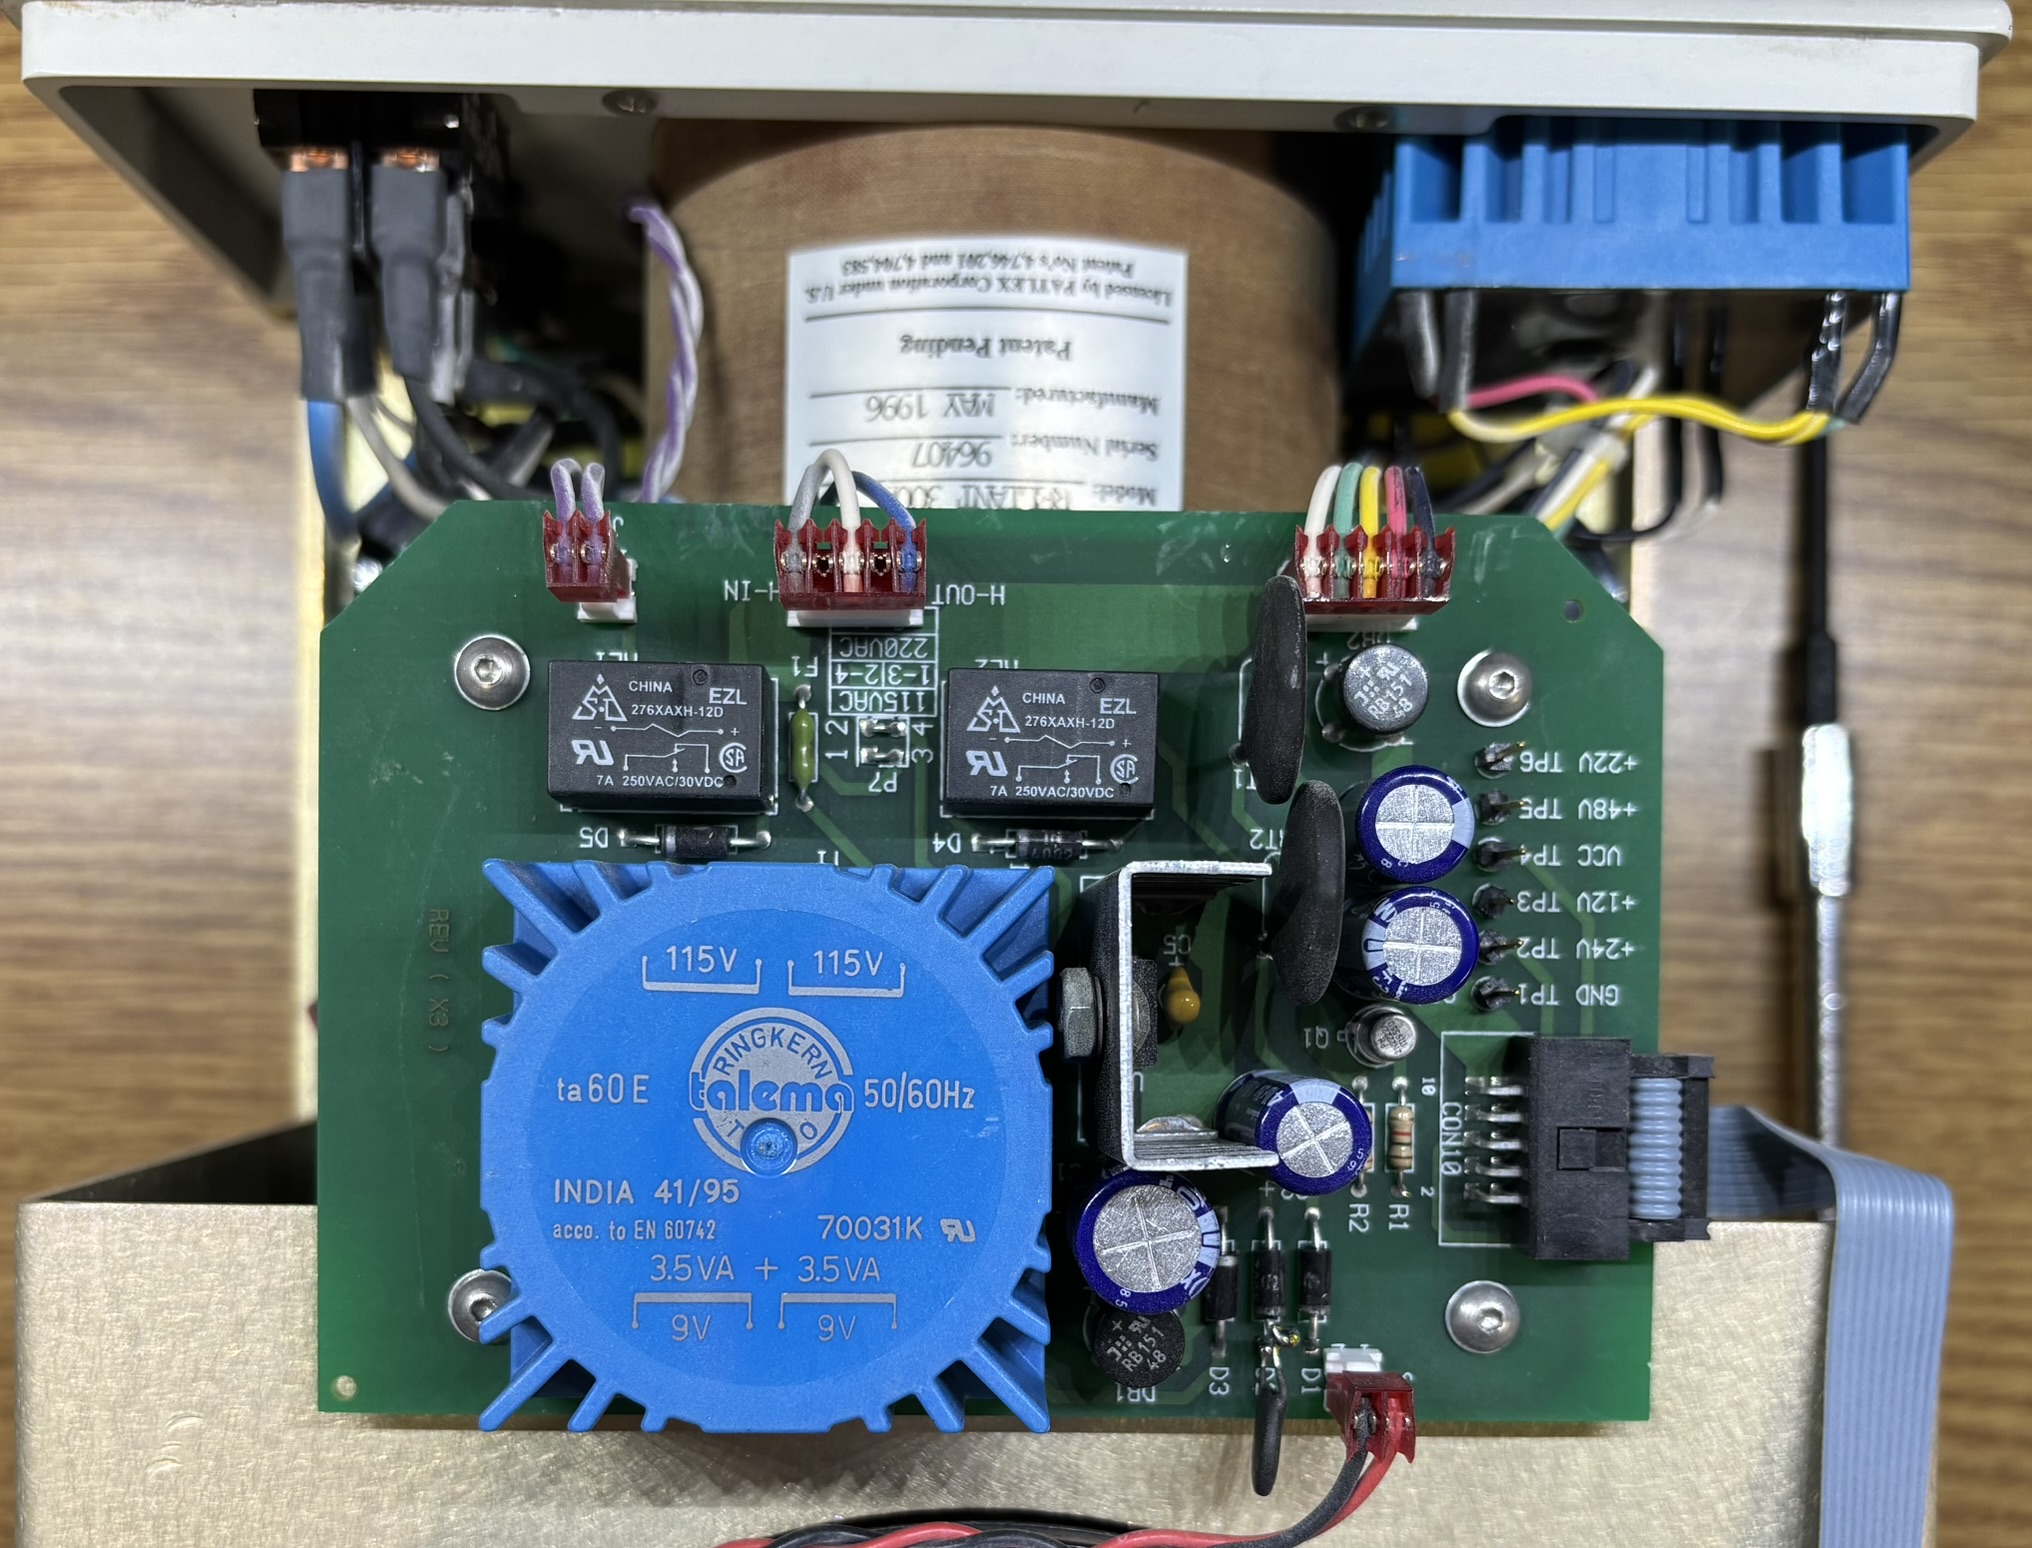
This board is mounted on the top bracket behind the fan and is responsible for powering the low voltage components of the laser. It accepts line-voltage AC input and steps it down to several different DC voltages using the two transformers (blue plastic modules). It supplies DC power to the fan and front panel, and uses the relays to adjust the fan speed. There is a ribbon cable that goes to the user interface board along with several test points.
Laser light is produced by a LaserPhysics Reliant 300B Argon Ion tube. There isn't much info about this tube online, but it appears that it could be found in a similar system not designed for dental curing, but just as a standard ion laser. With a maximum output power of 300 mW, it's a pretty spicy tube for its size. The tube is contained within the composite cylinder and is not easy to extract for viewing.
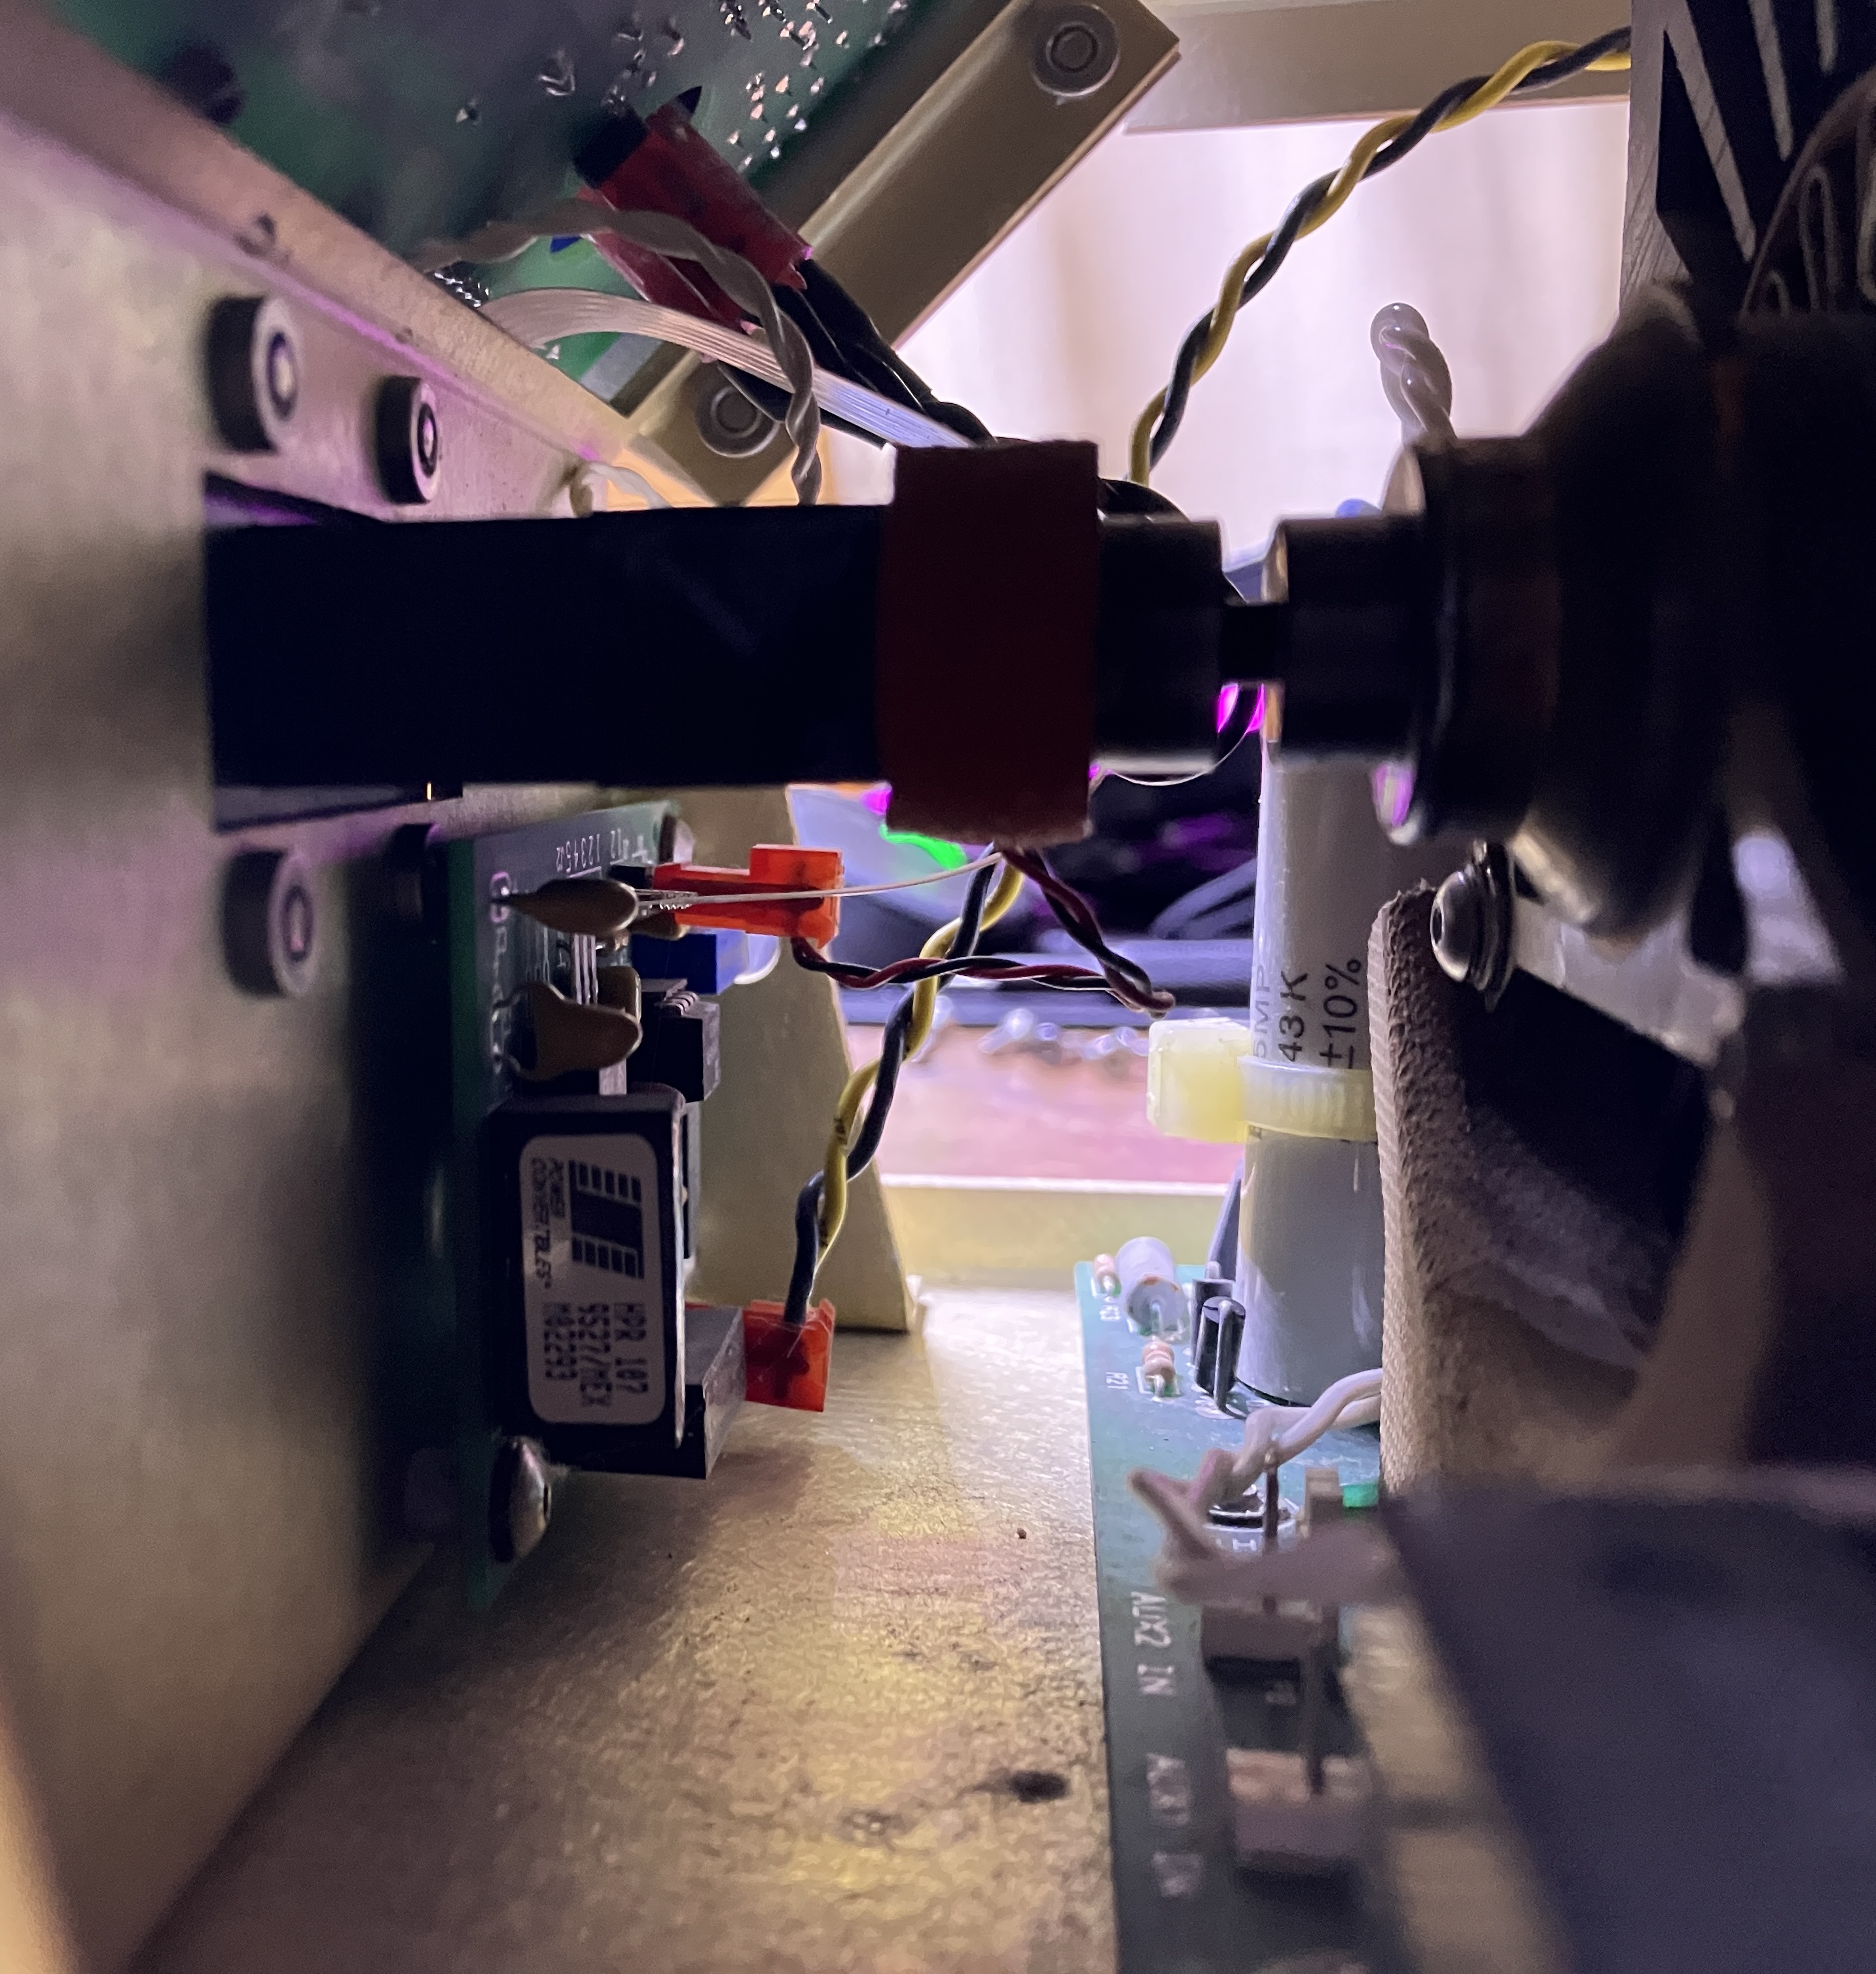
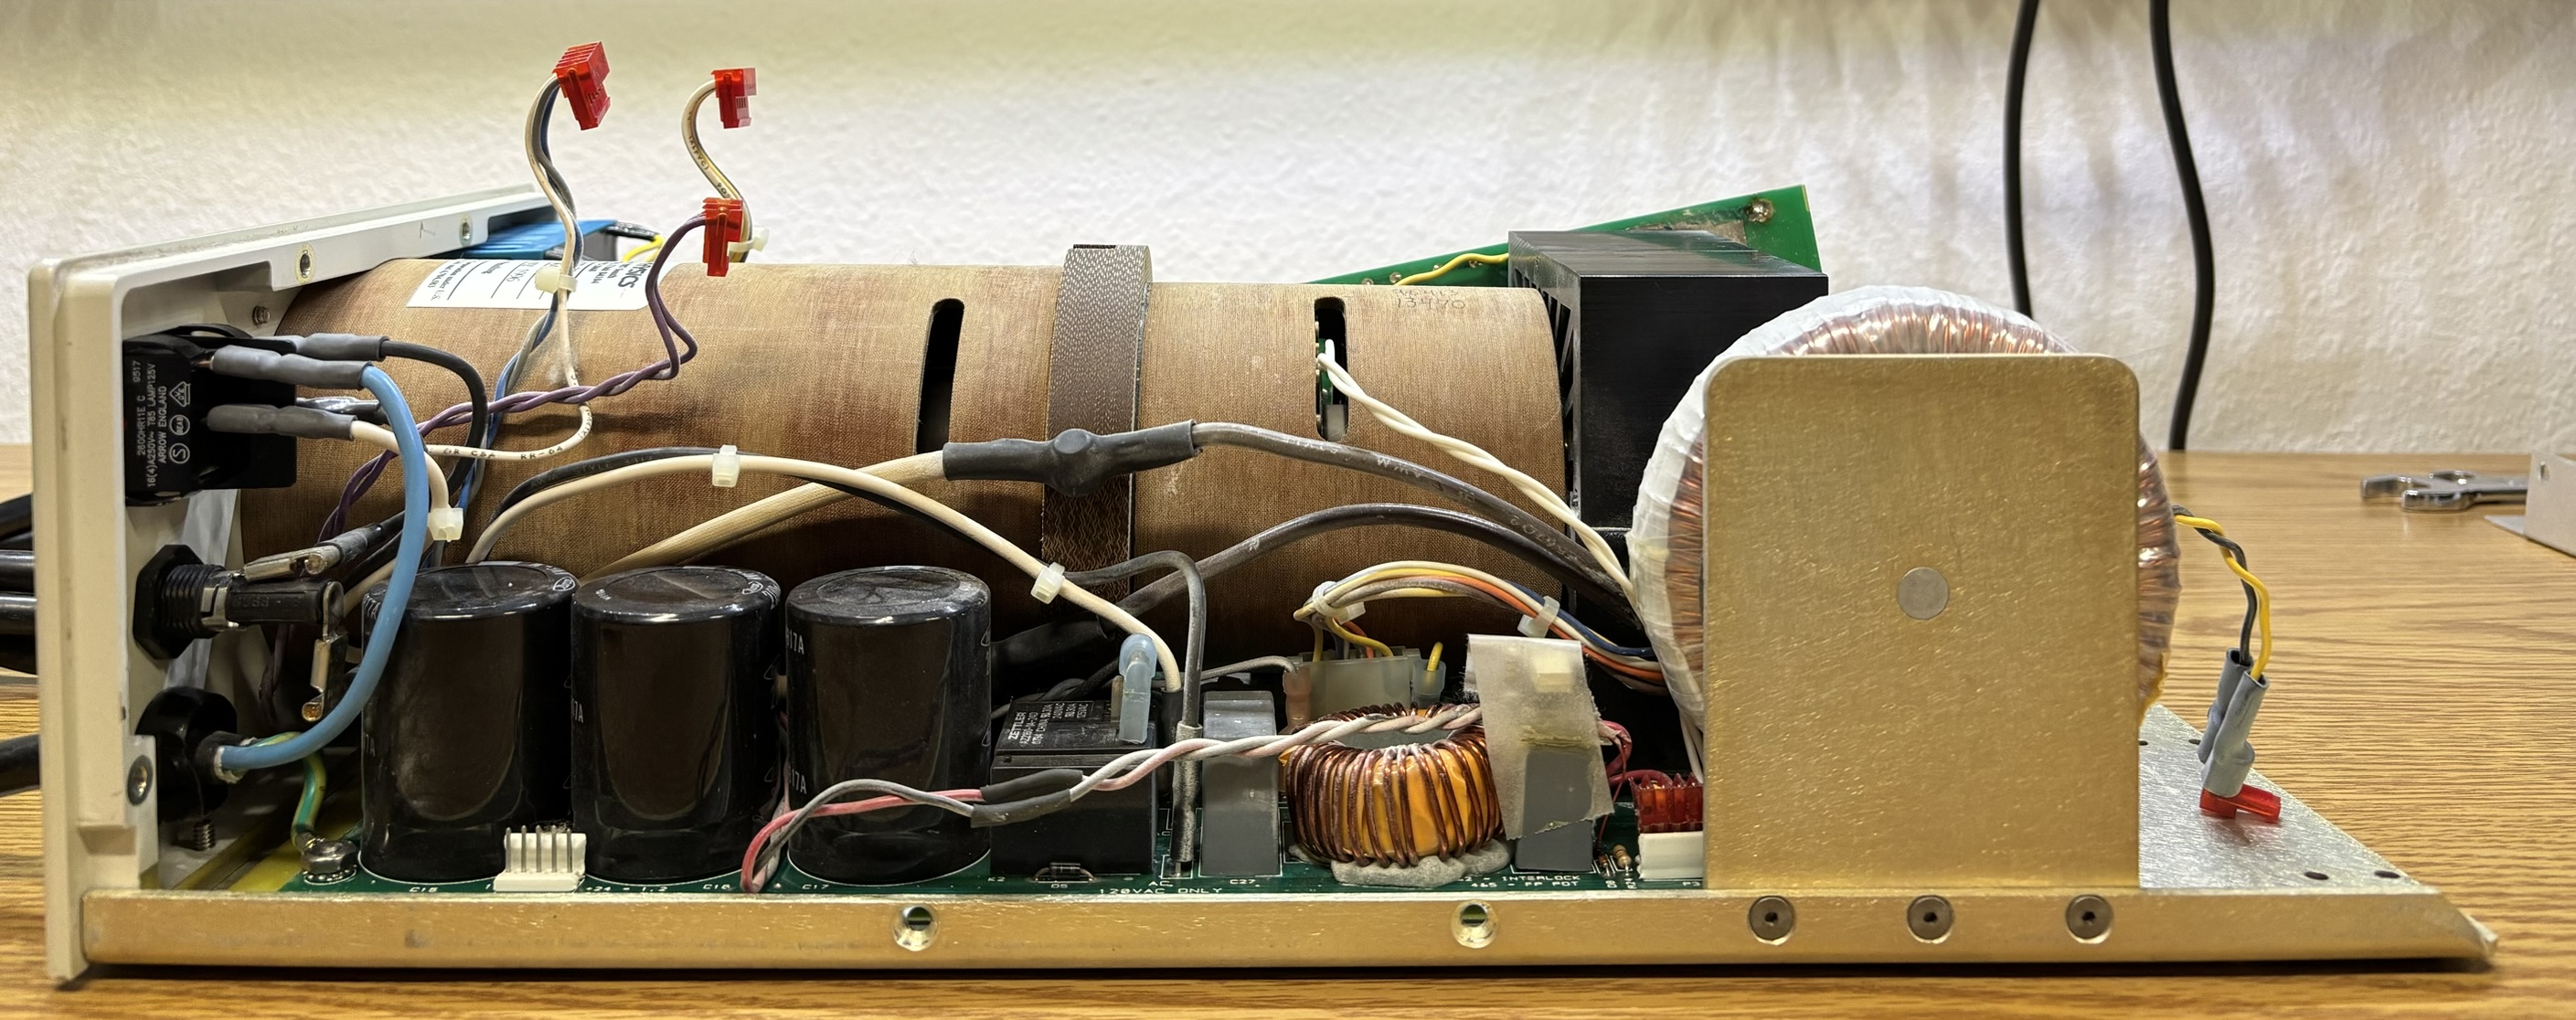
On the side of the laser system, there are 3 large capacitors, a relay, inductor, and some other miscellaneous components that are part of the tube driver board. Also, the large filament transformer is mounted to a metal plate which is secured to the bottom frame.
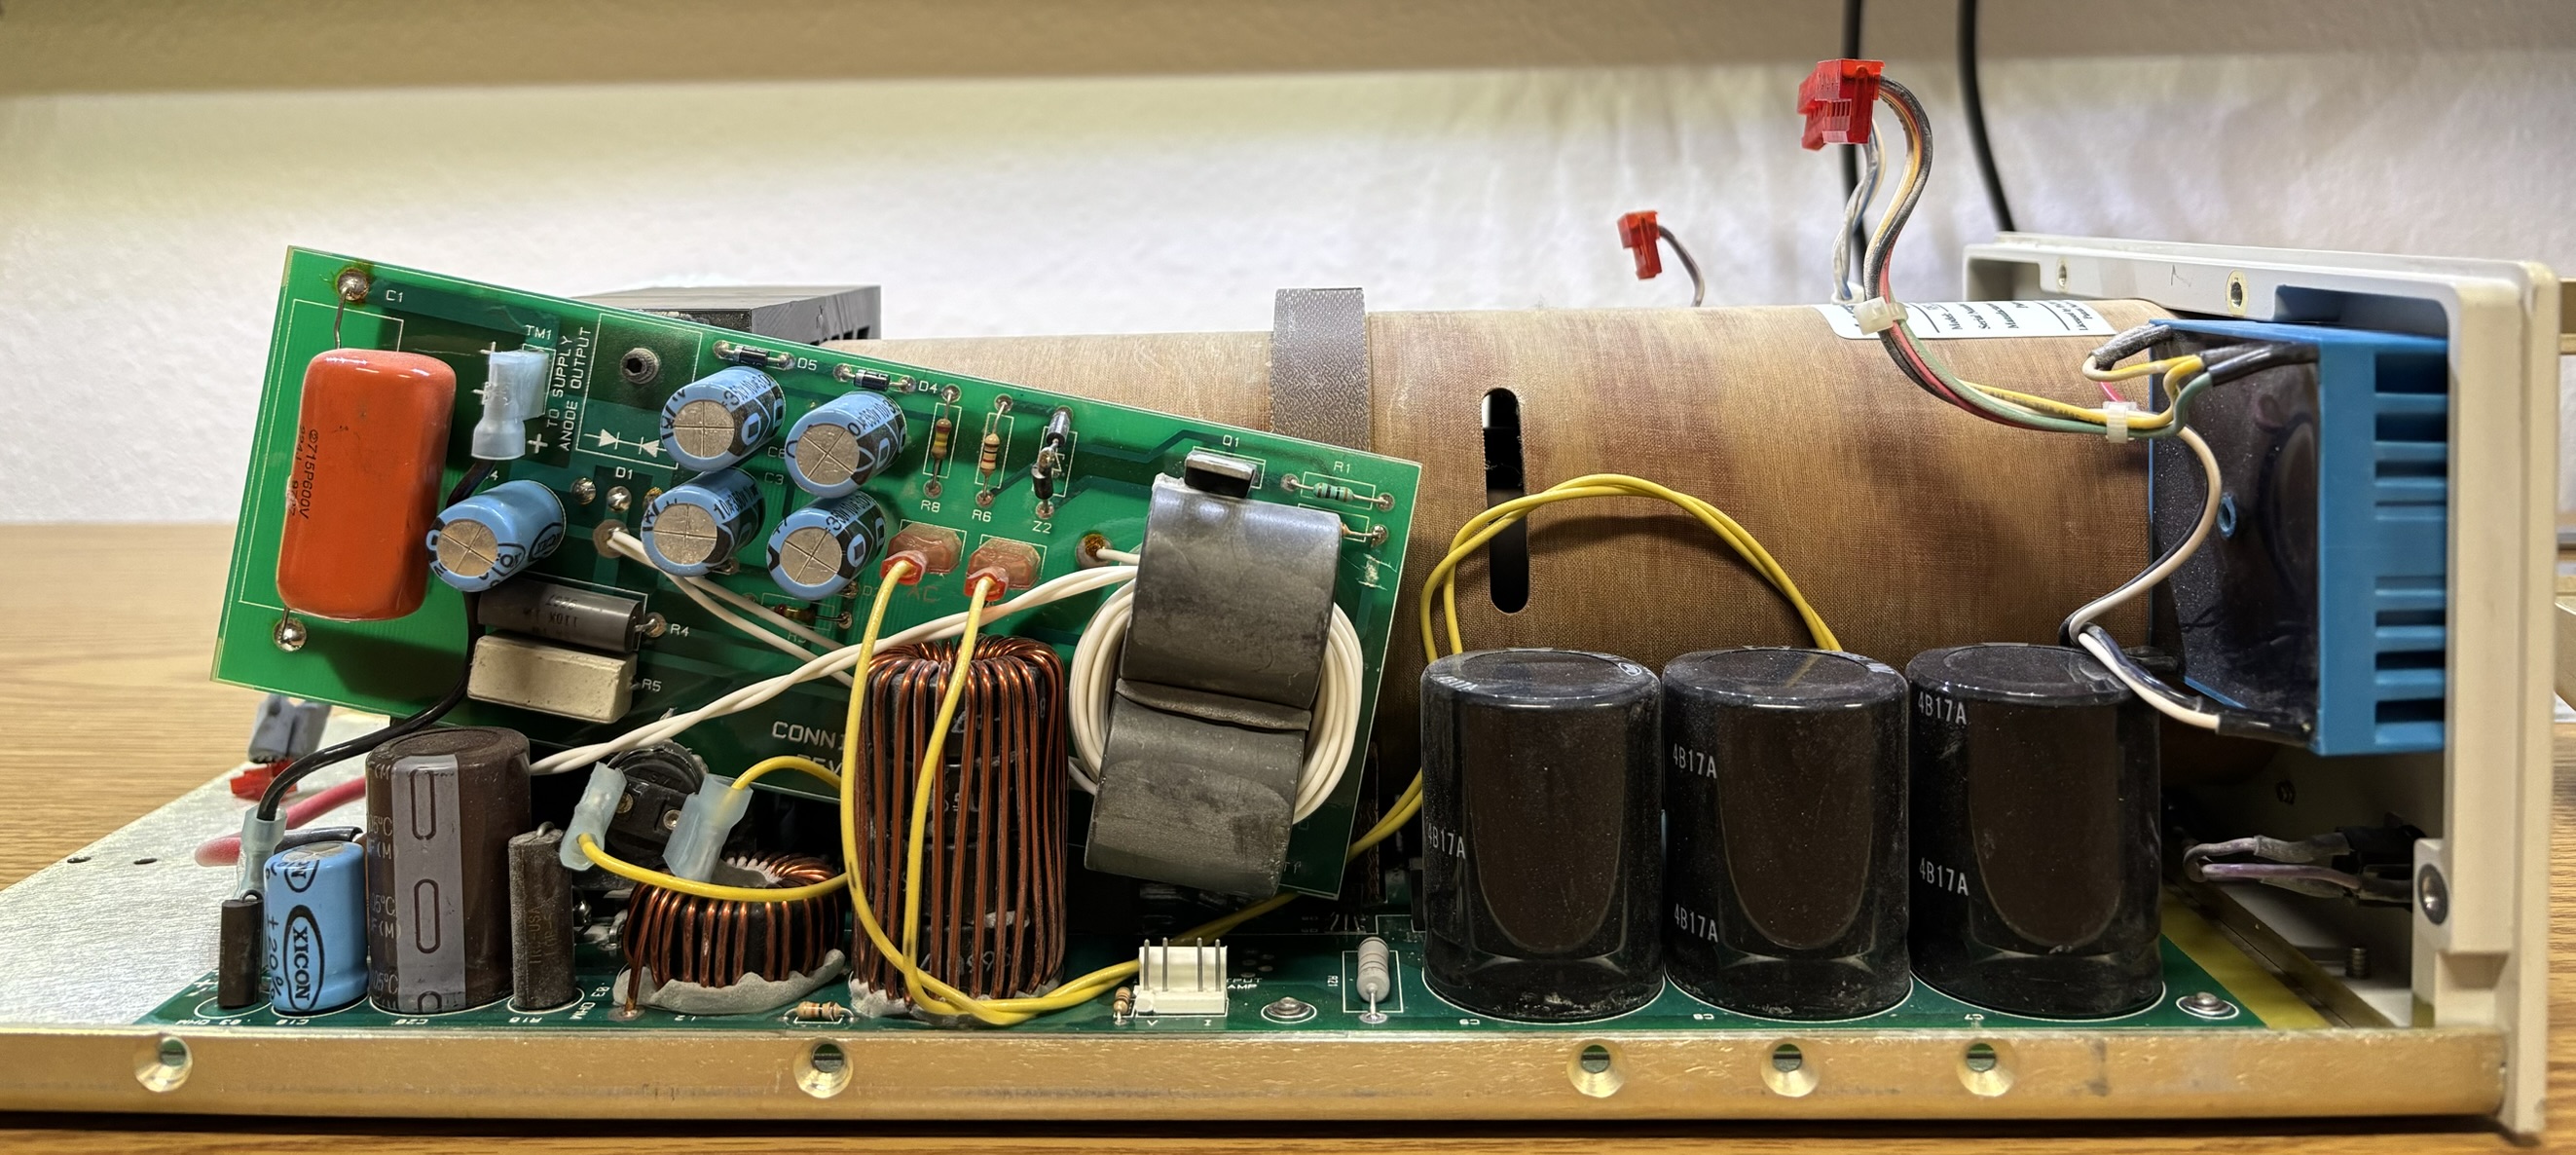
This side view shows a strange design feature of the AccuCure 3000. There is a circuit board mounted to the front heatsink, with a large diode sandwiched in between. Oddly, there is only one screw securing this entire board. We are not 100% sure whether this is factory design or a later modification. We believe it's factory as the board labels and overall design very closely match features of the main tube driver board. Likely due to impacts from shipping, this board rotated down towards the bottom, knocking off a thermal cutout switch that was glued to the front heatsink. There are two large (and heavy) ferrite beads on this board, making it even more susceptible to rotation. Adding a second fastener or a support bracket would have prevented this. Components also visible include some large capacitors and inductors on the bottom board for driving the tube. There is a potted power supply module mounted to the back case panel, which connects to the low-voltage distribution board mounted on top.
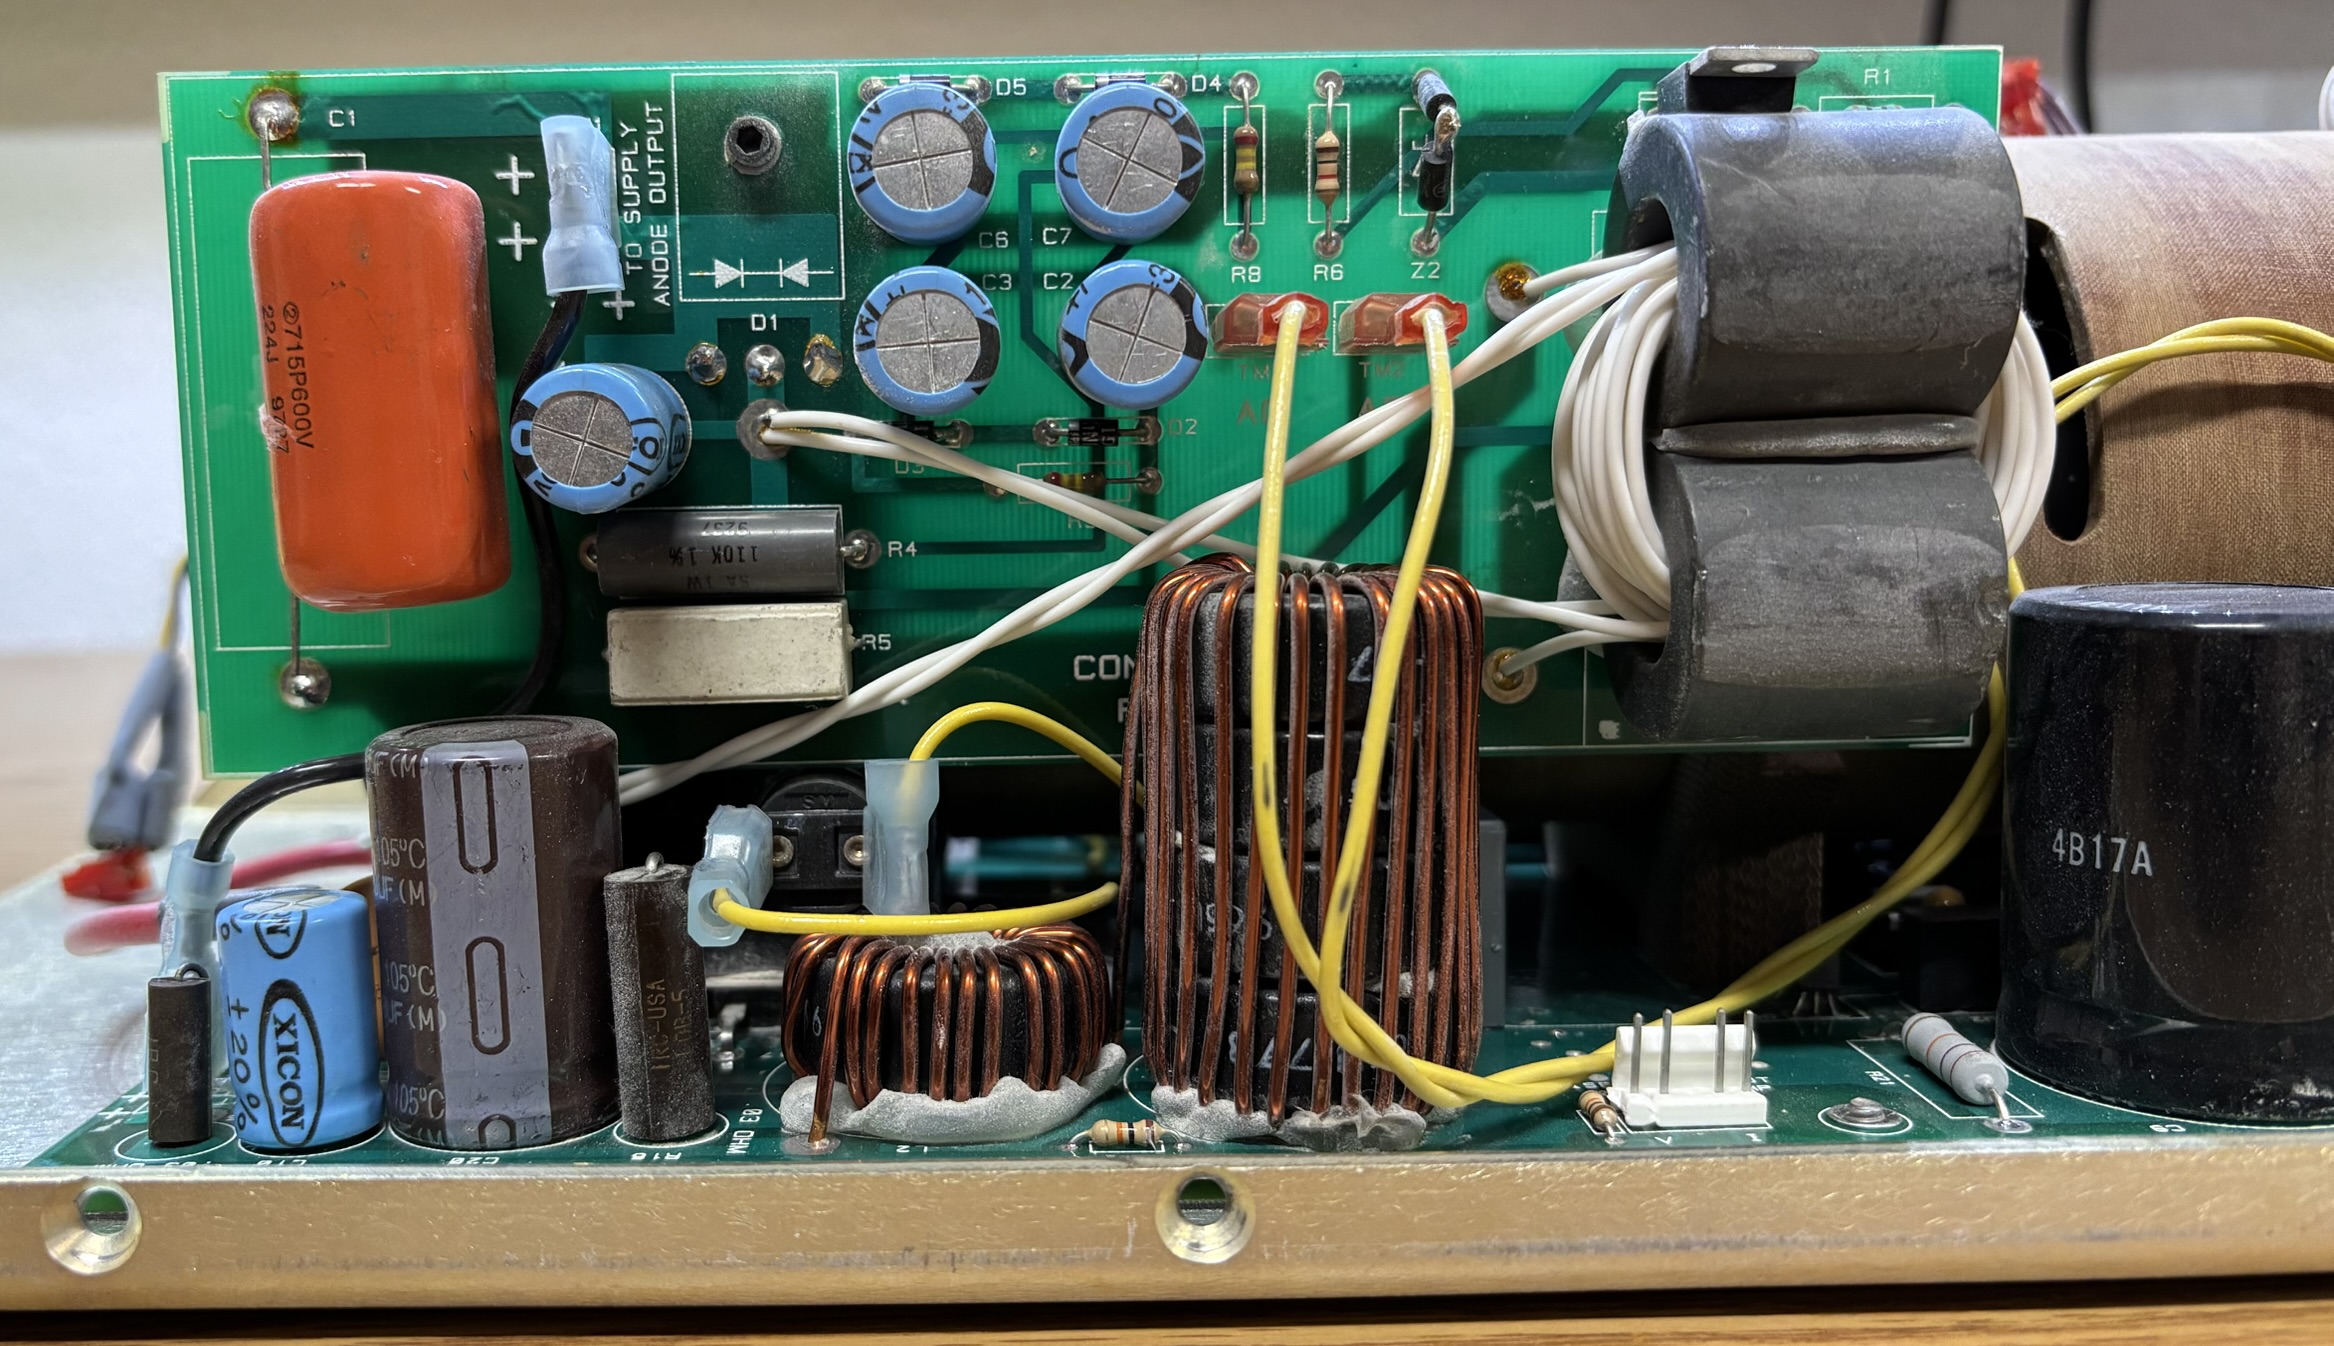
We were able to rotate the board back into position, tighten the screw, and re-attach the thermal cutout switch with some super glue. This board appears to be called the CONNIE5 REV F, based on the silk screen markings. It connects to the bottom tube driver board with terminals labeled "supply anode output" and the white wires wrapped around the ferrite beads connect to the anode side of the tube. The connection on the bottom diode driver board for the CONNIE5 board is labeled "output to boost". It appears that this is some sort of boost board for driving the tube. Perhaps it's used to strike and stabilize the tube during startup or it's just something that was added later in design.
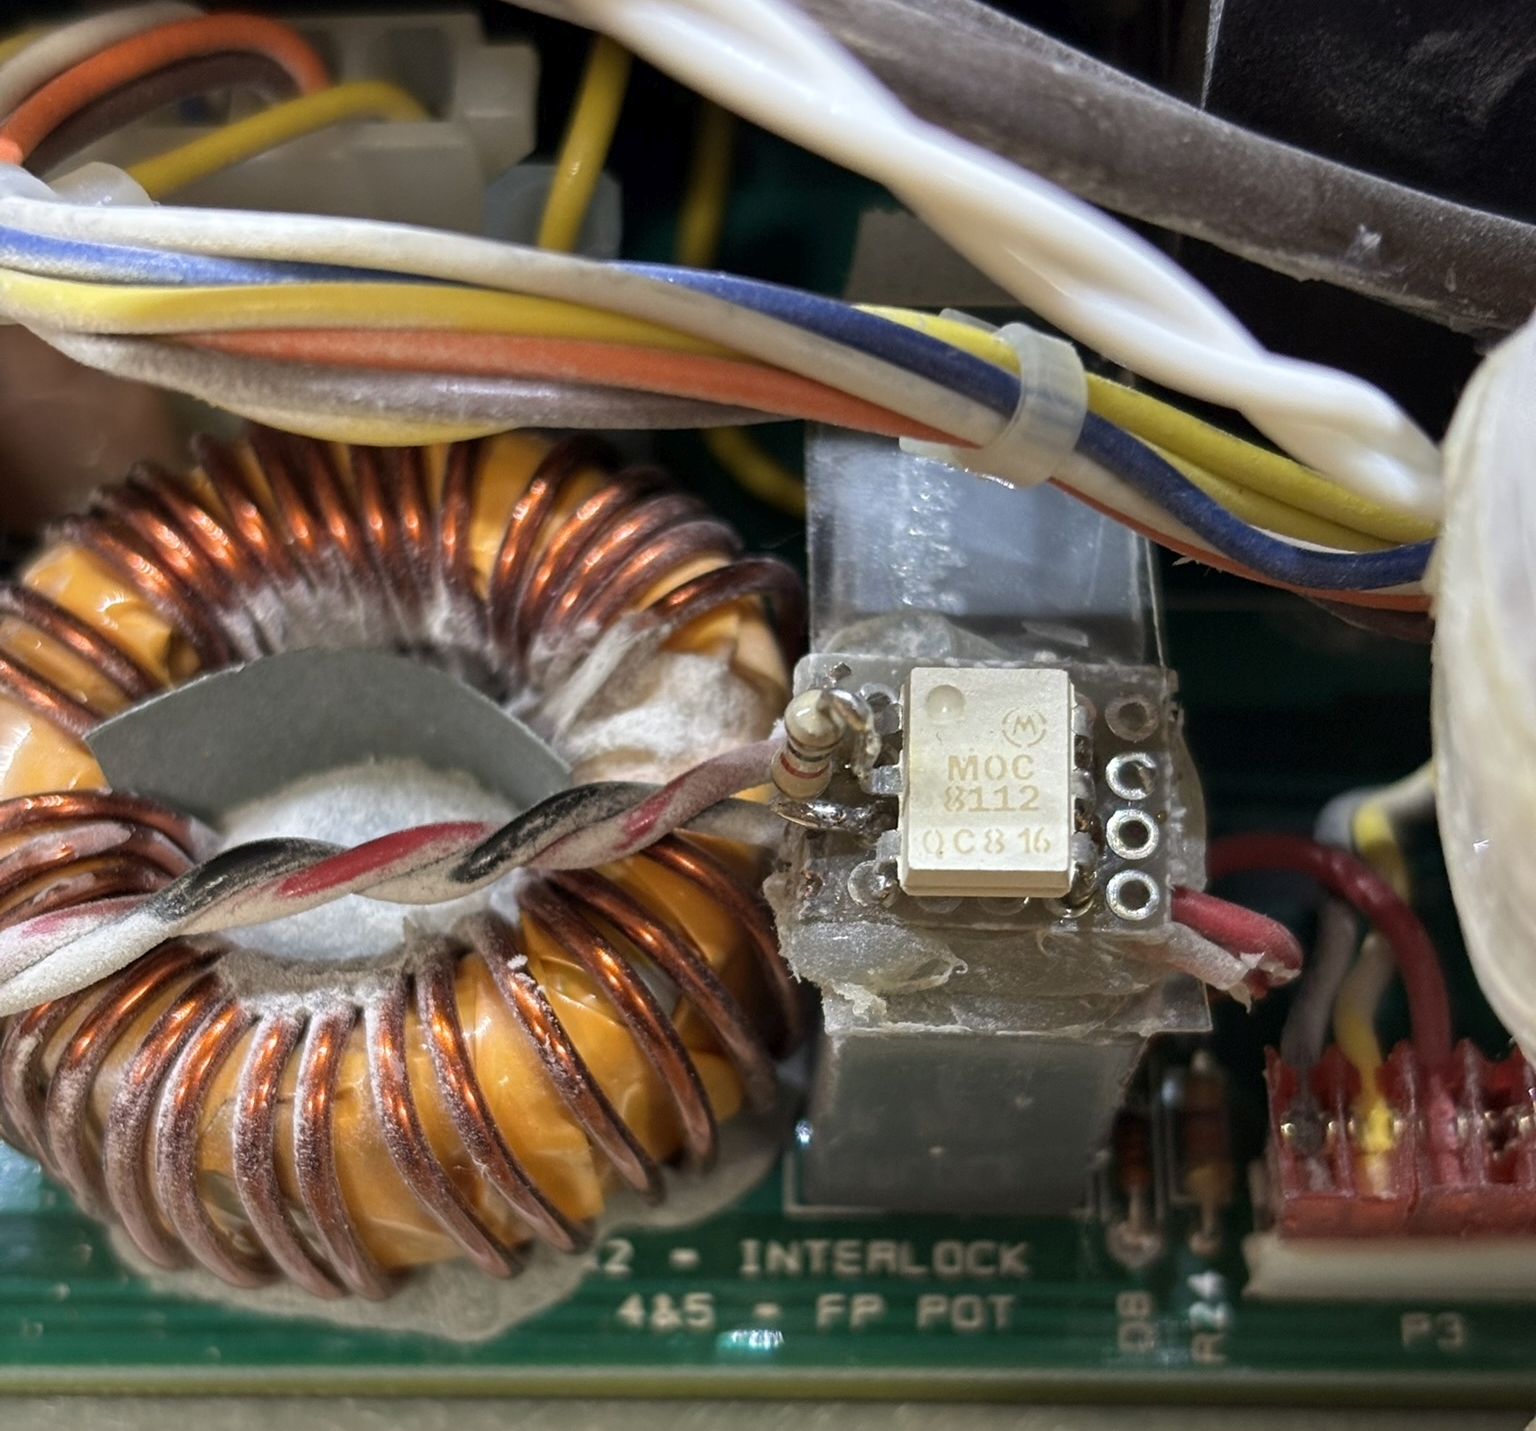
Below is the most noticeable modification of this laser system. It's a Motorola MOC8112 opto-isolator and a resistor, soldered to a small piece of perf-board. The whole assembly is glued to a large capacitor and was originally covered with a piece of scotch tape. We are currently unsure of the exact purpose of this modification.
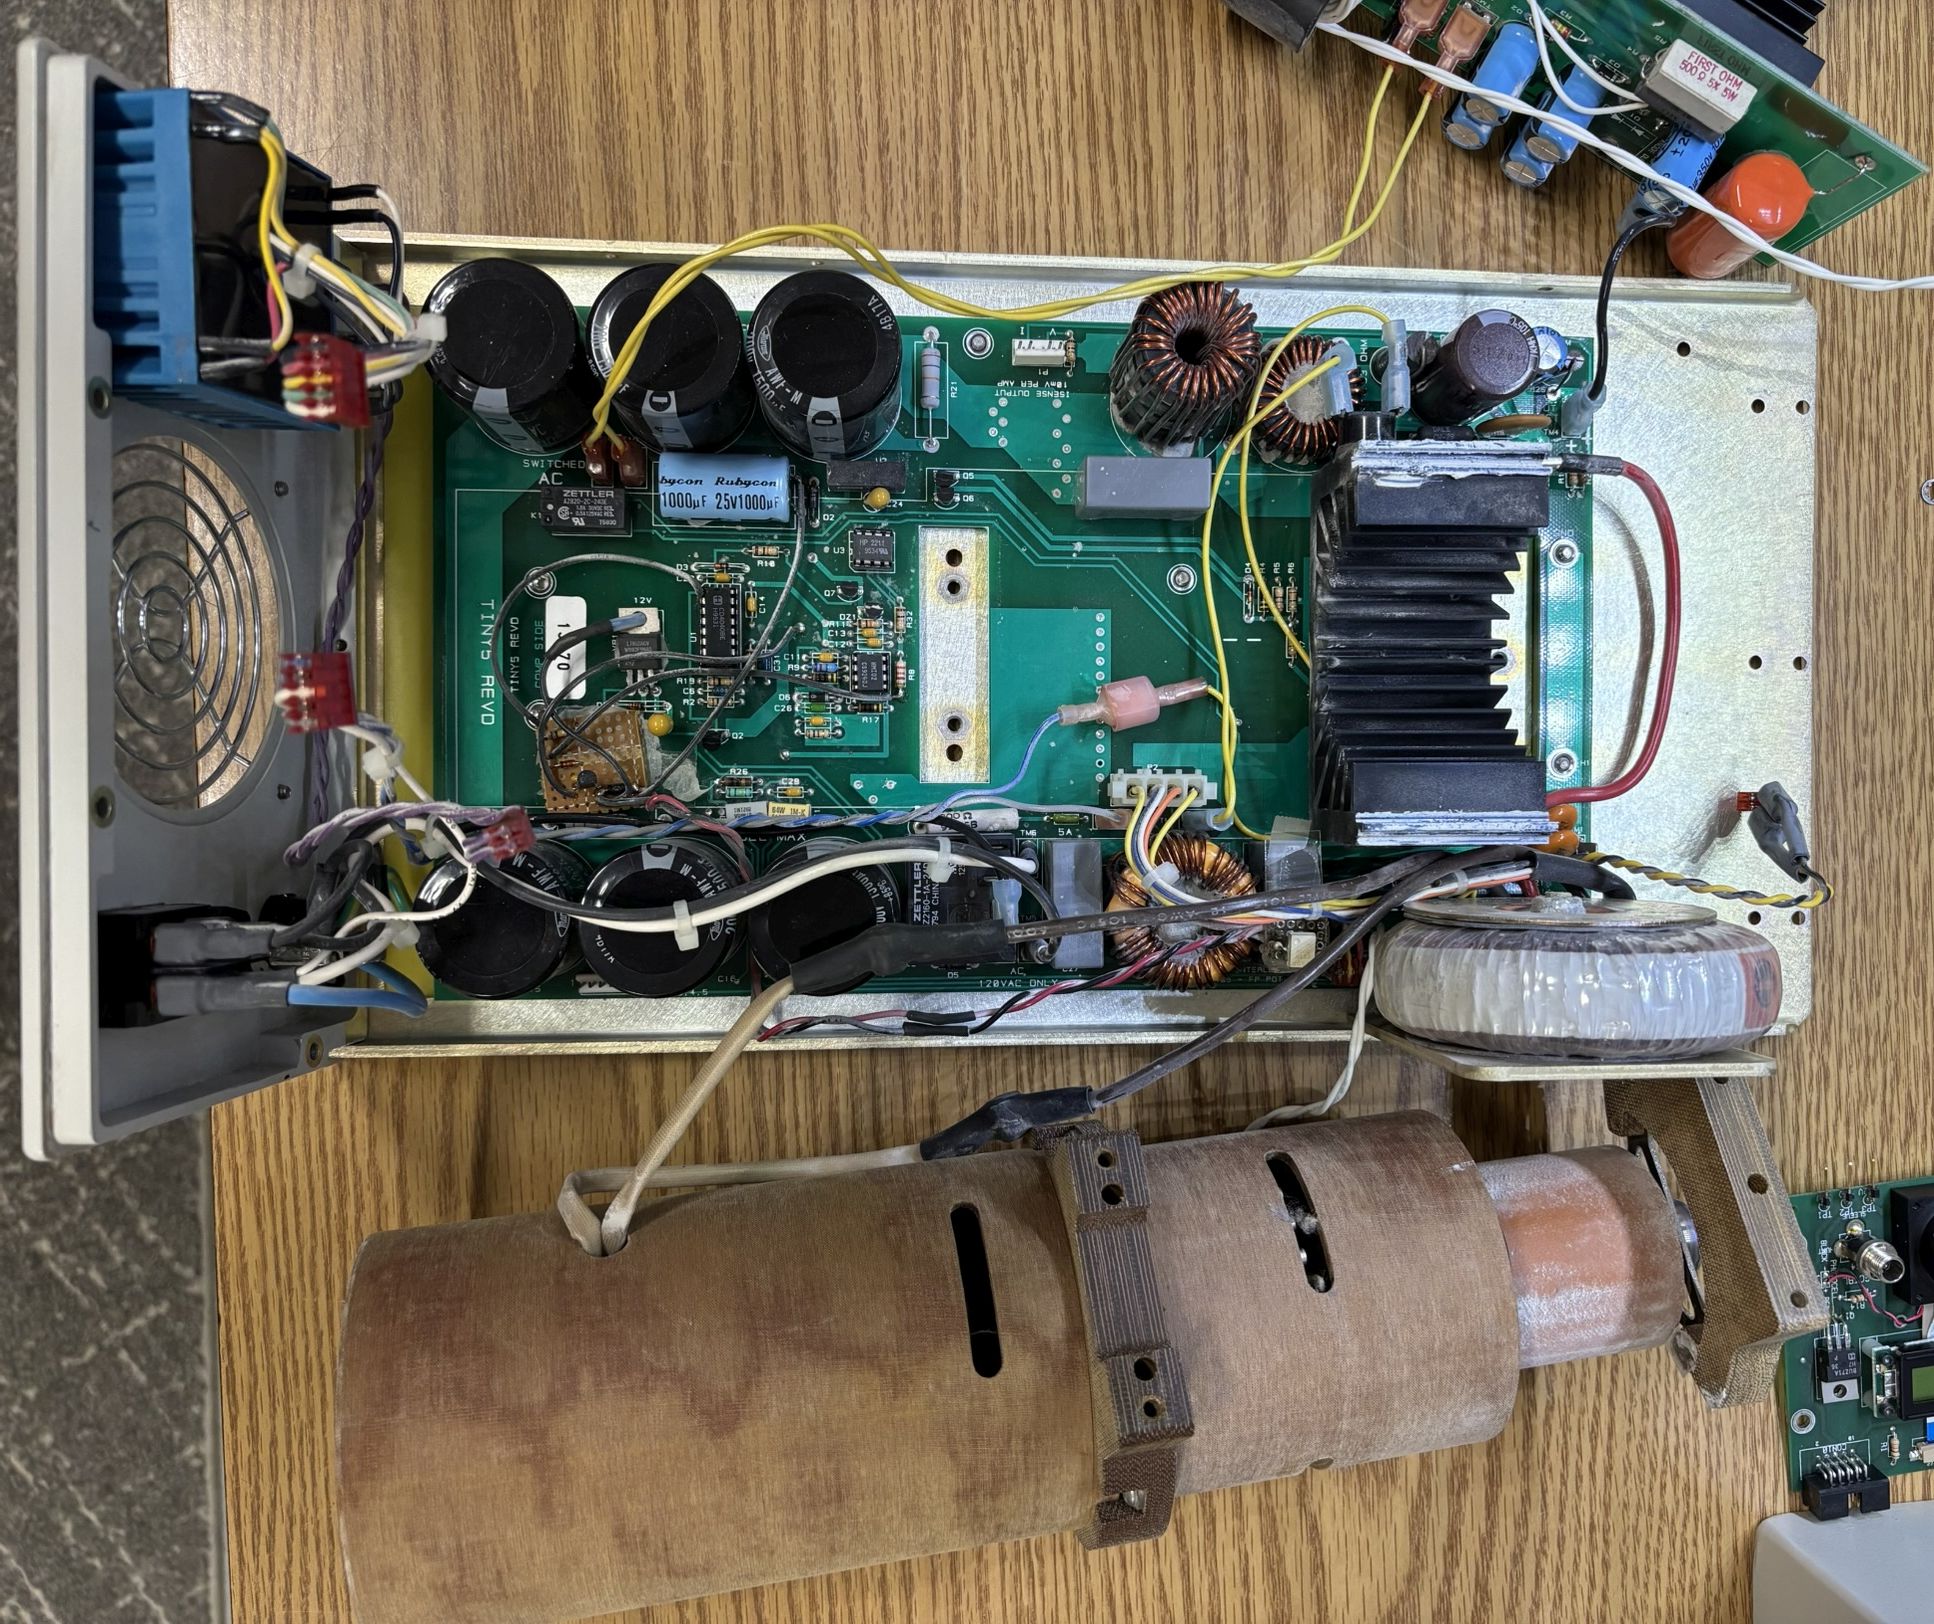
Removing the ion tube assembly is quite a challenge, but doable. Removing two pins from the front heatsink will allow it to separate and release the front section of the tube. You will also need to loosen or remove the back panel to allow room for the back of the tube enclosure to lift out. Once removed it can be placed off to the side, revealing the bottom circuit board. This is the actual tube driver board that contains most of the electronics required for providing stable power to the ion tube.
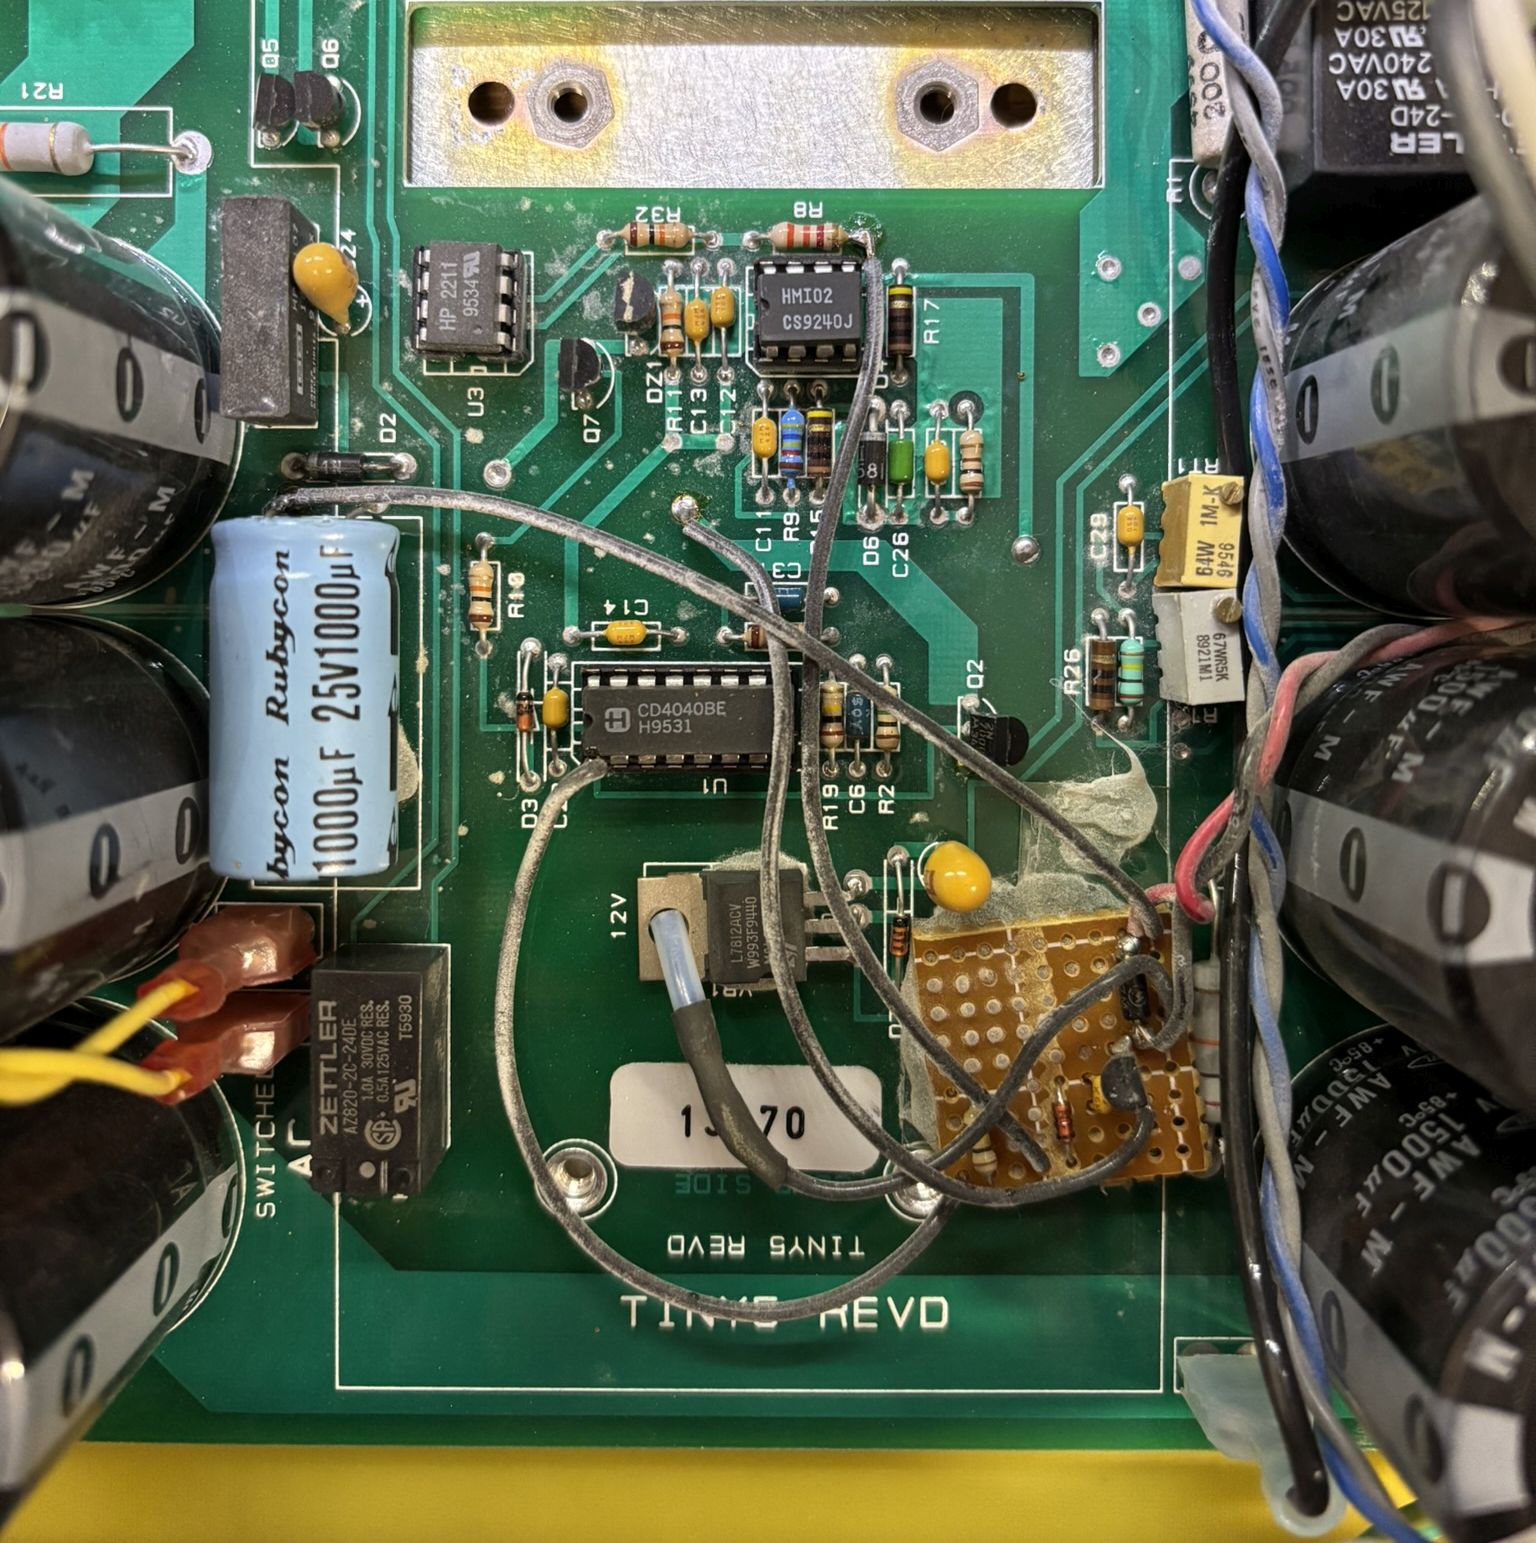
Taking a closer look, we can clearly see another crude modification done in the same manner as the opto-isolator. Also, there are two interesting potentiometers labeled IDLE (gray) and MAX (yellow). Presumably, these can be used to adjust the IDLE and MAX tube current parameters.
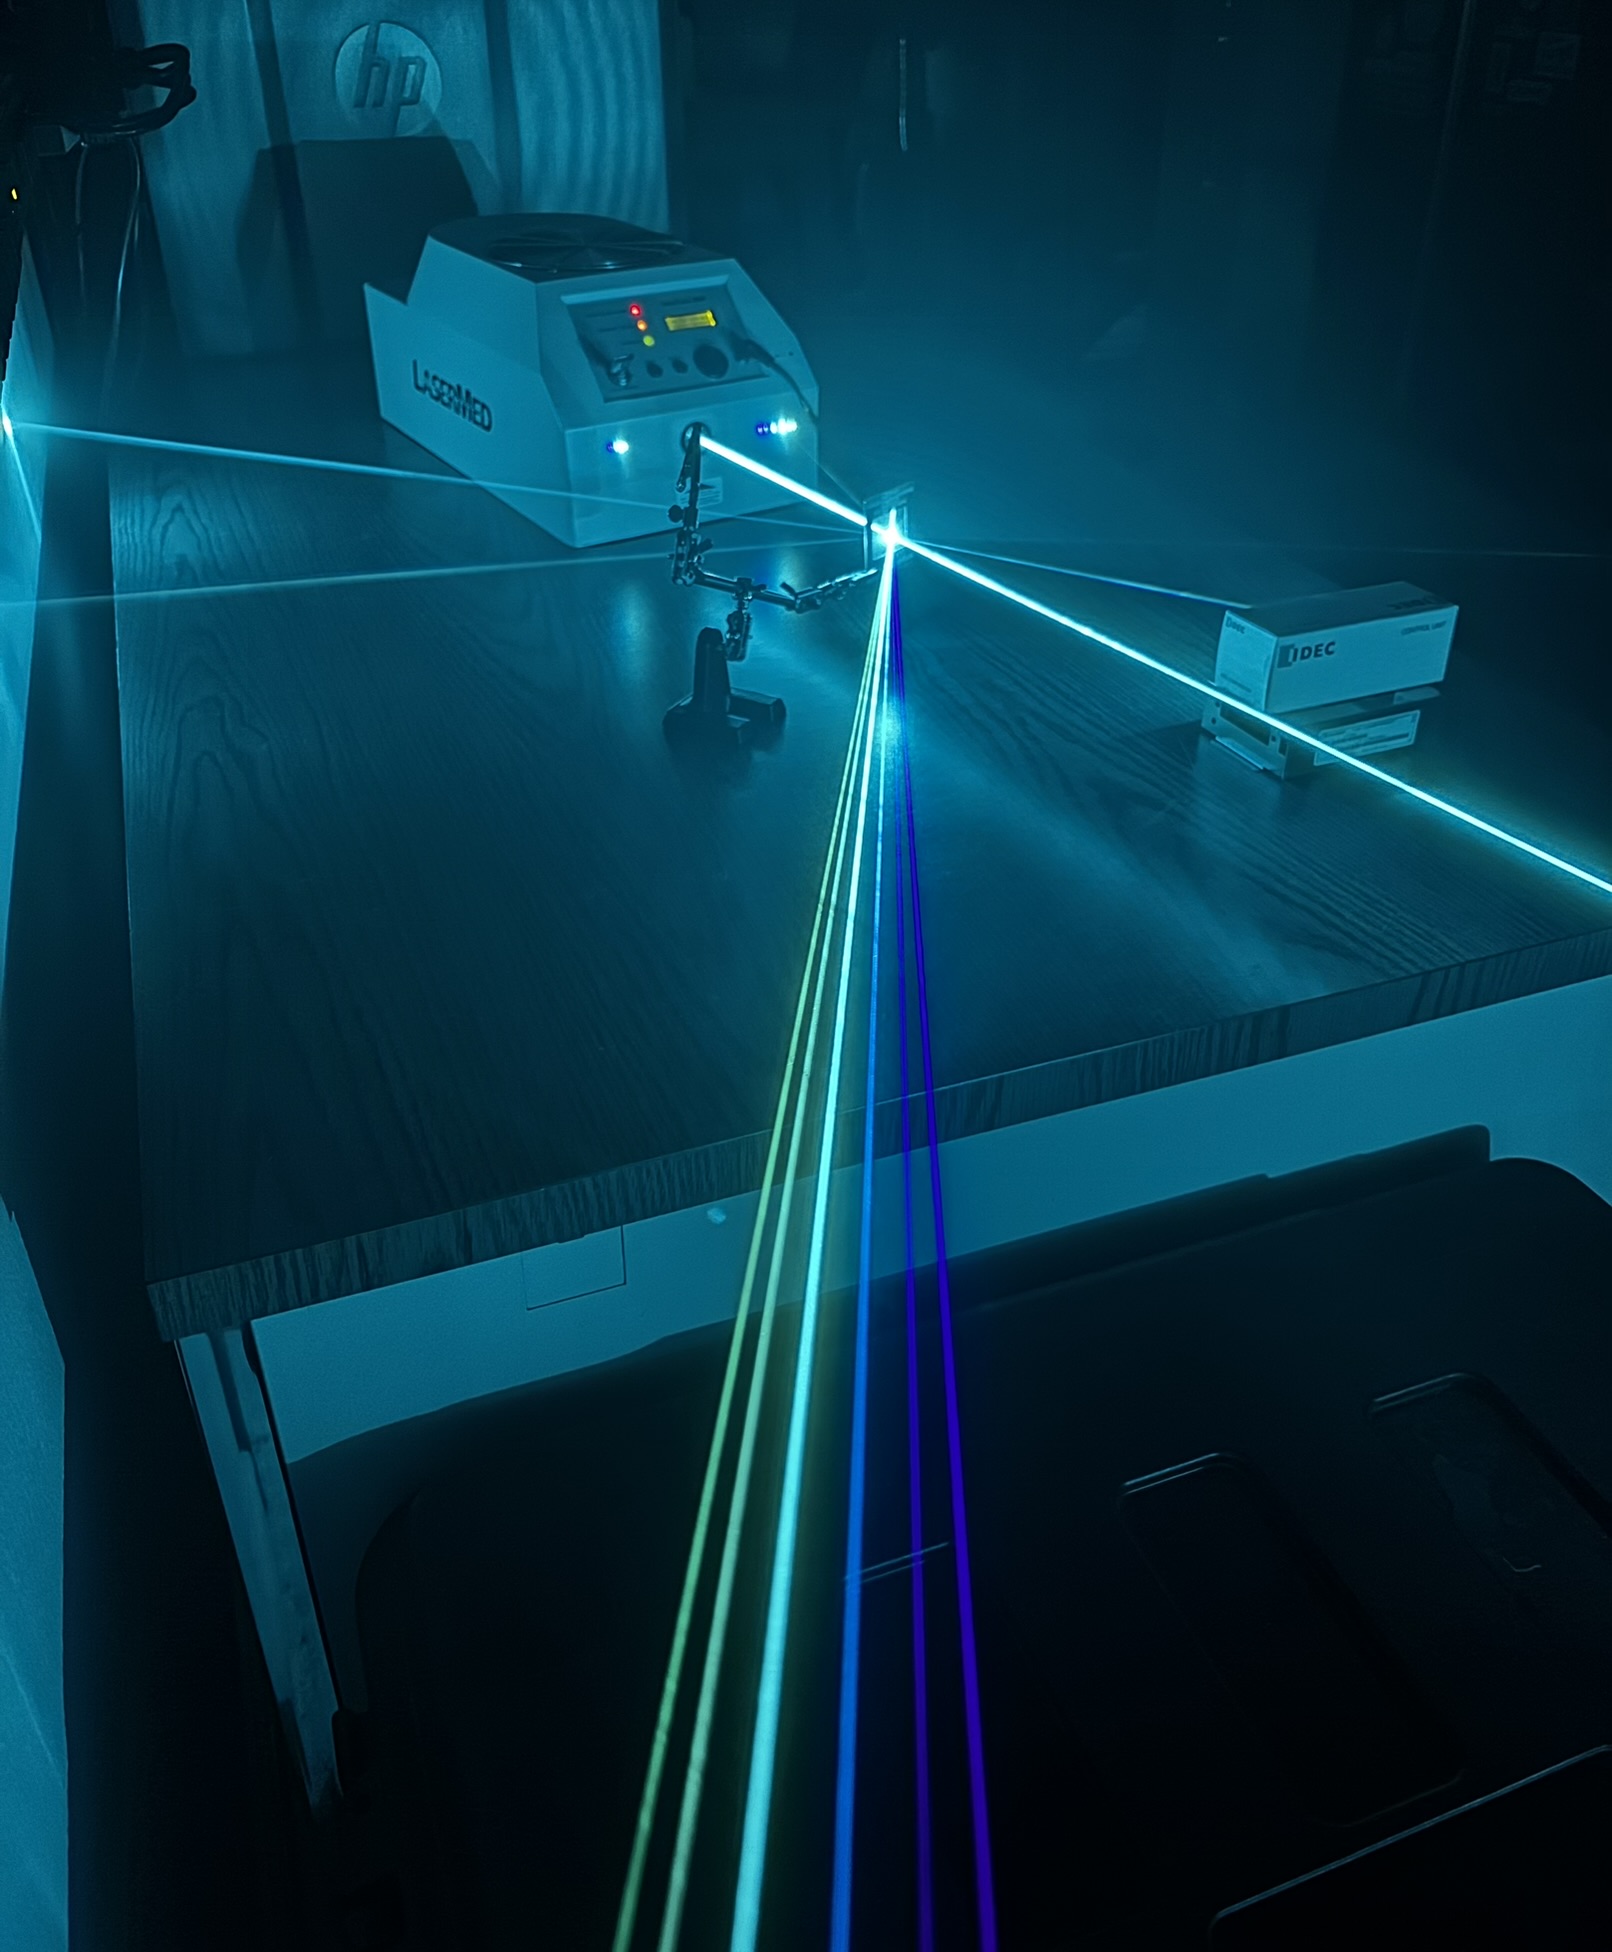
We were pleasantly surprised to see 6 of the common argon ion wavelengths when we placed a diffraction grating in the beam path. The Reliant 300B is an excellent laser tube being both multiline and relatively high power.
Perhaps the most disturbing part of this laser was the large buildup of "dental dust" everywhere within the system. We hope it's not actually dust from grinding and filing of teeth, but it probably is... We used an air compressor to thoroughly clean it all out!
